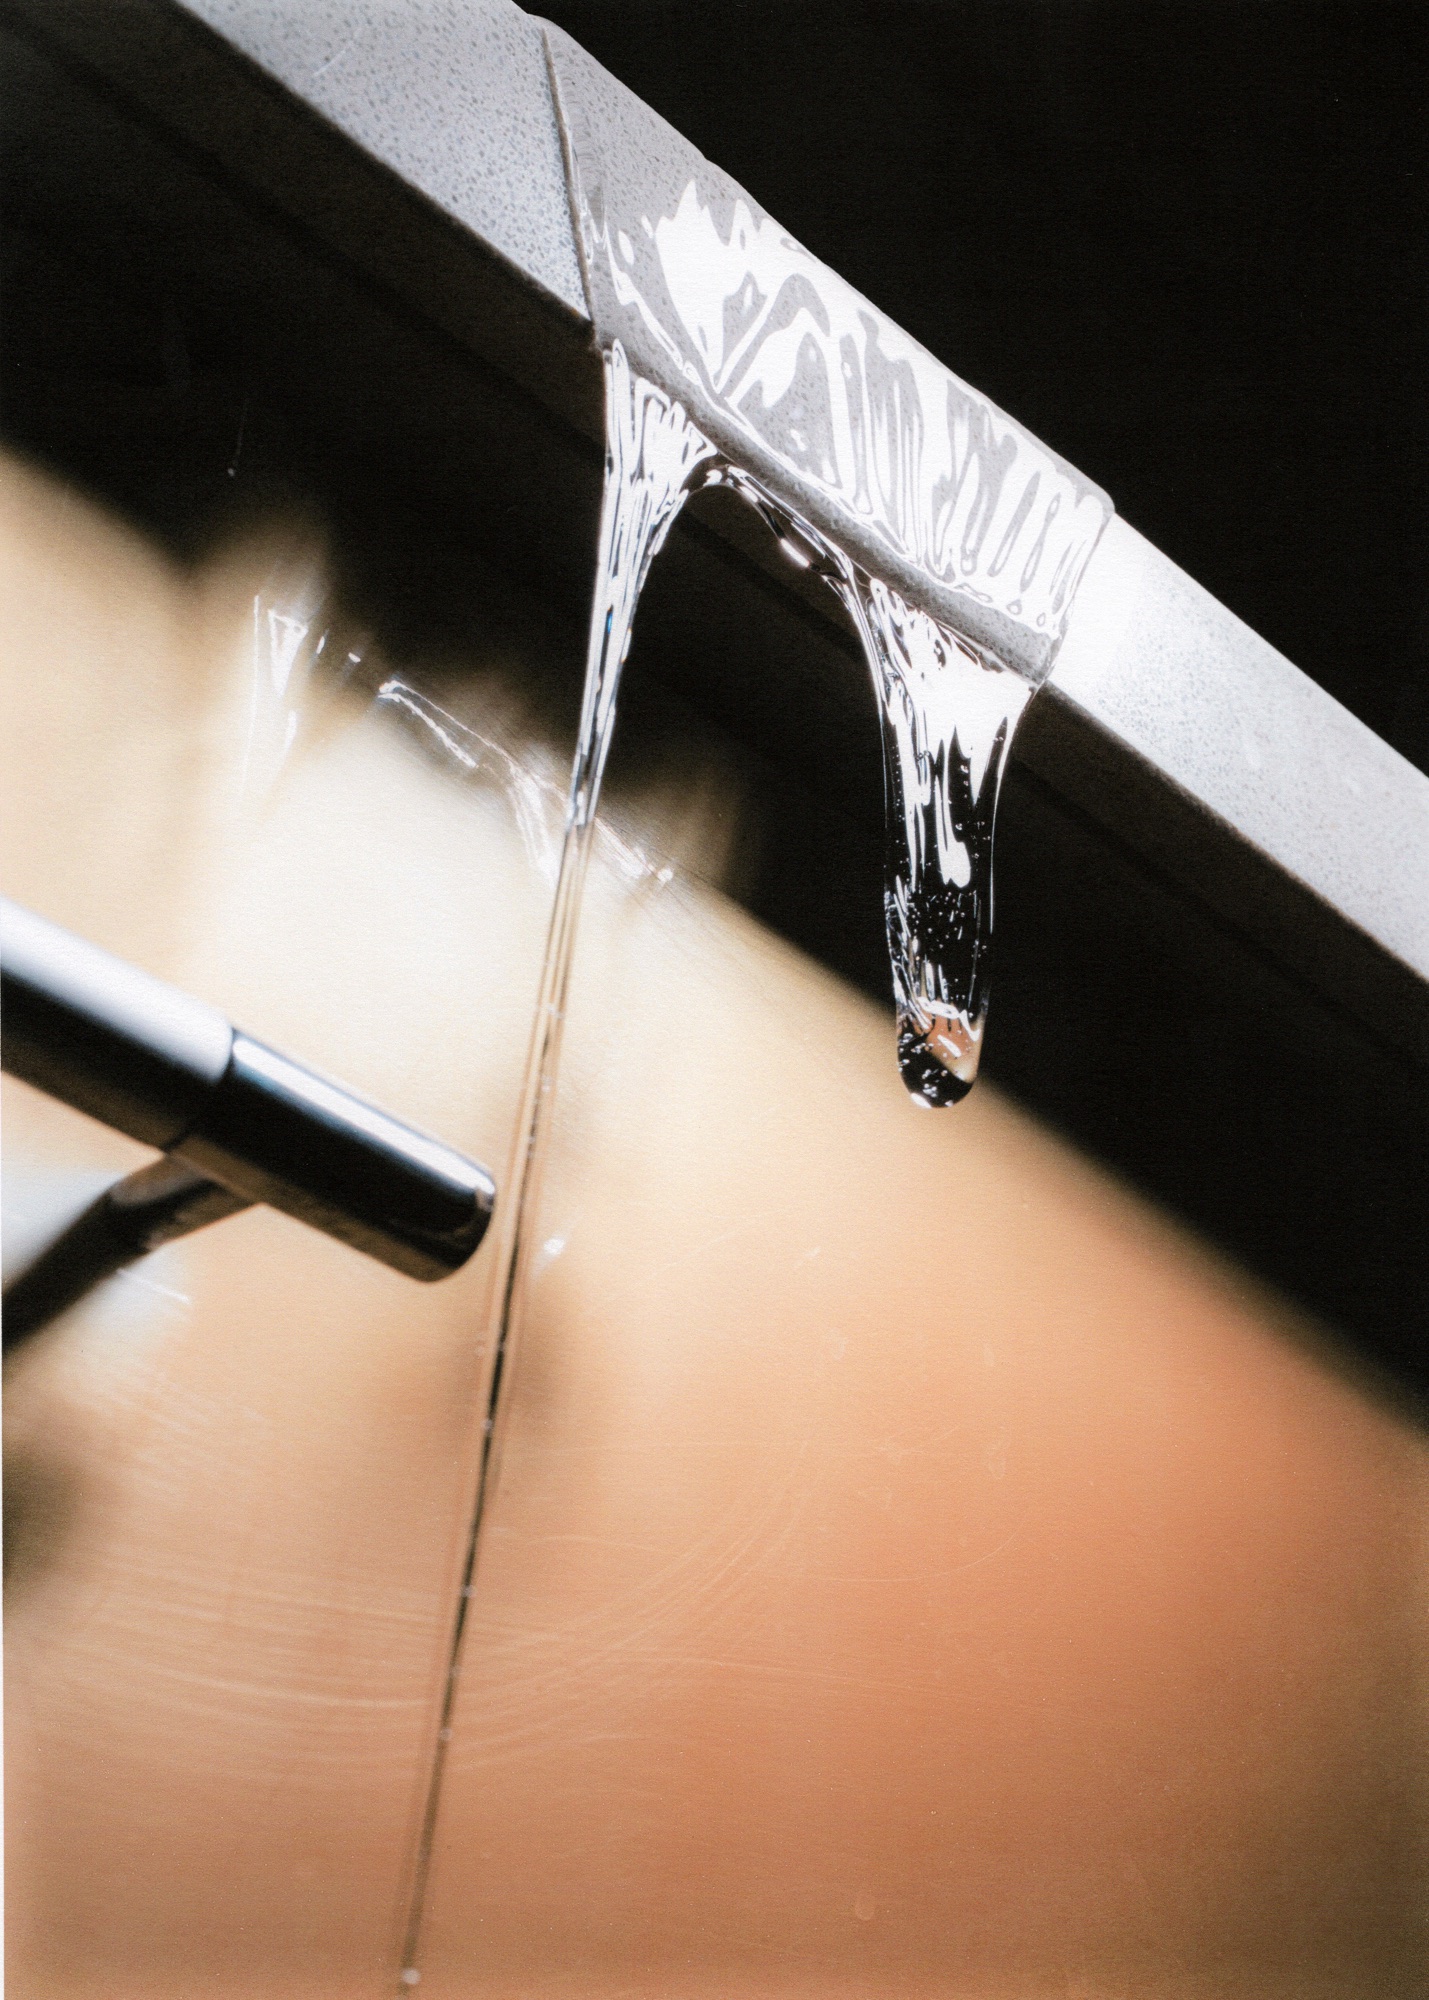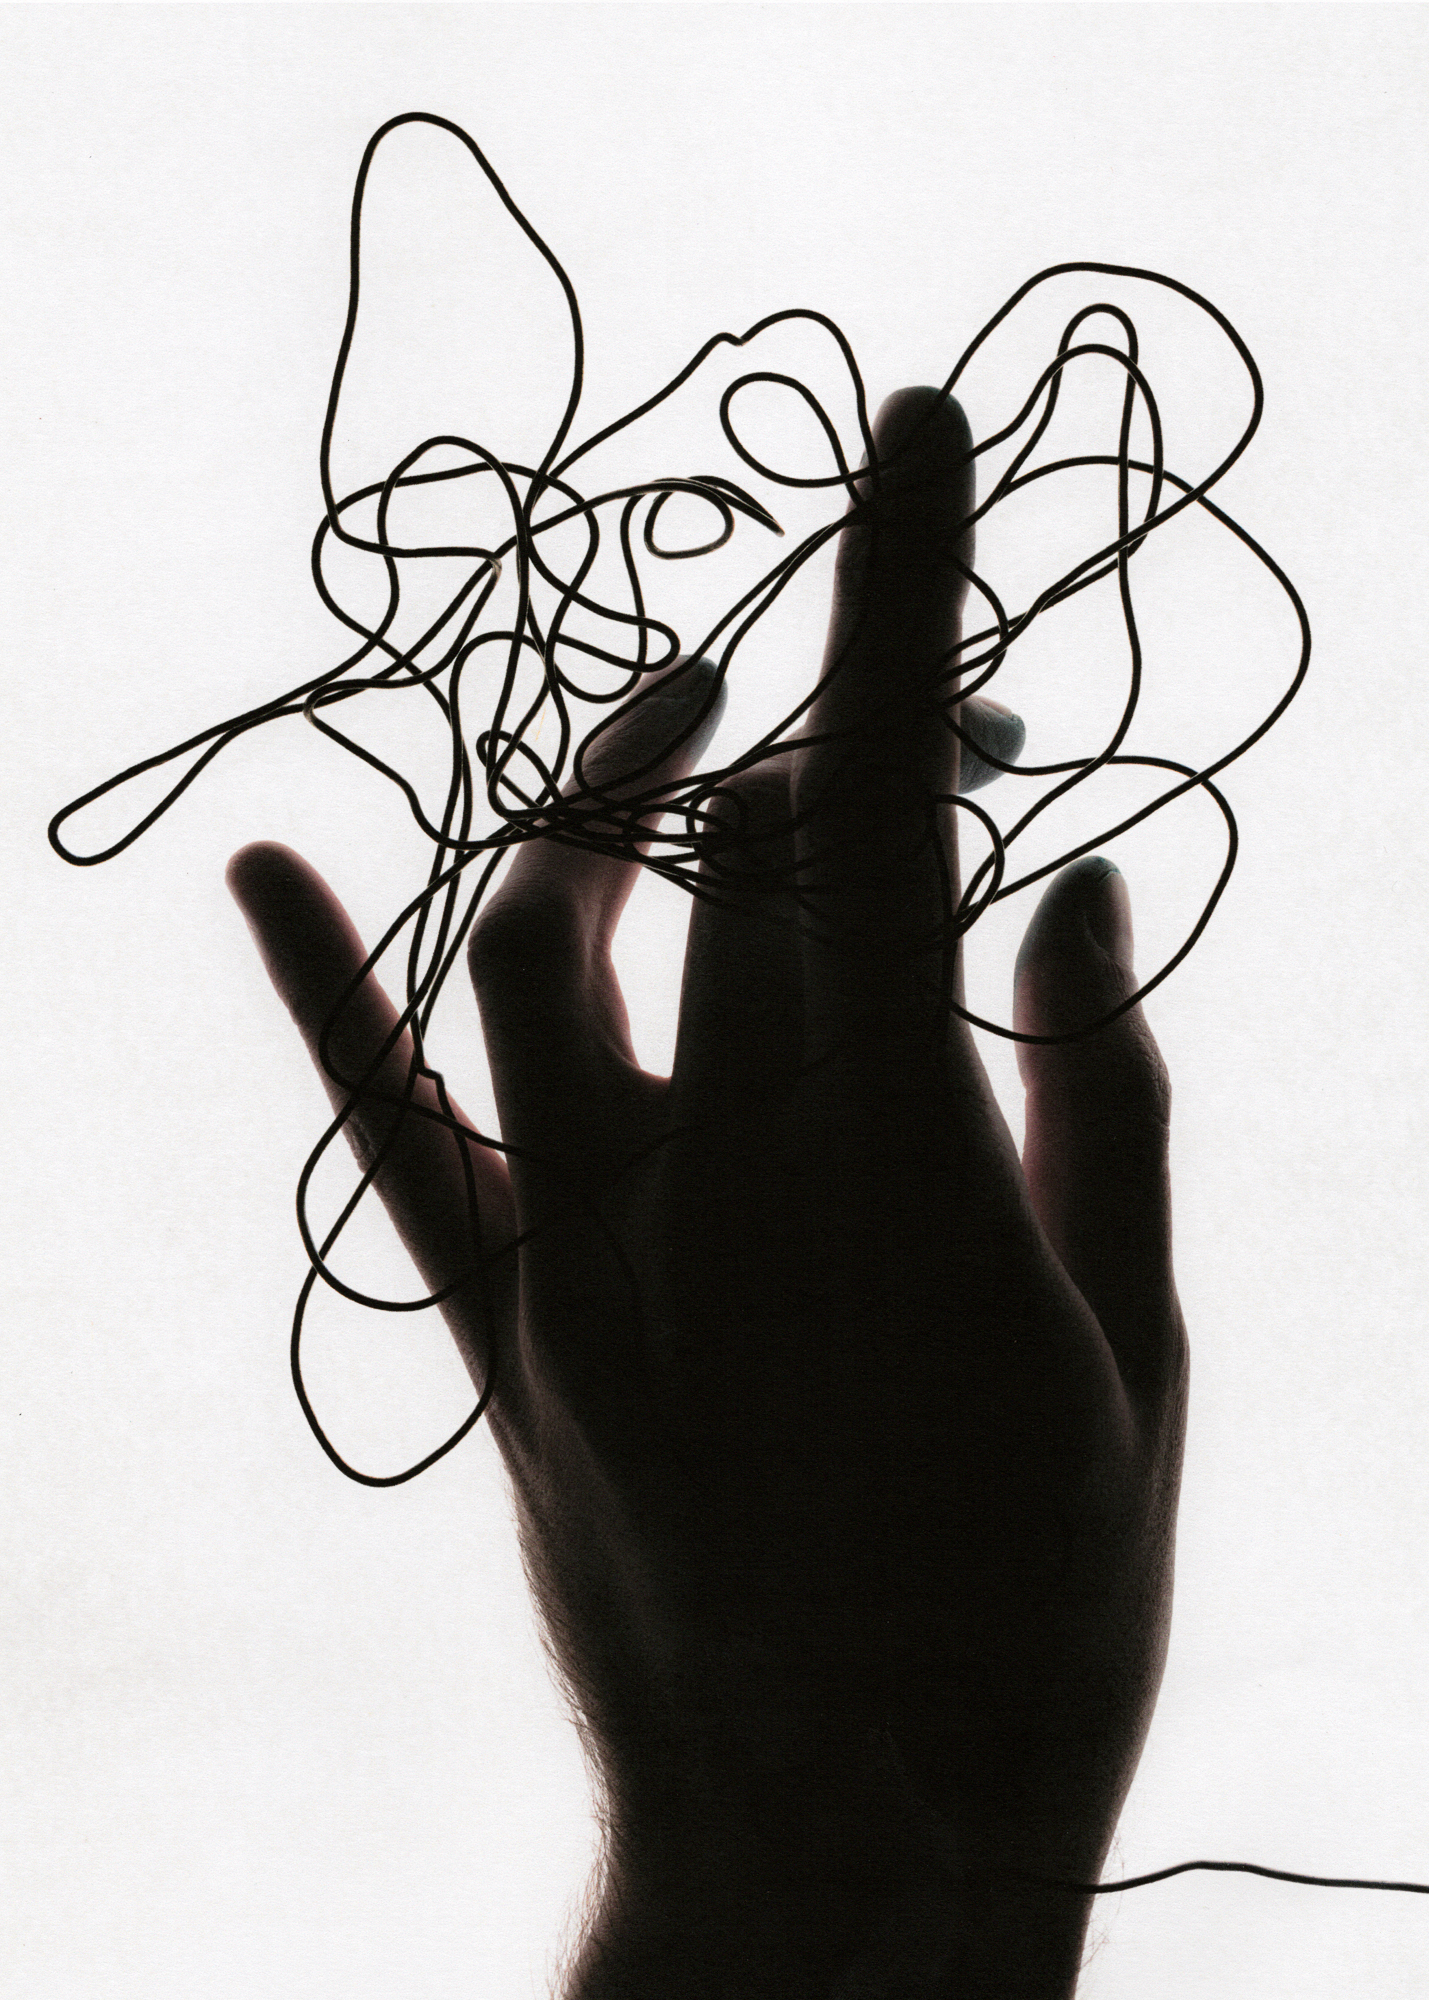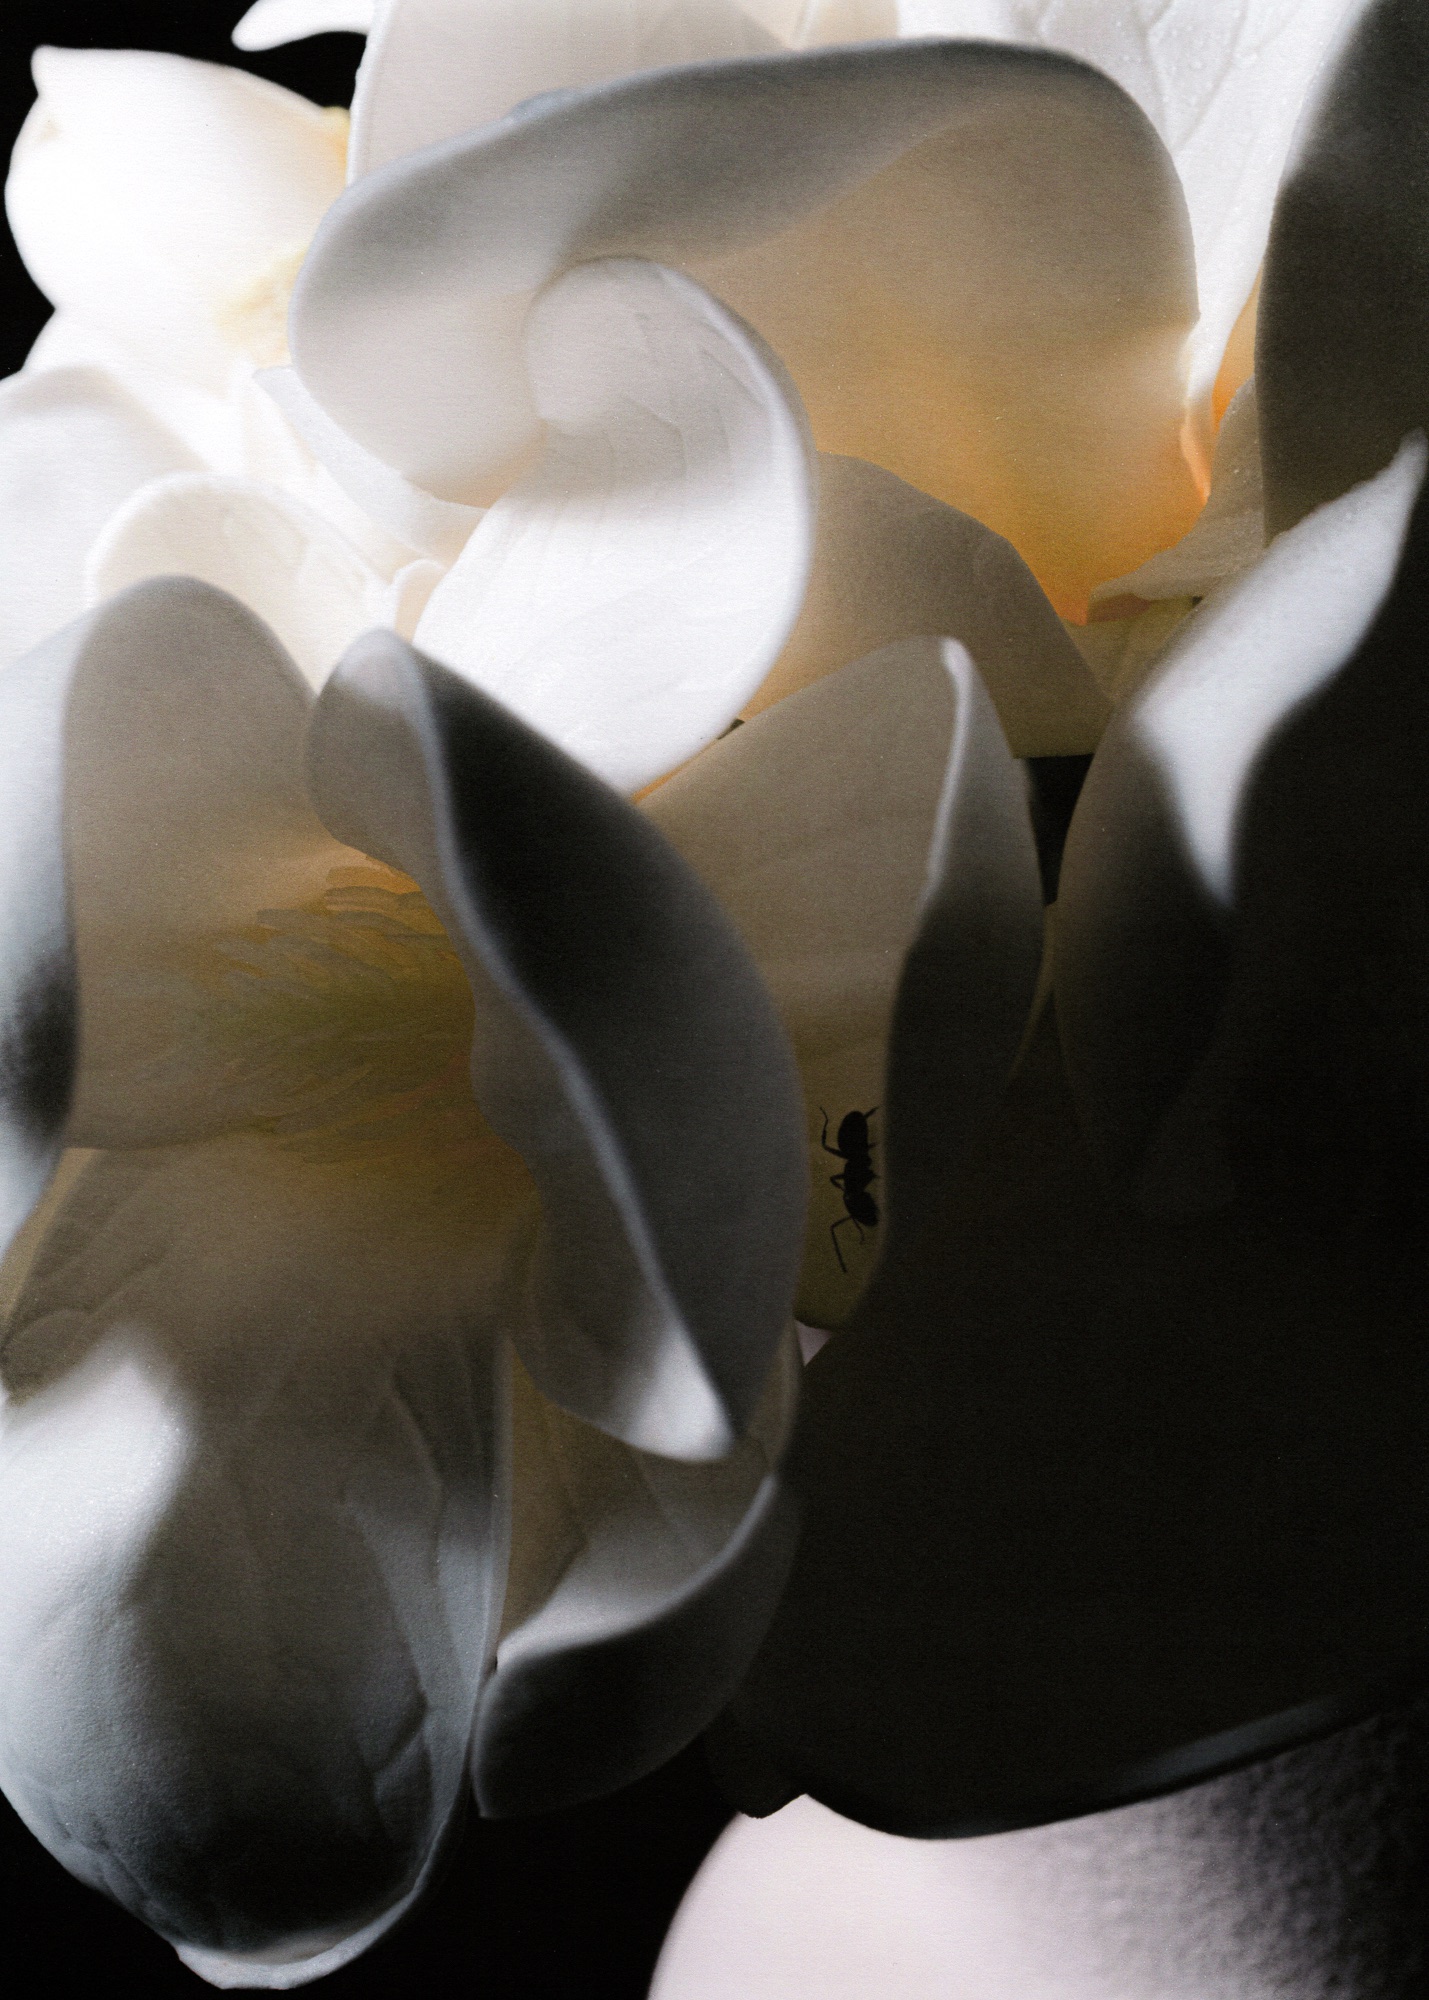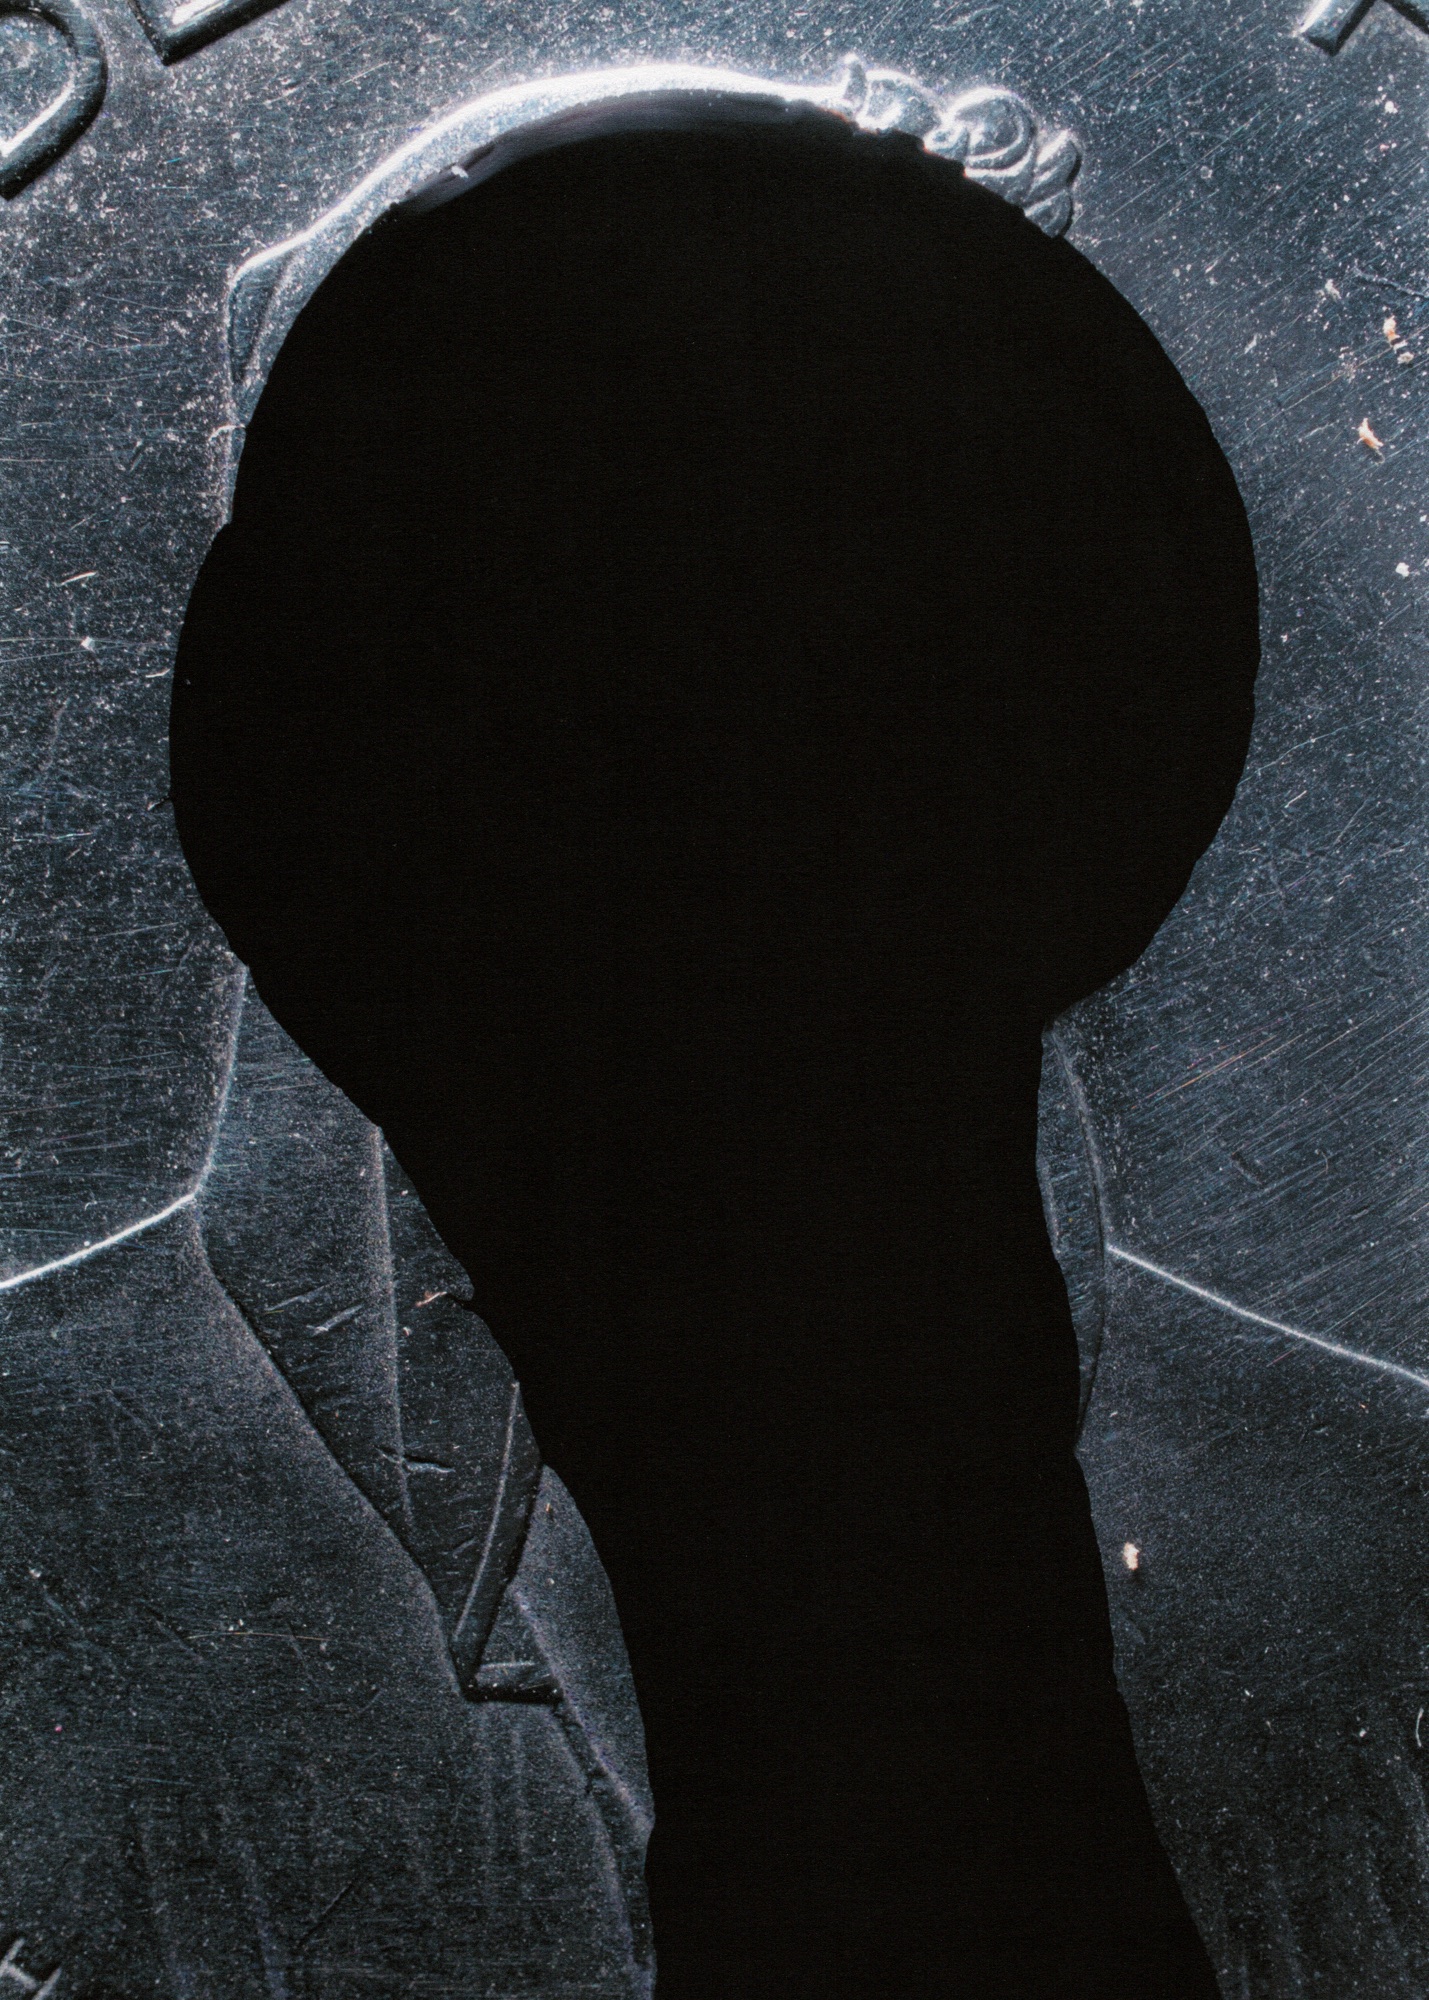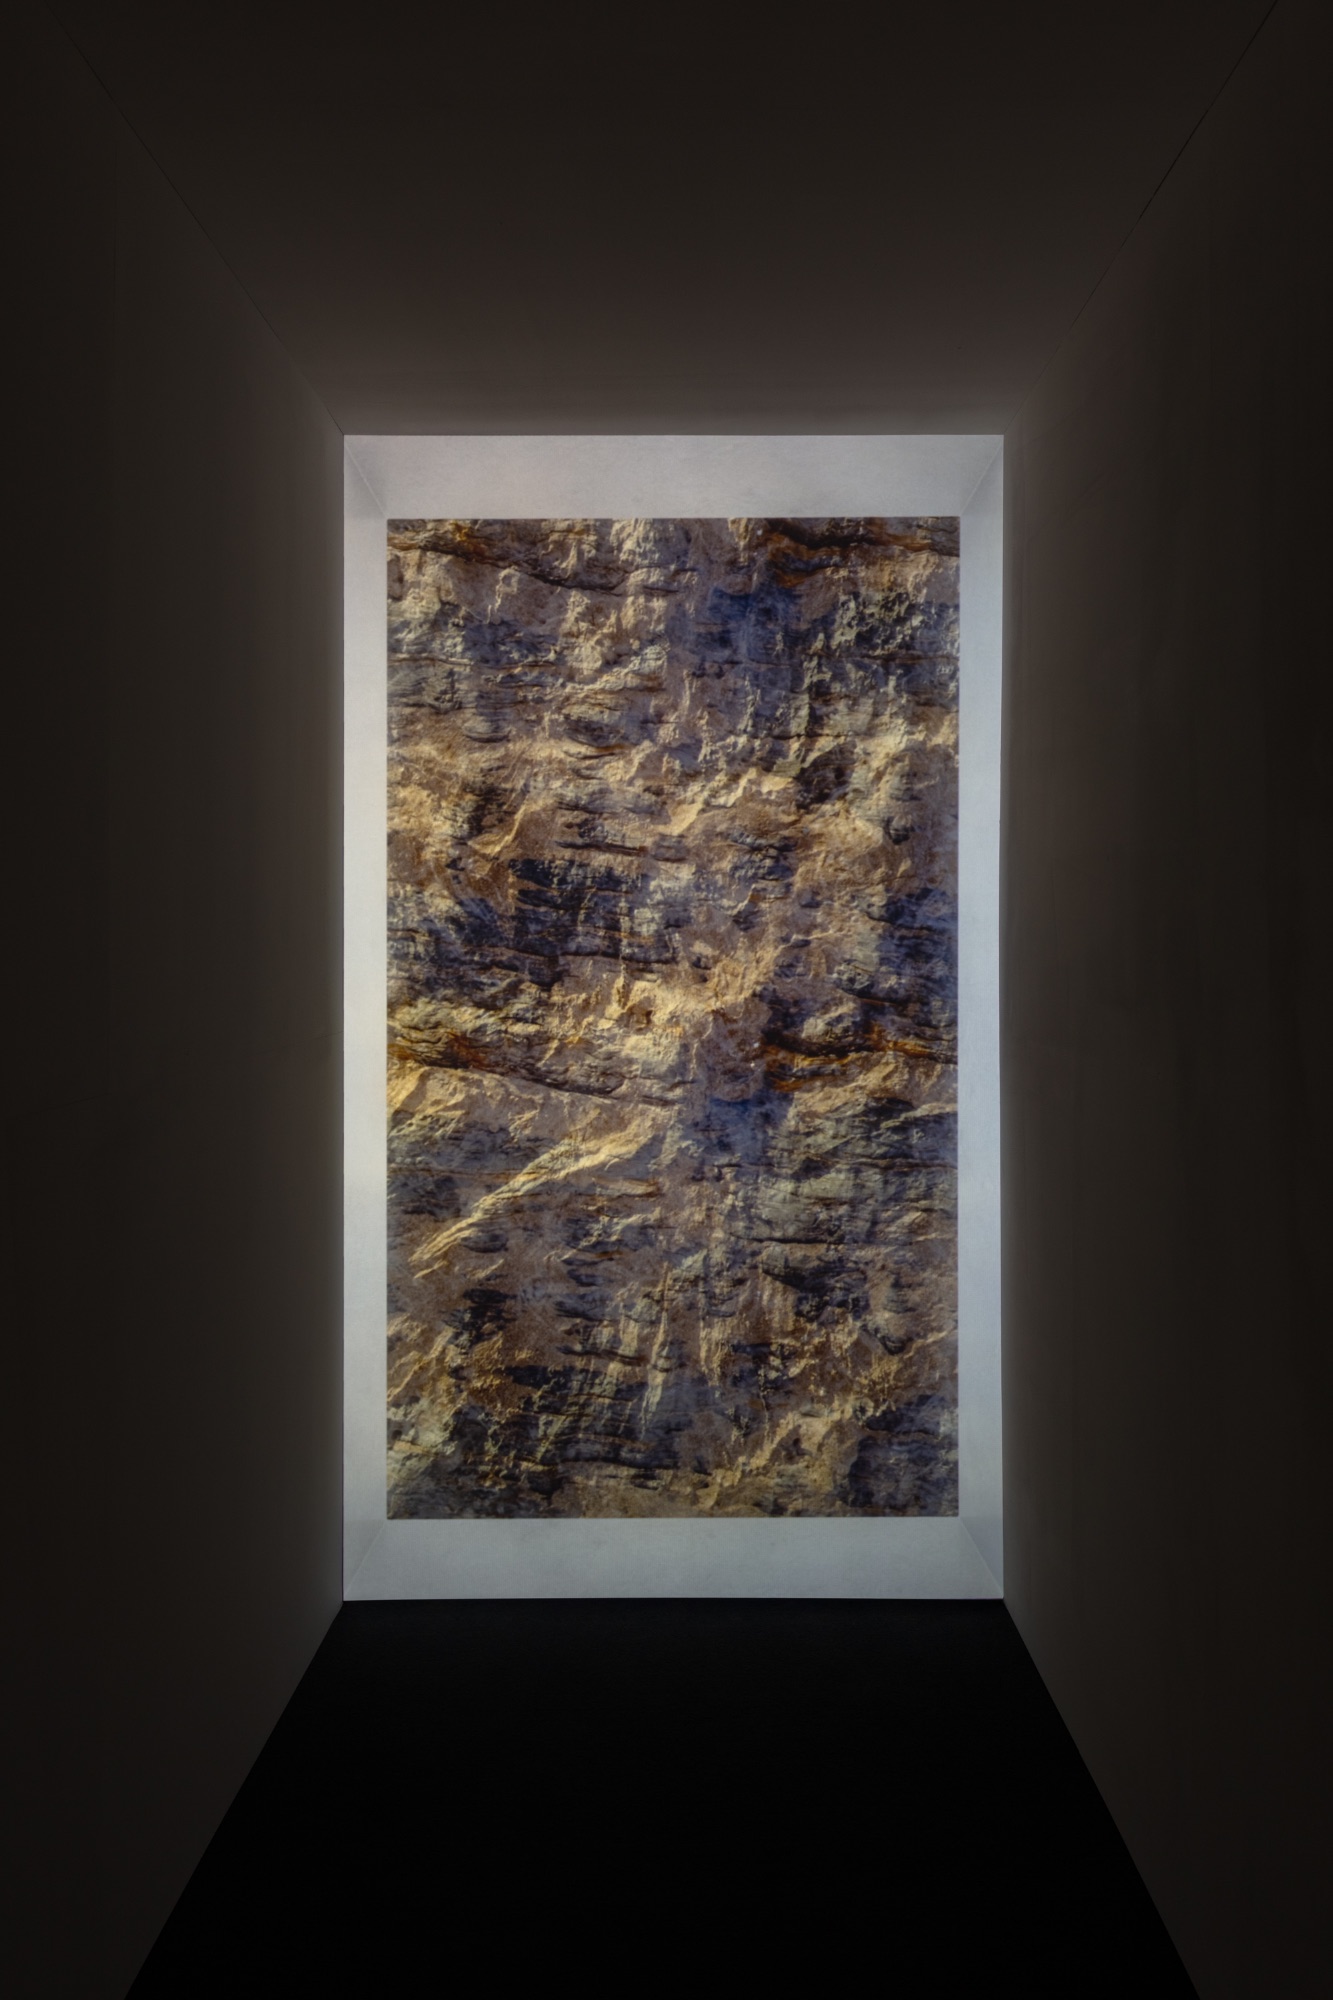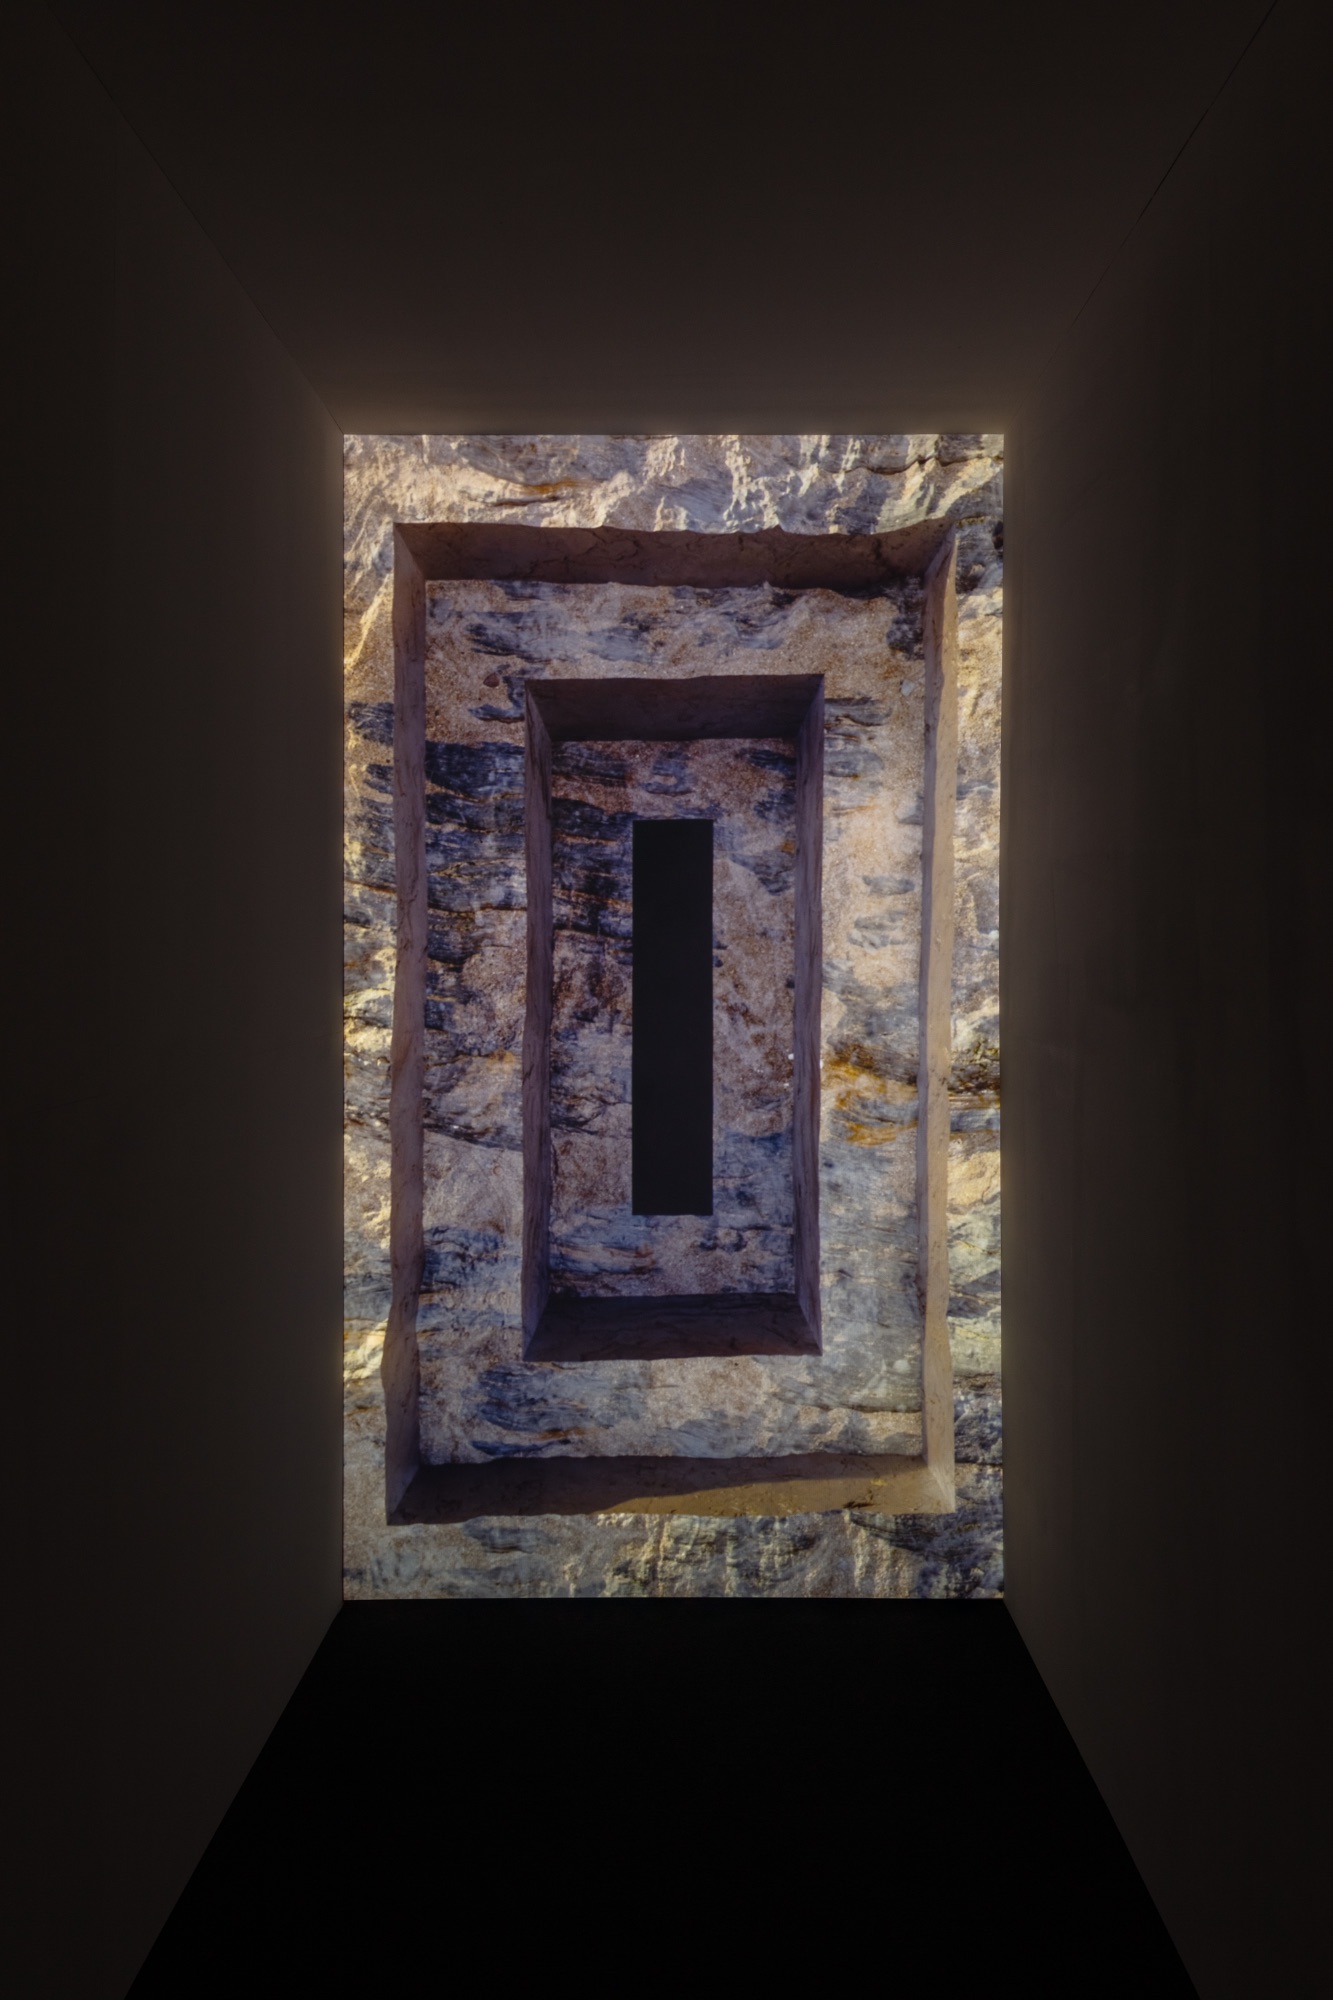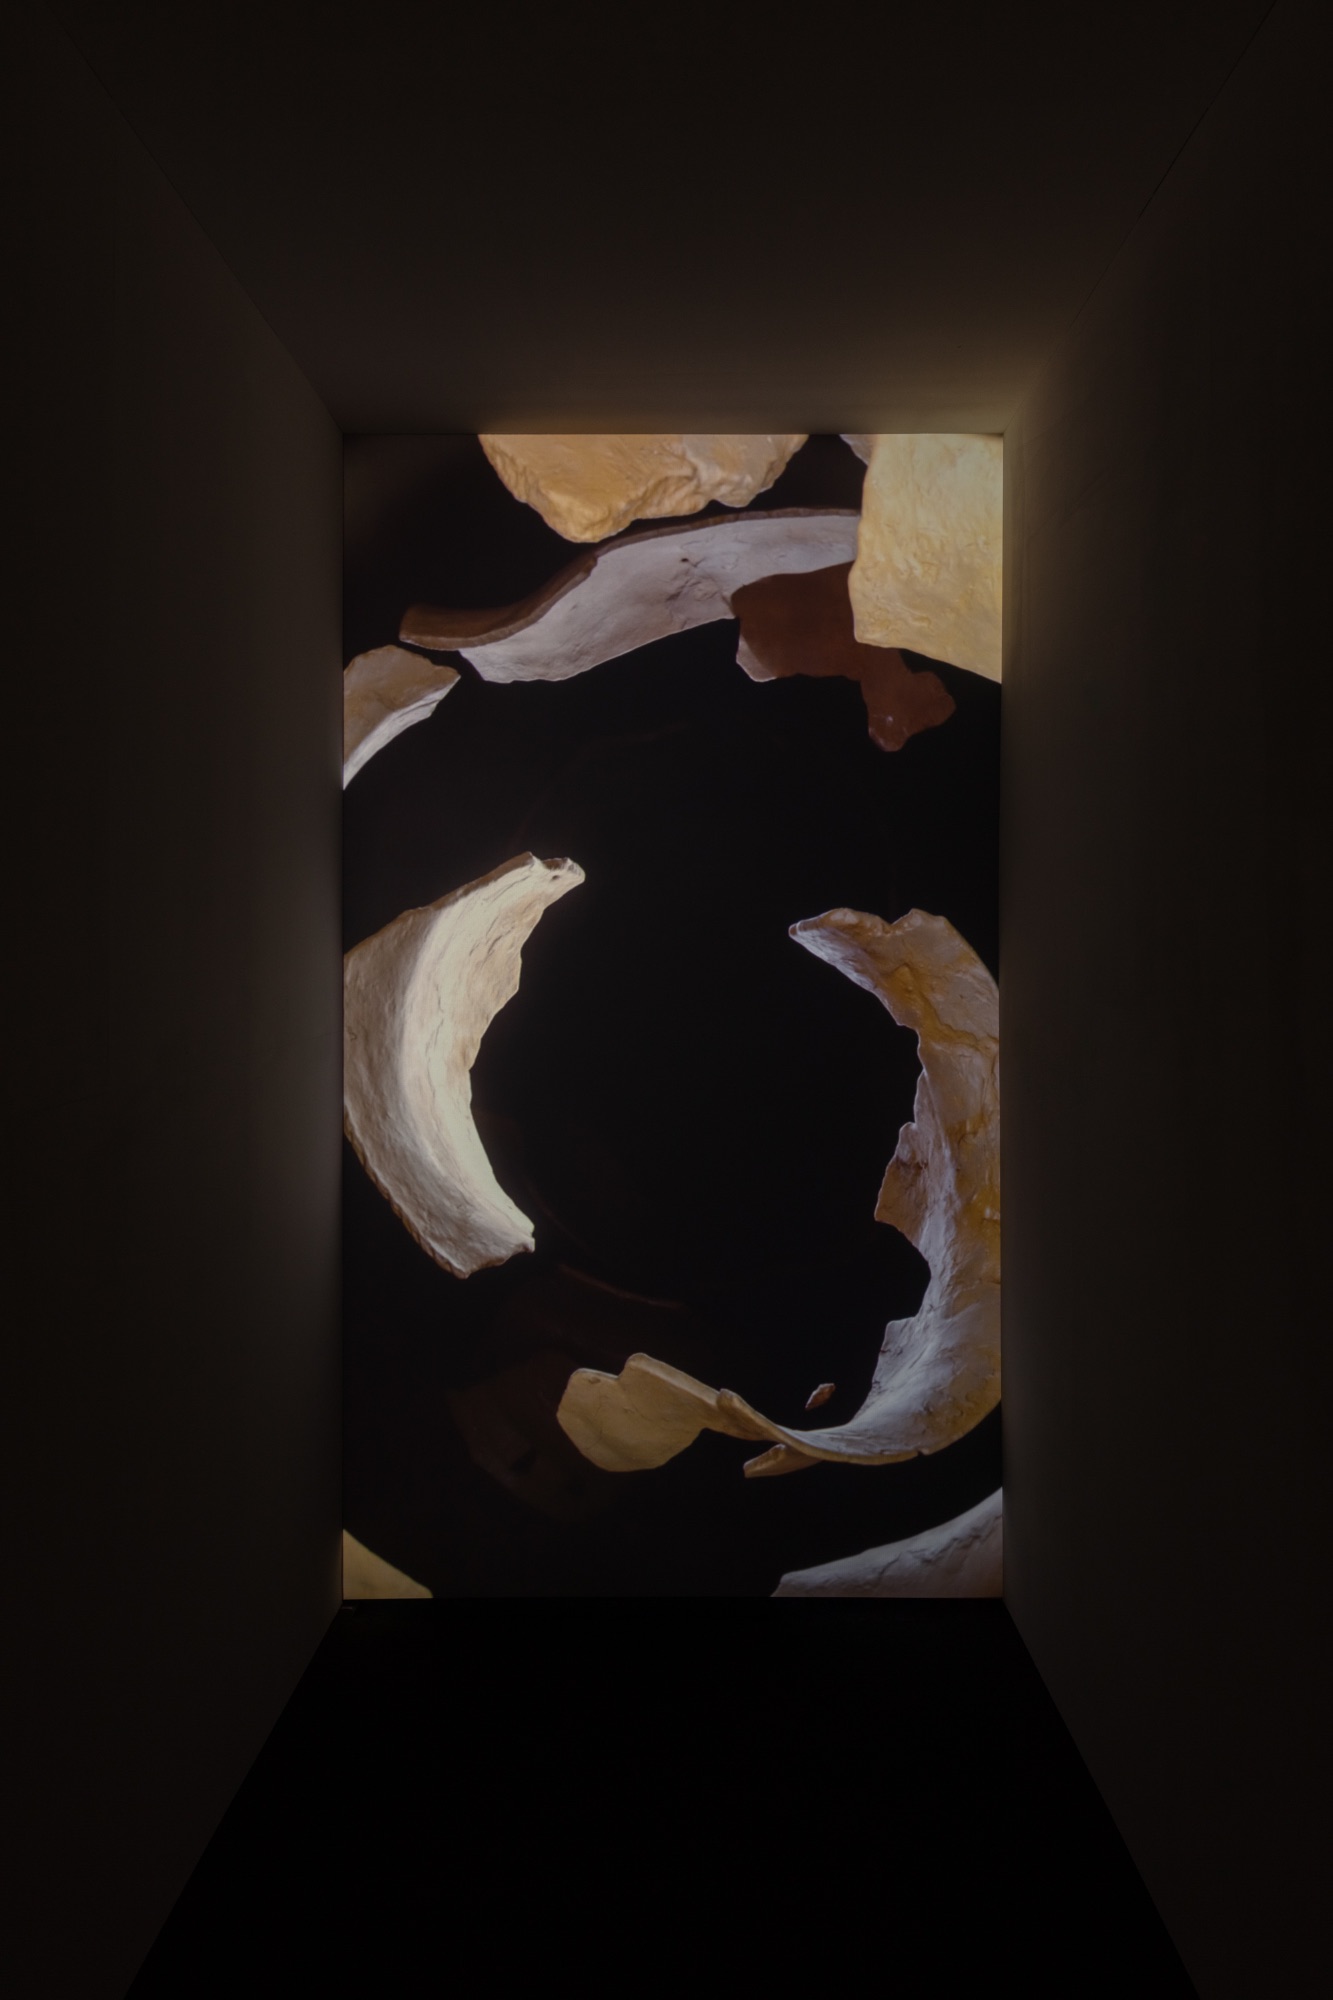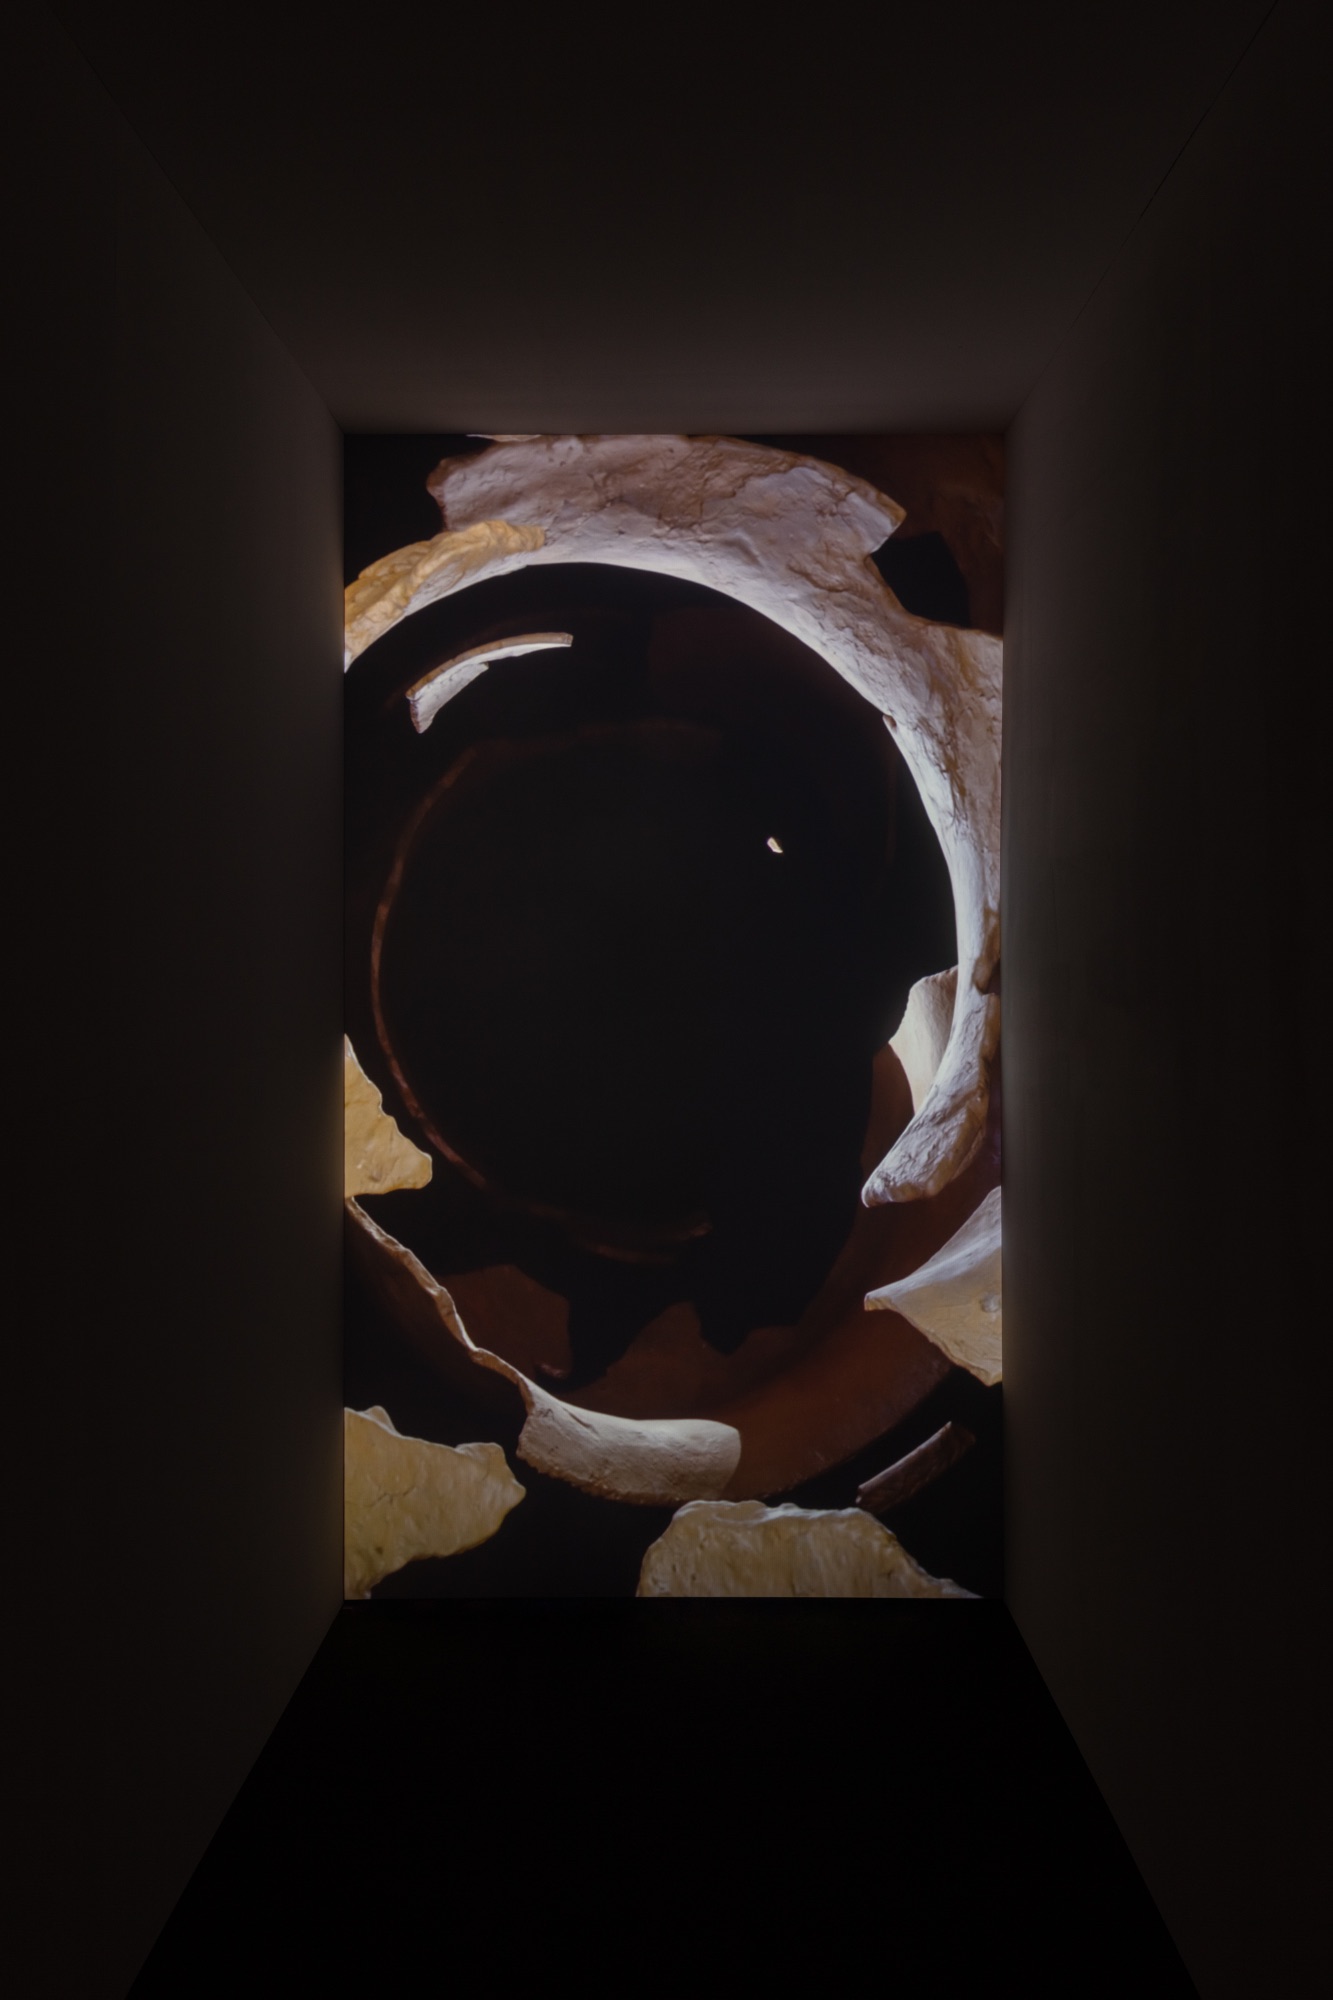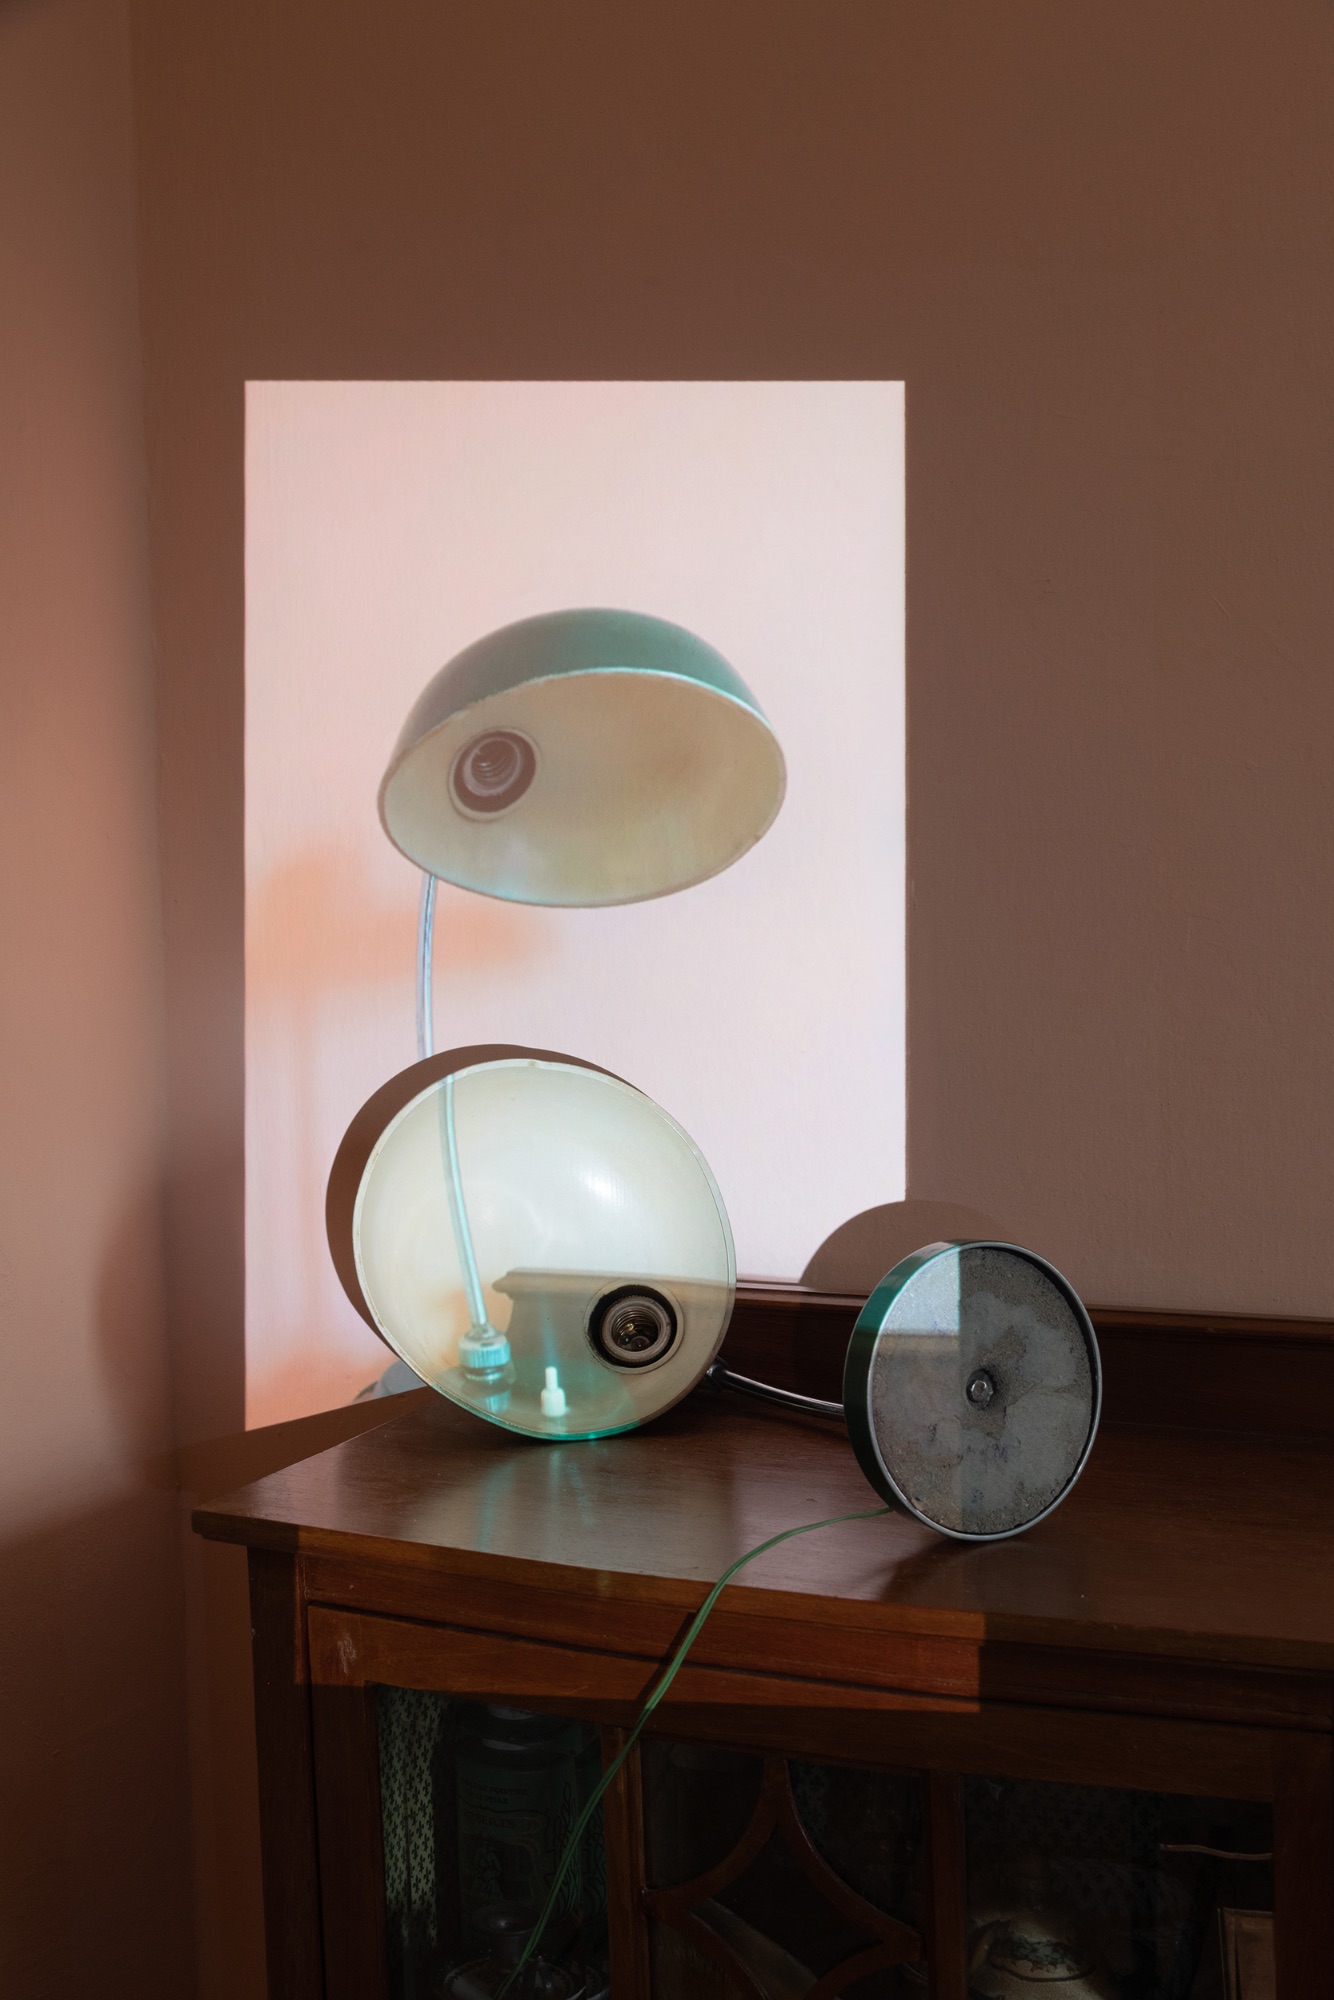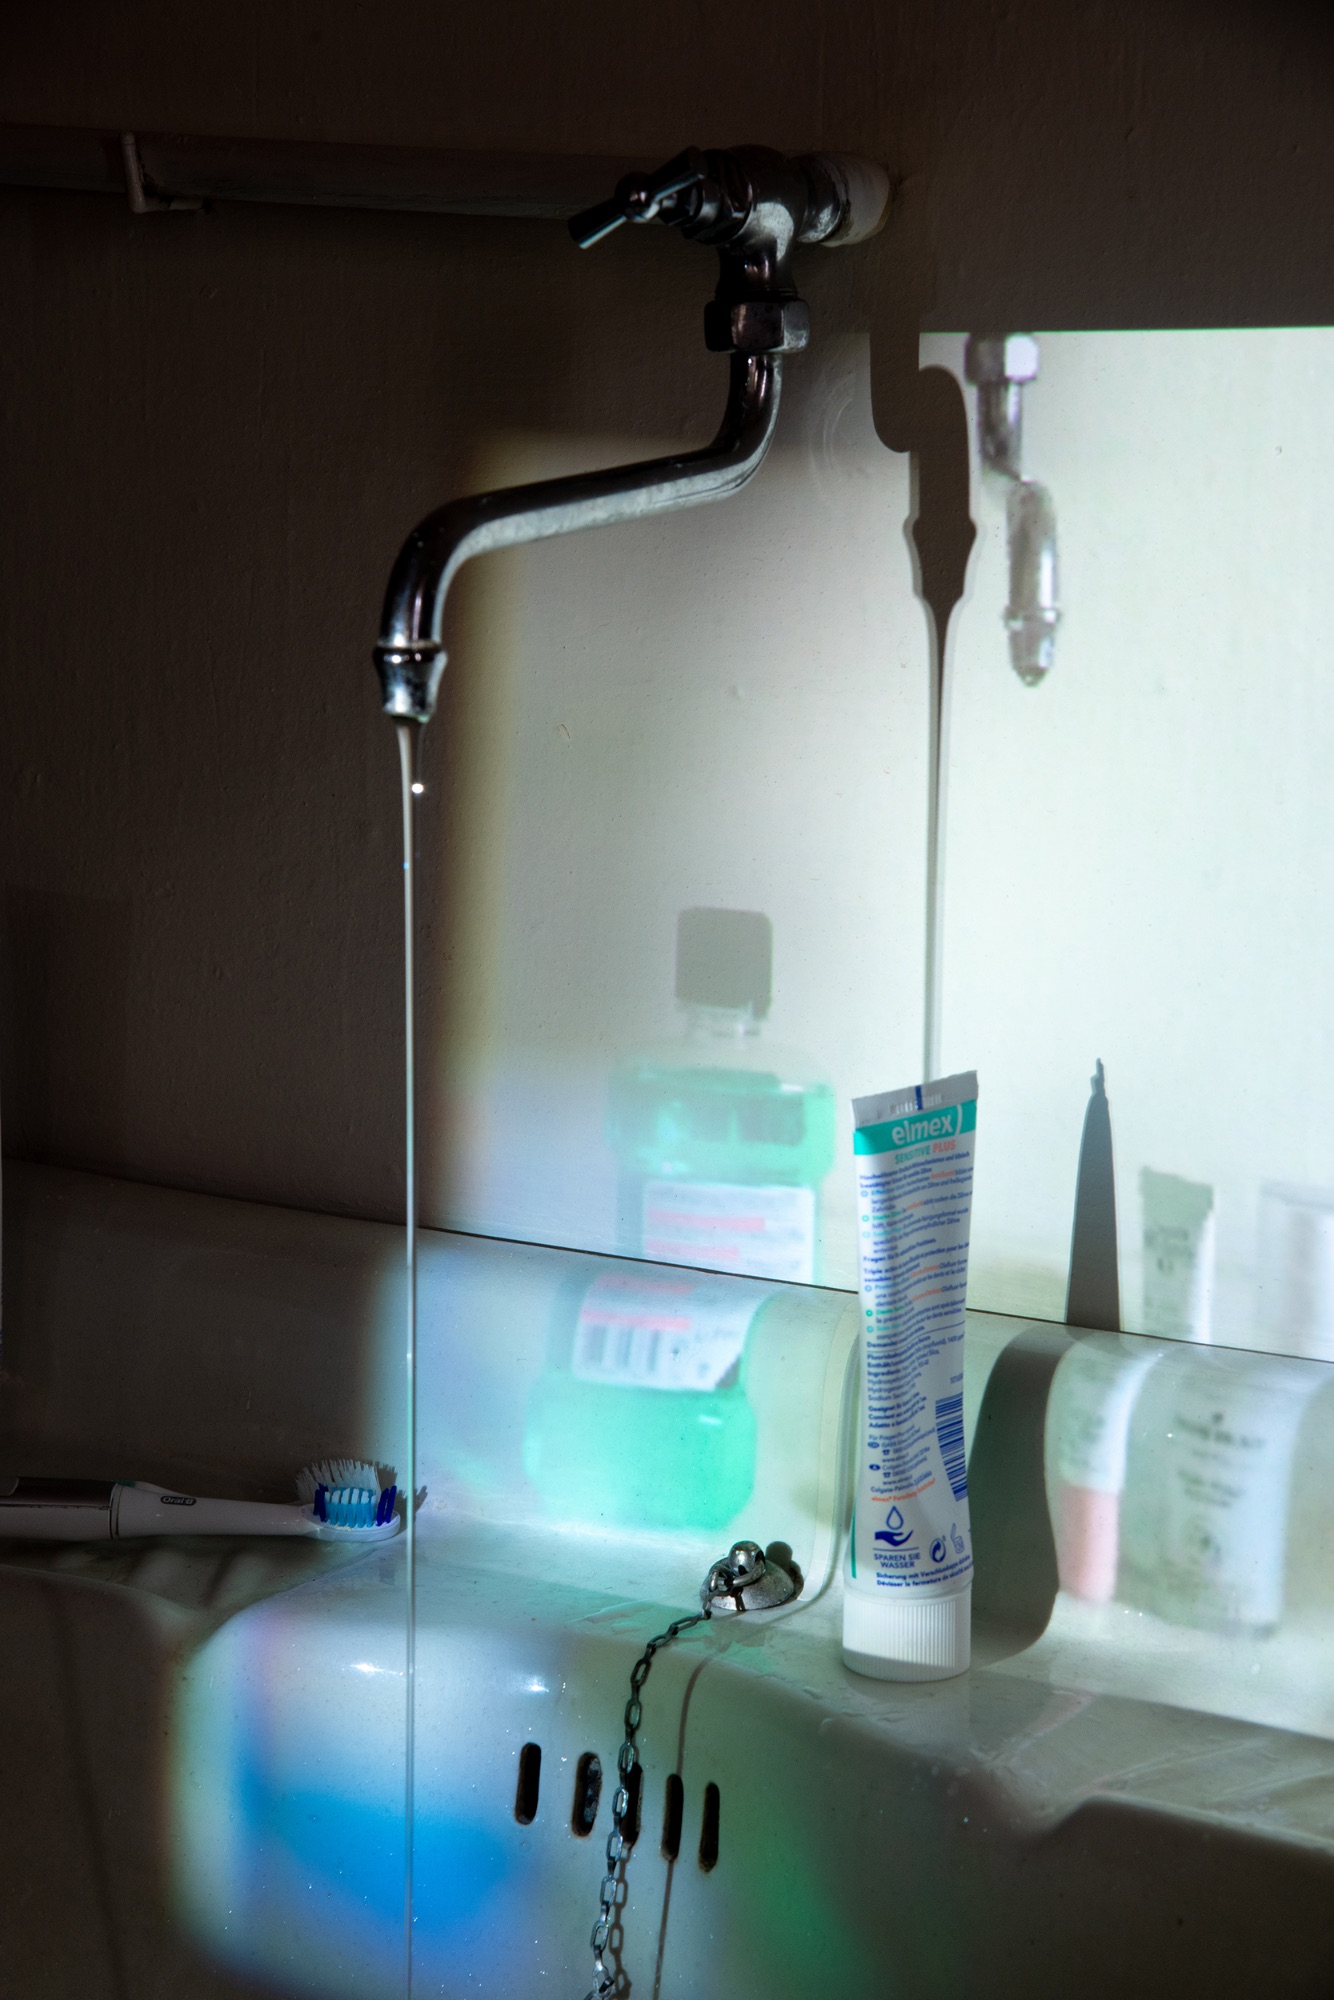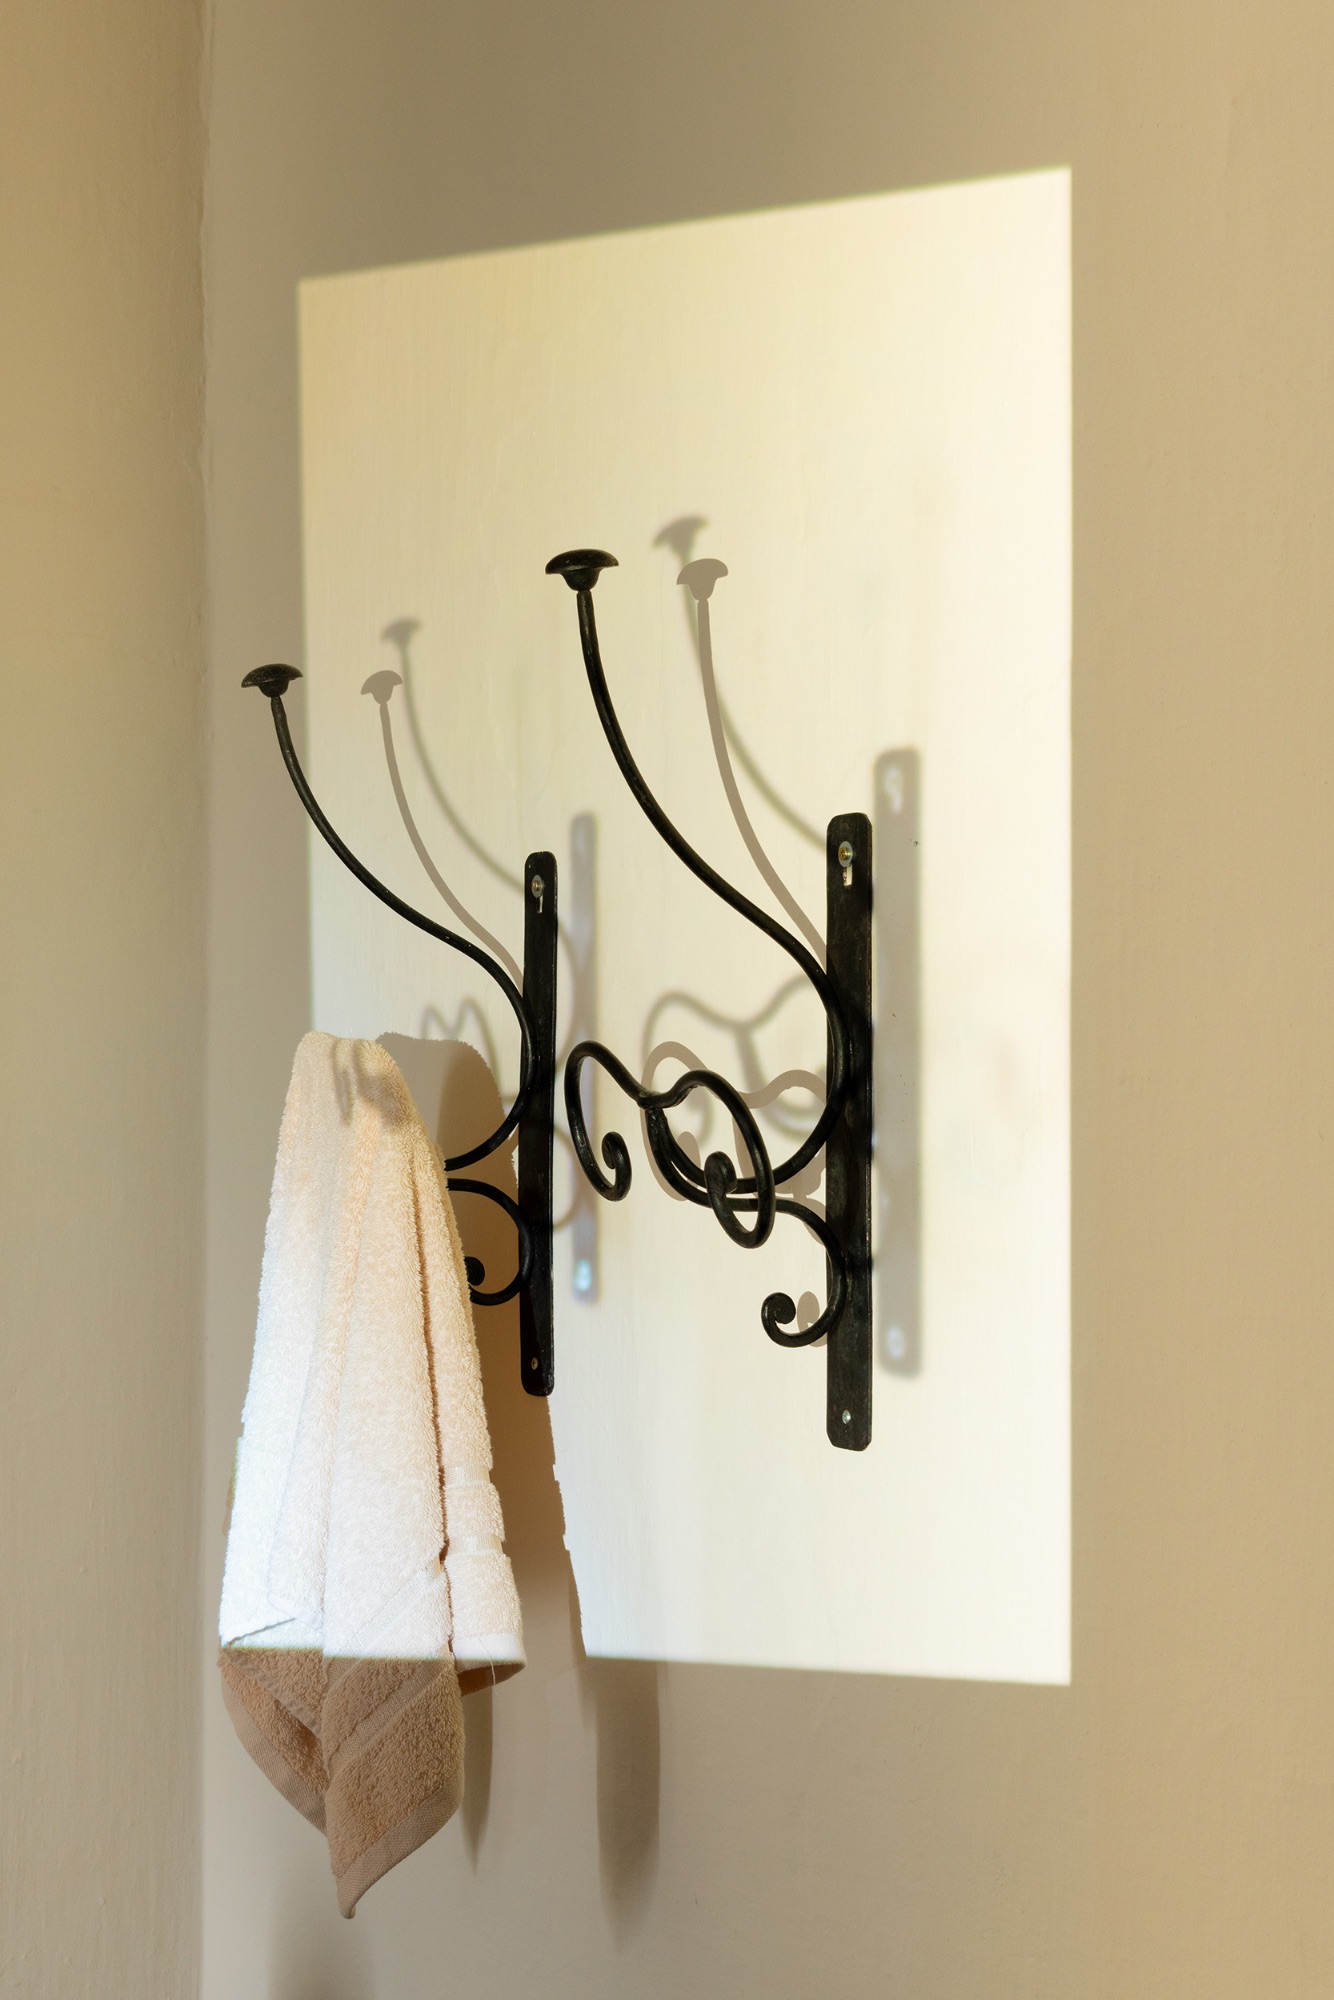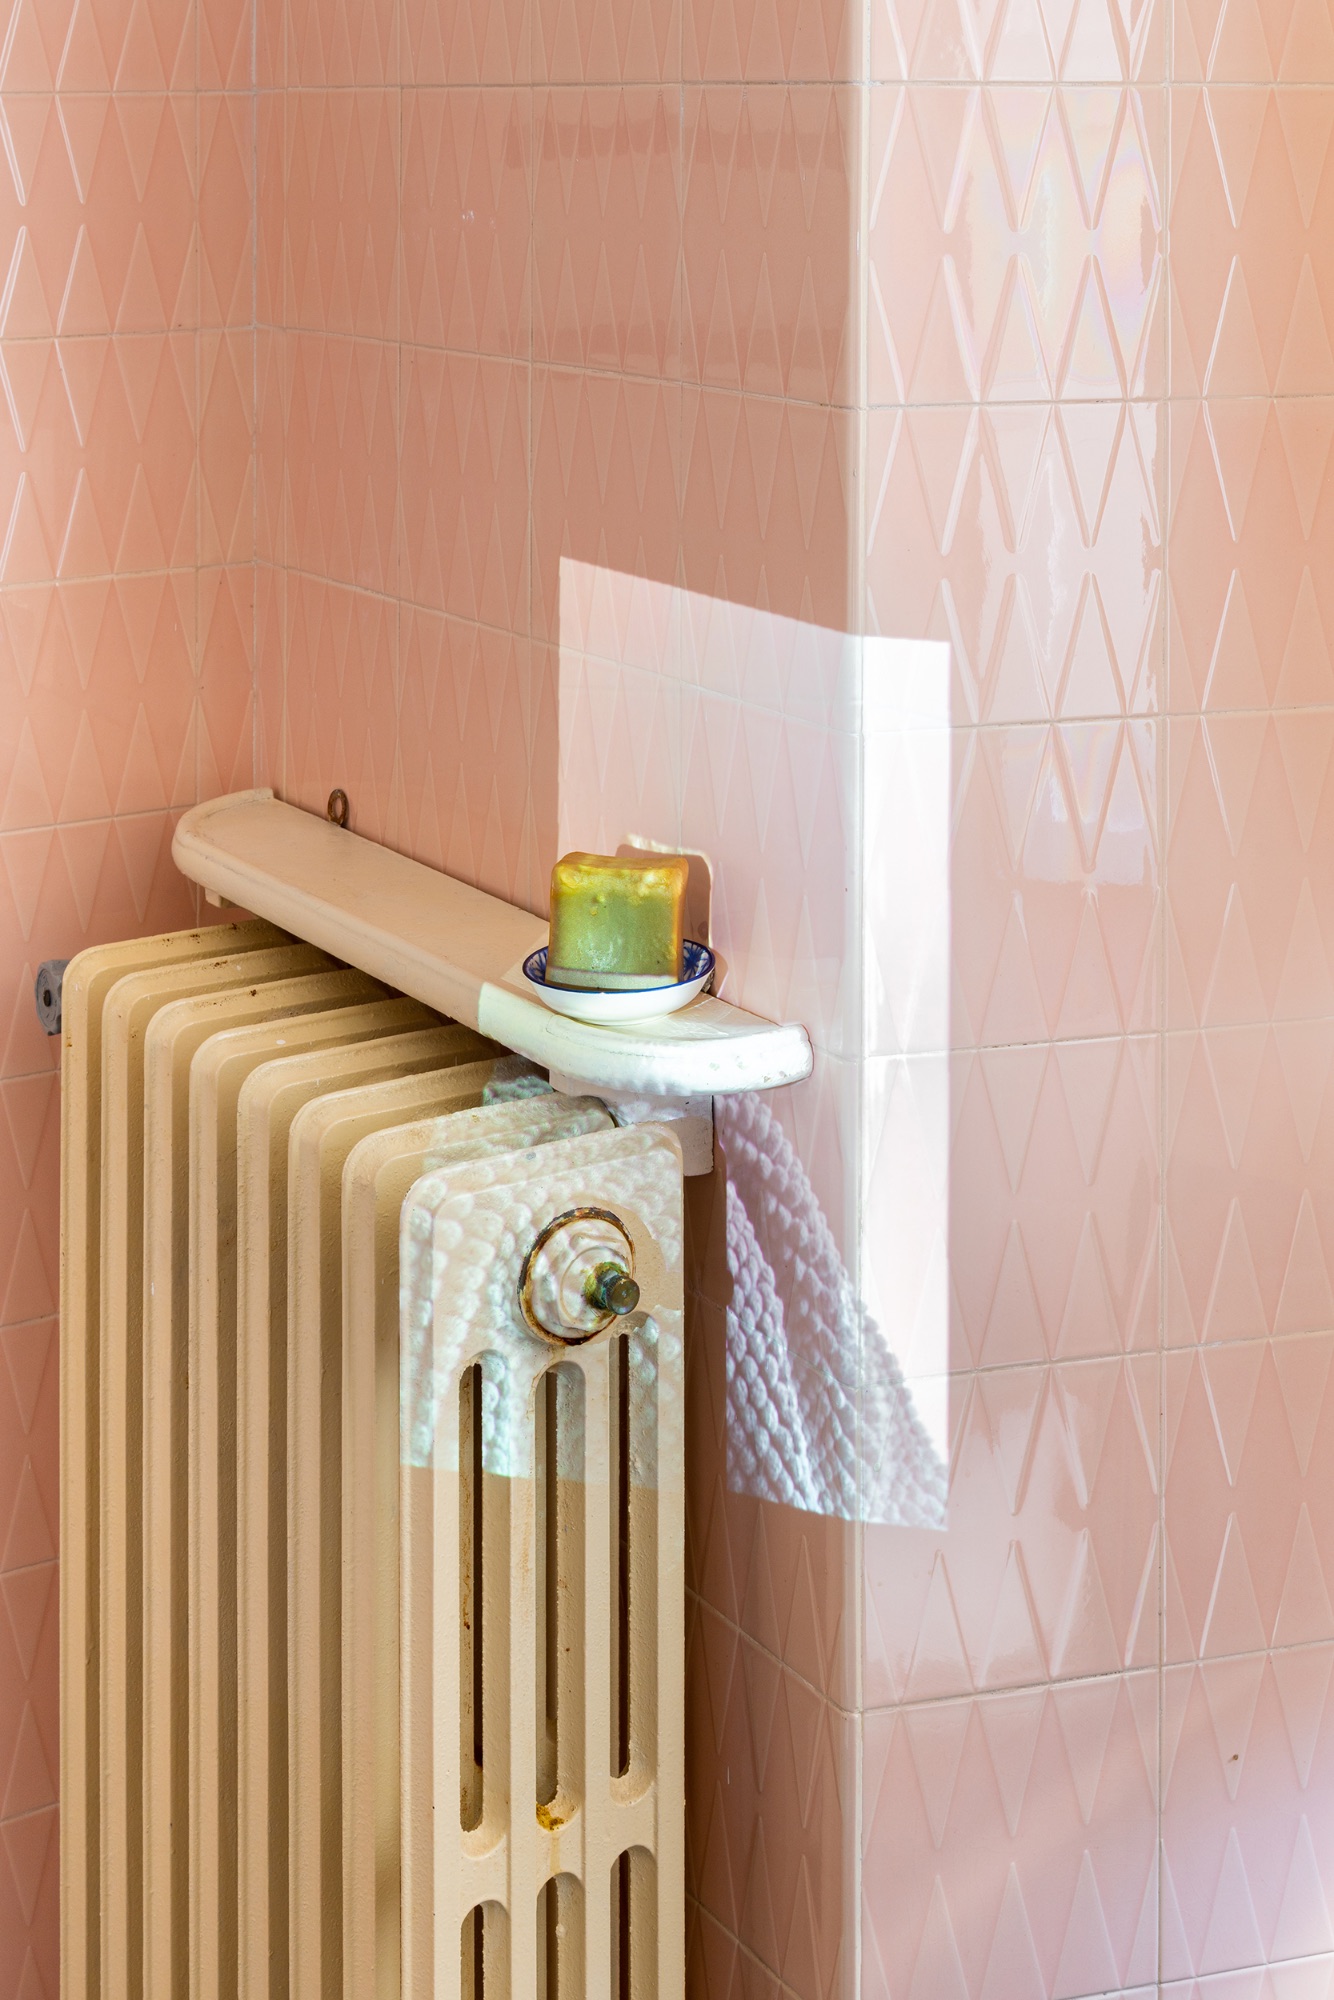
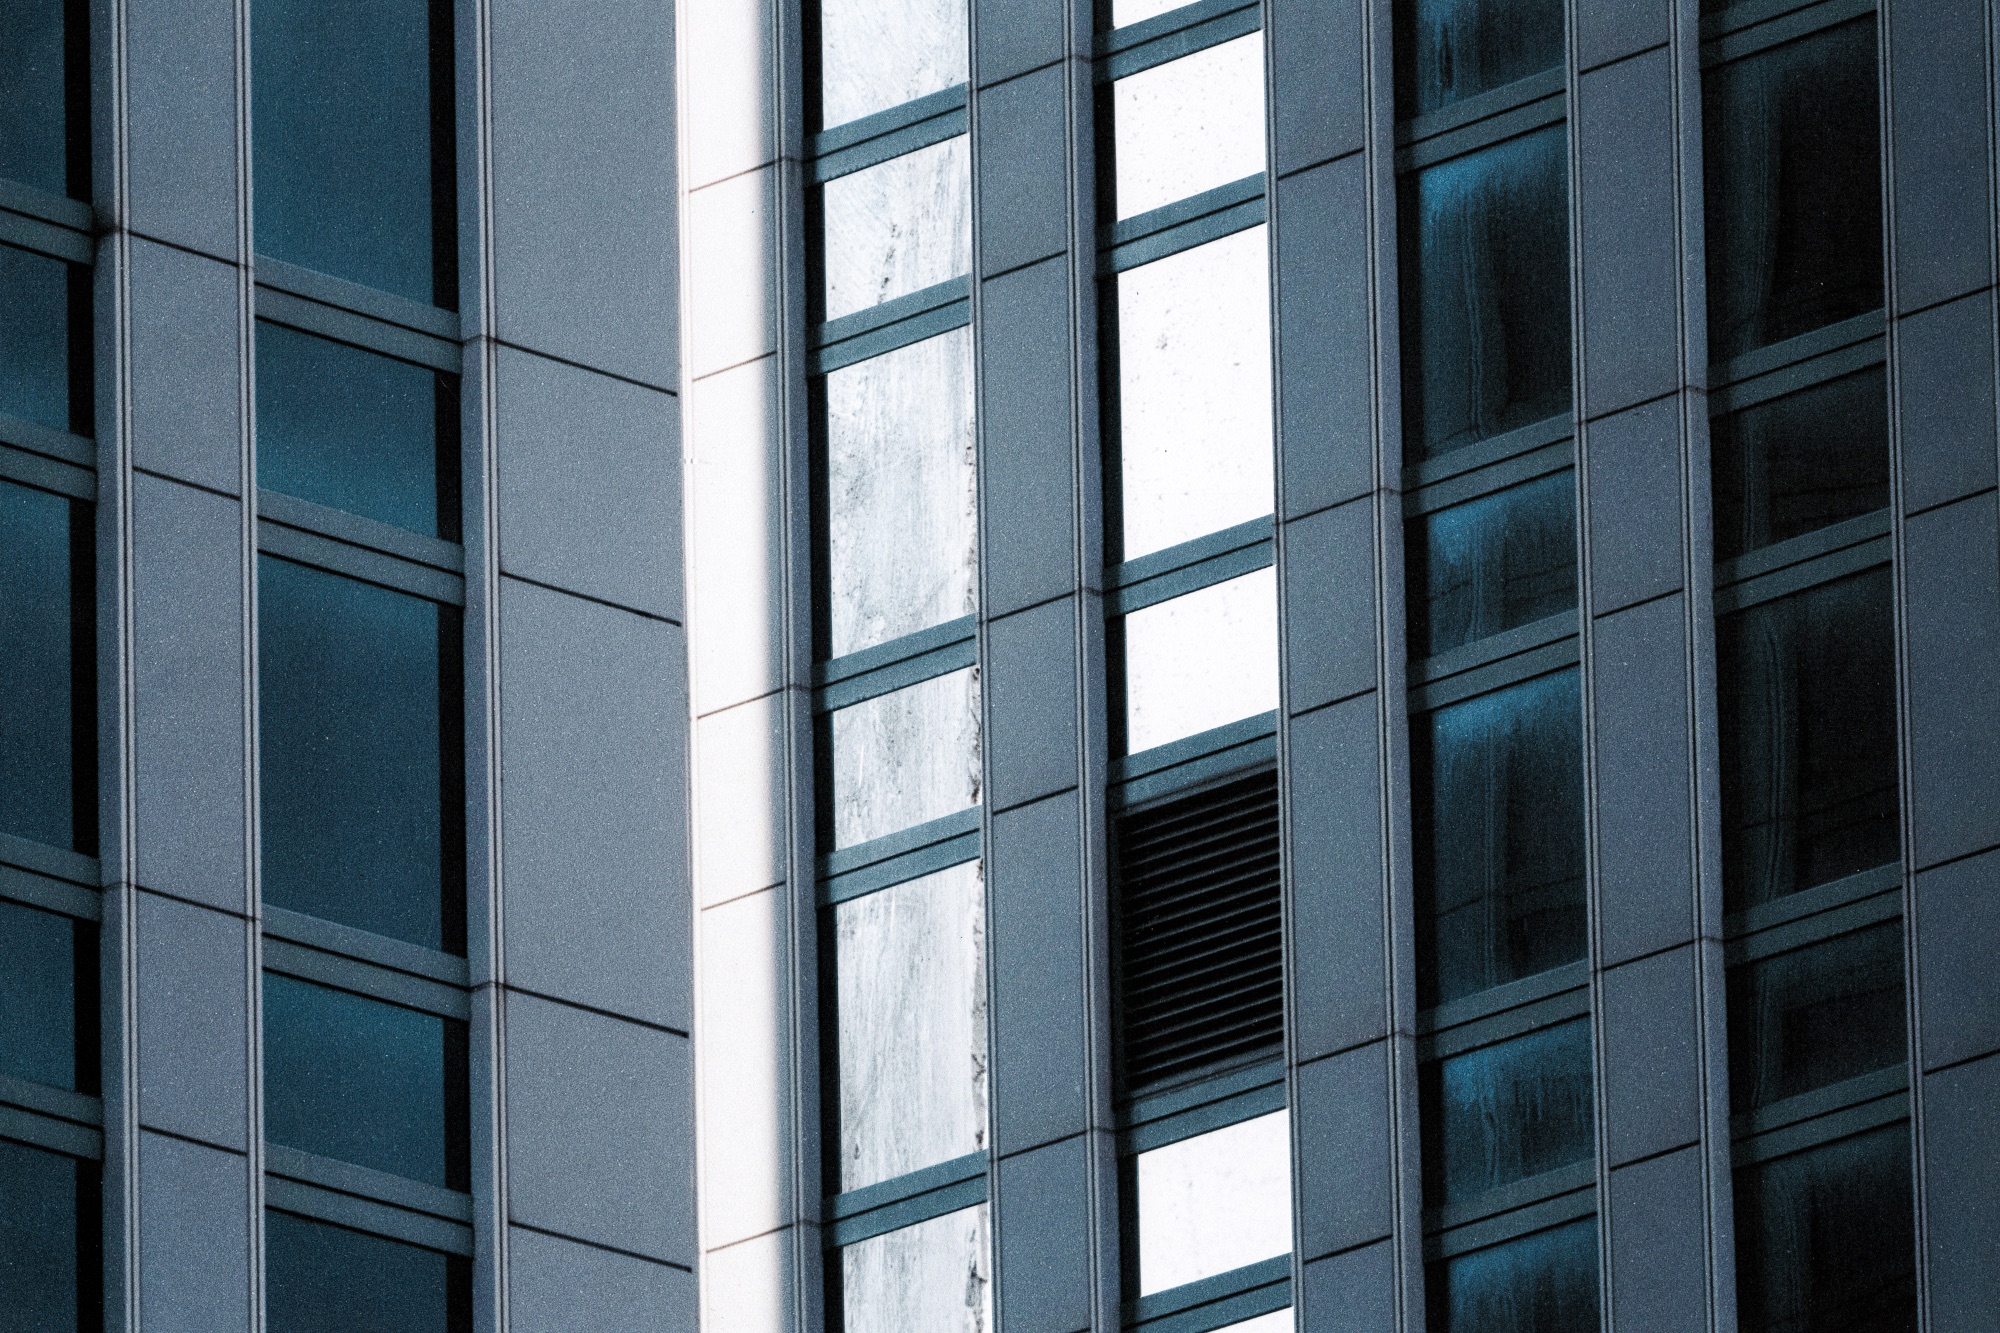
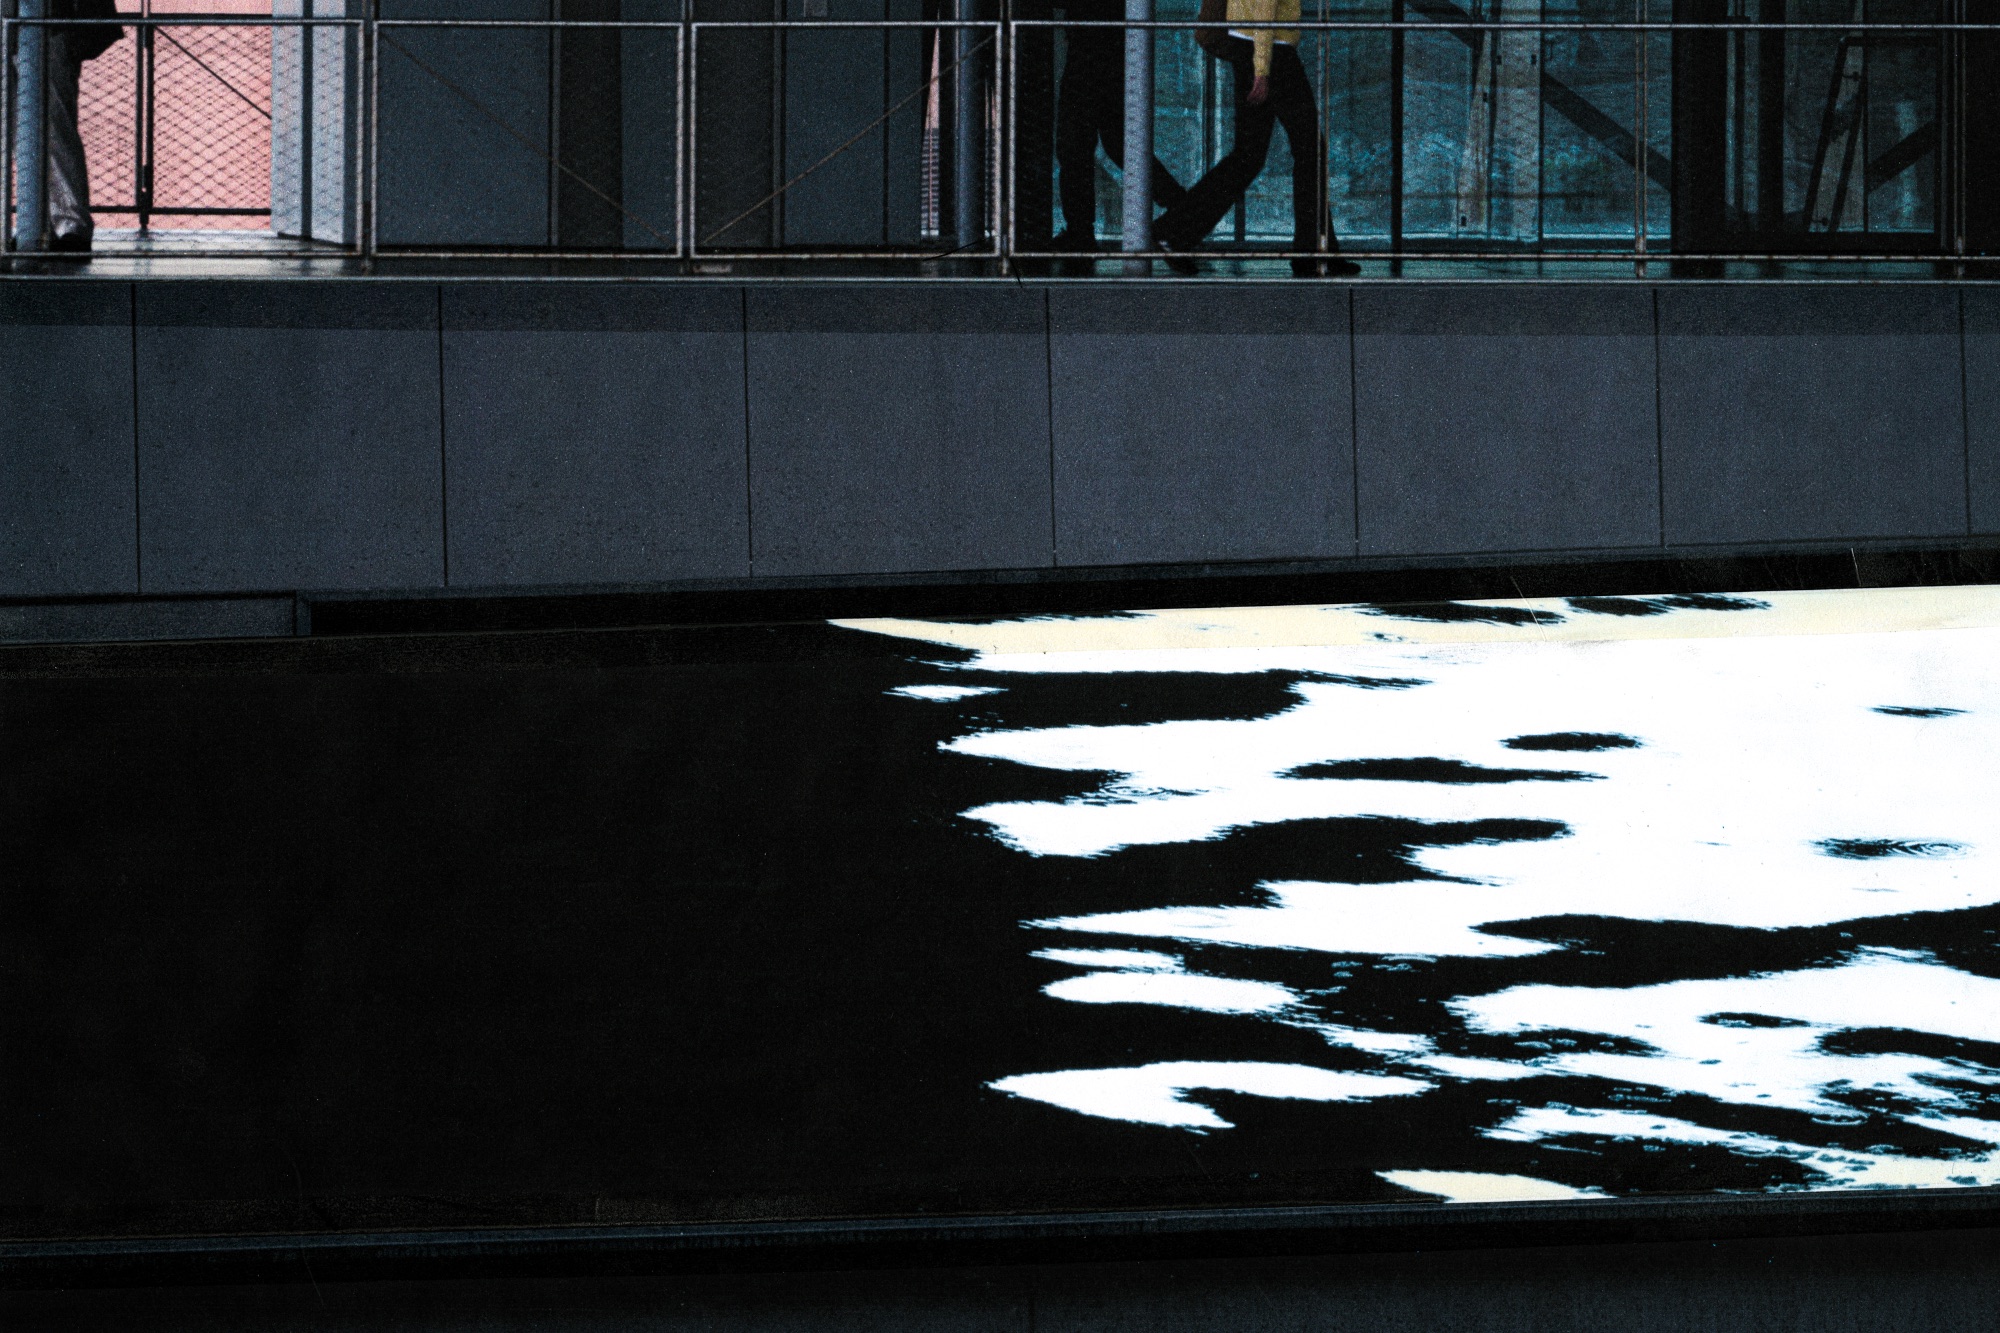
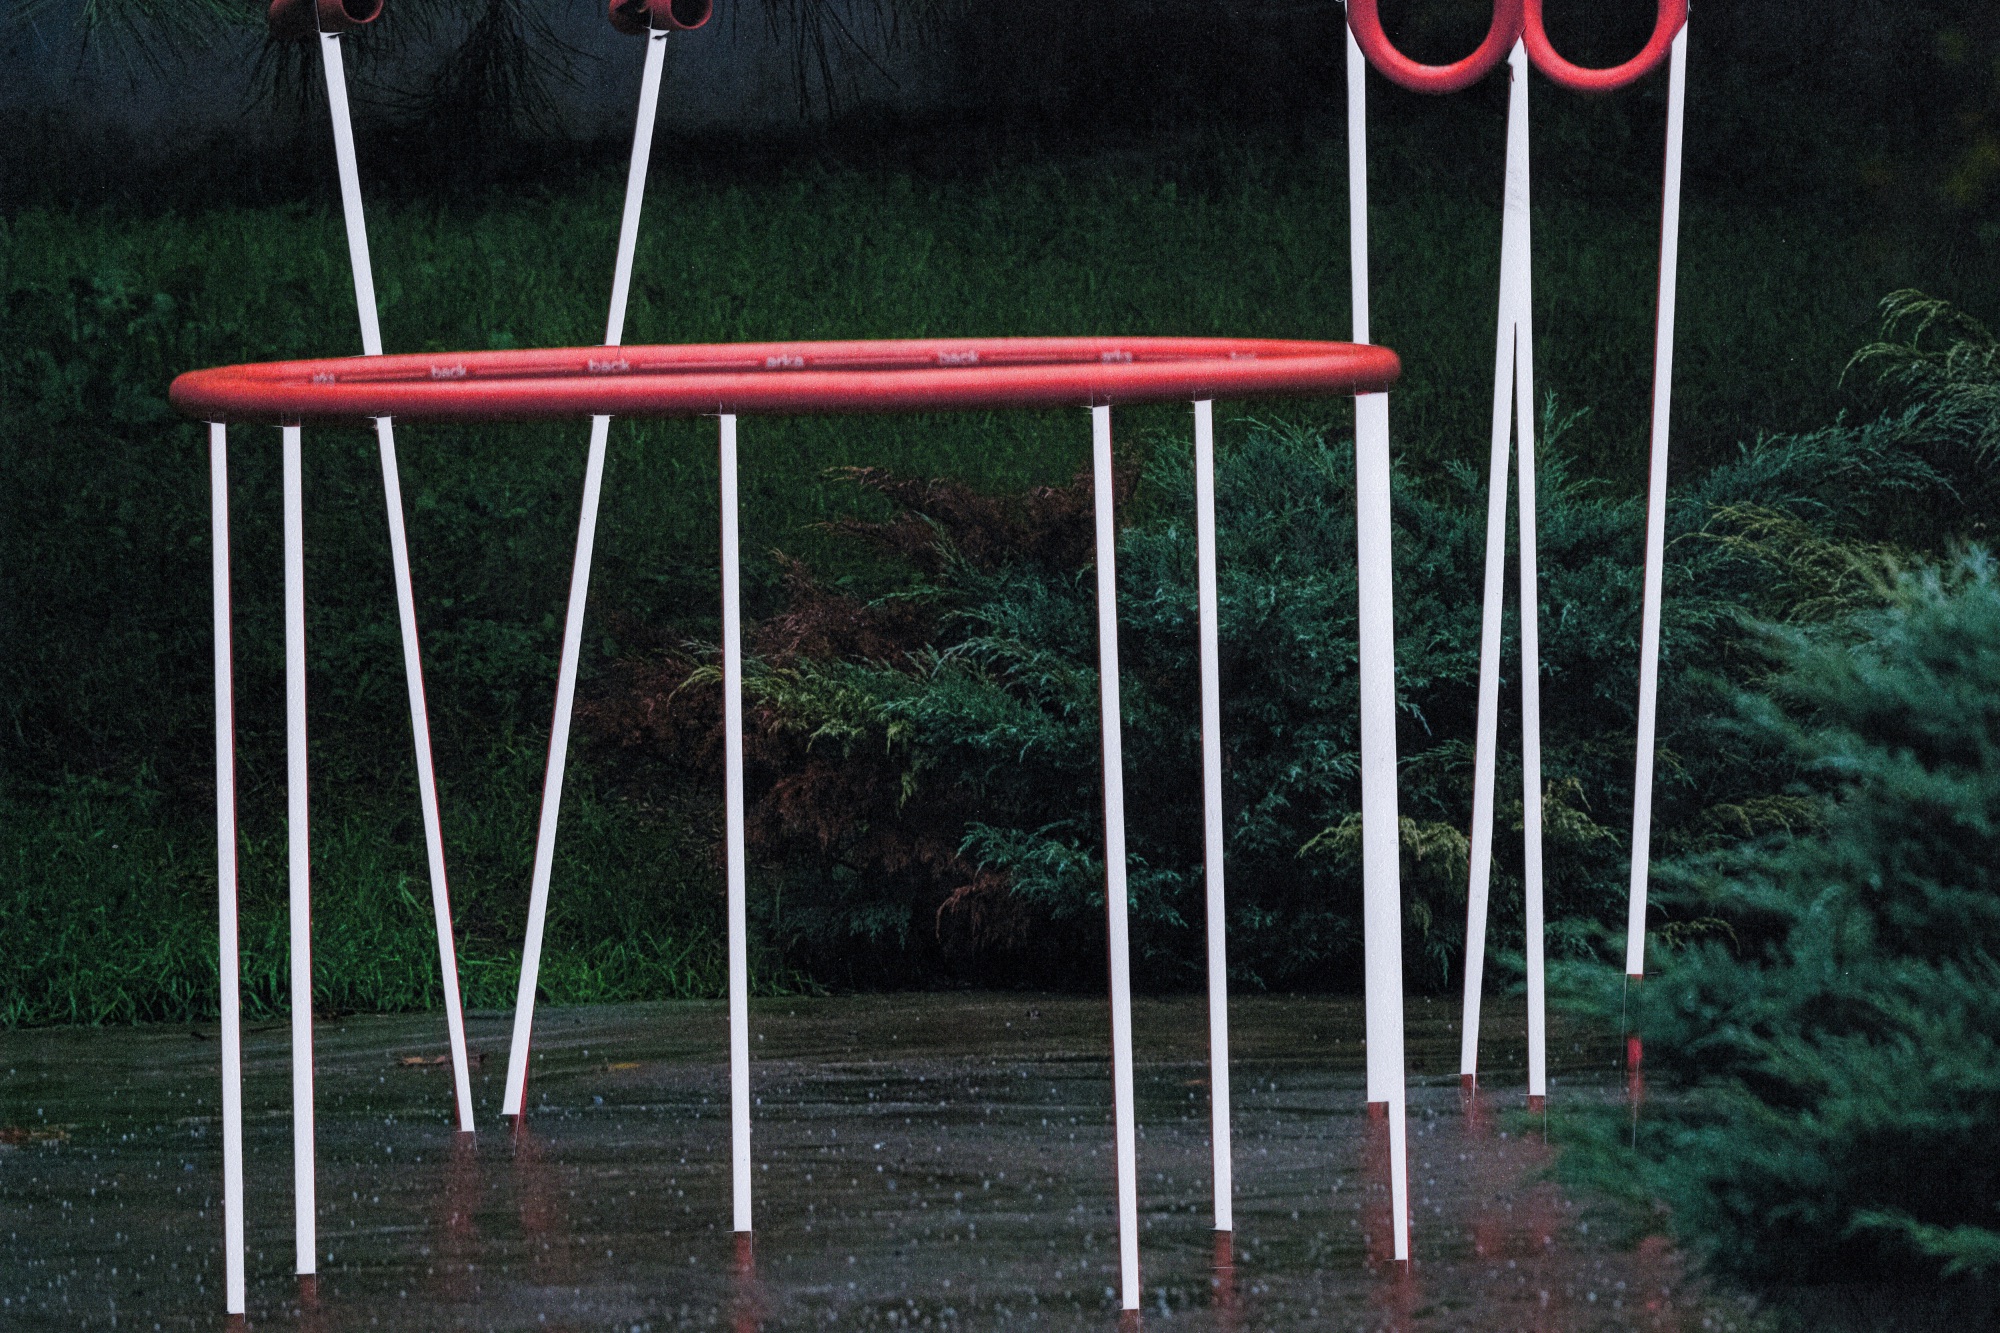
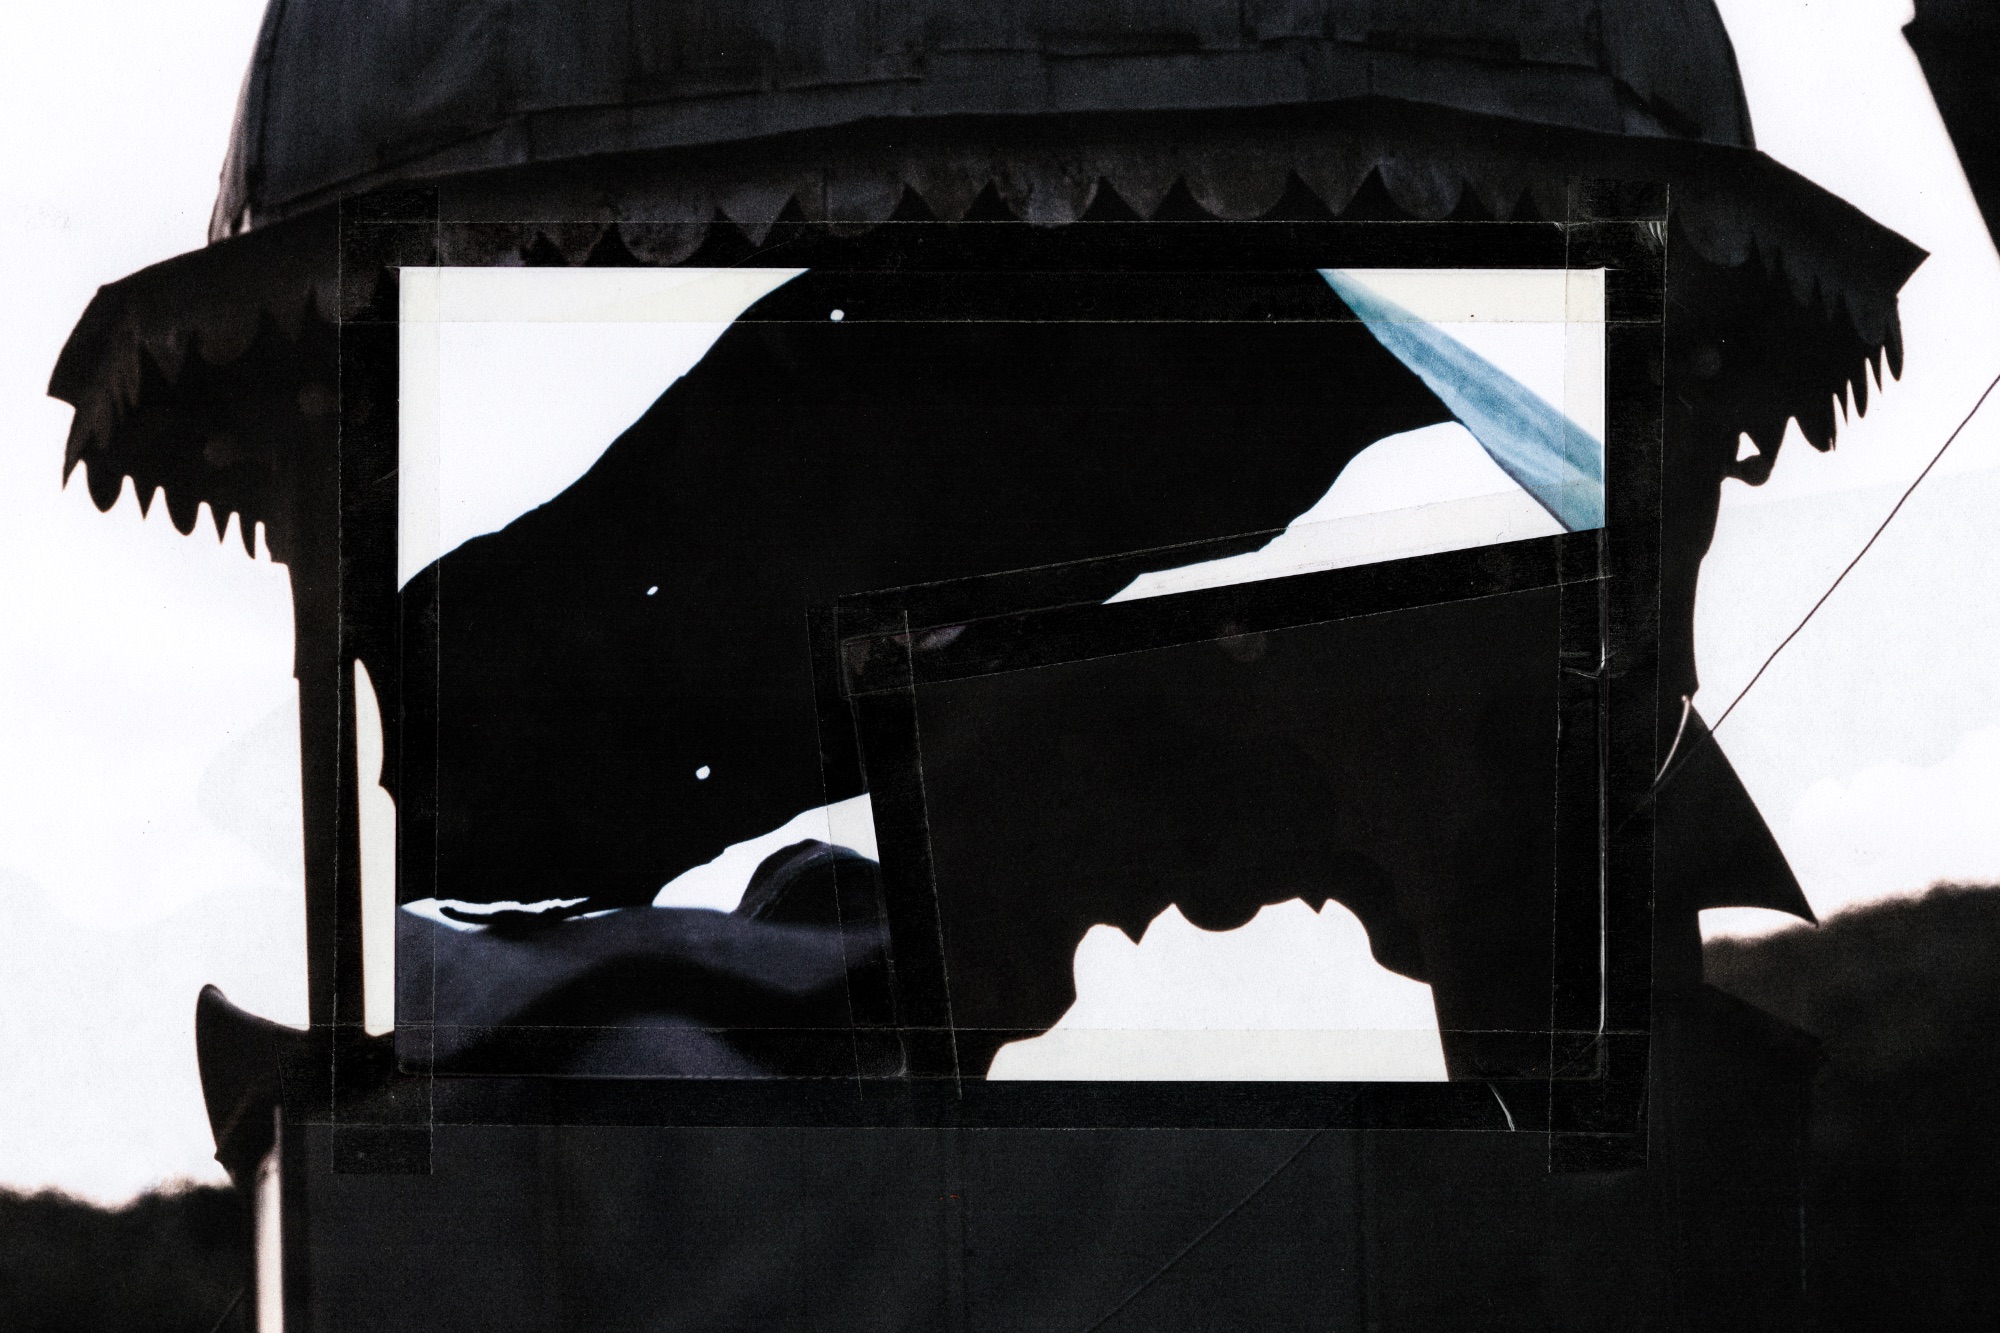
2025

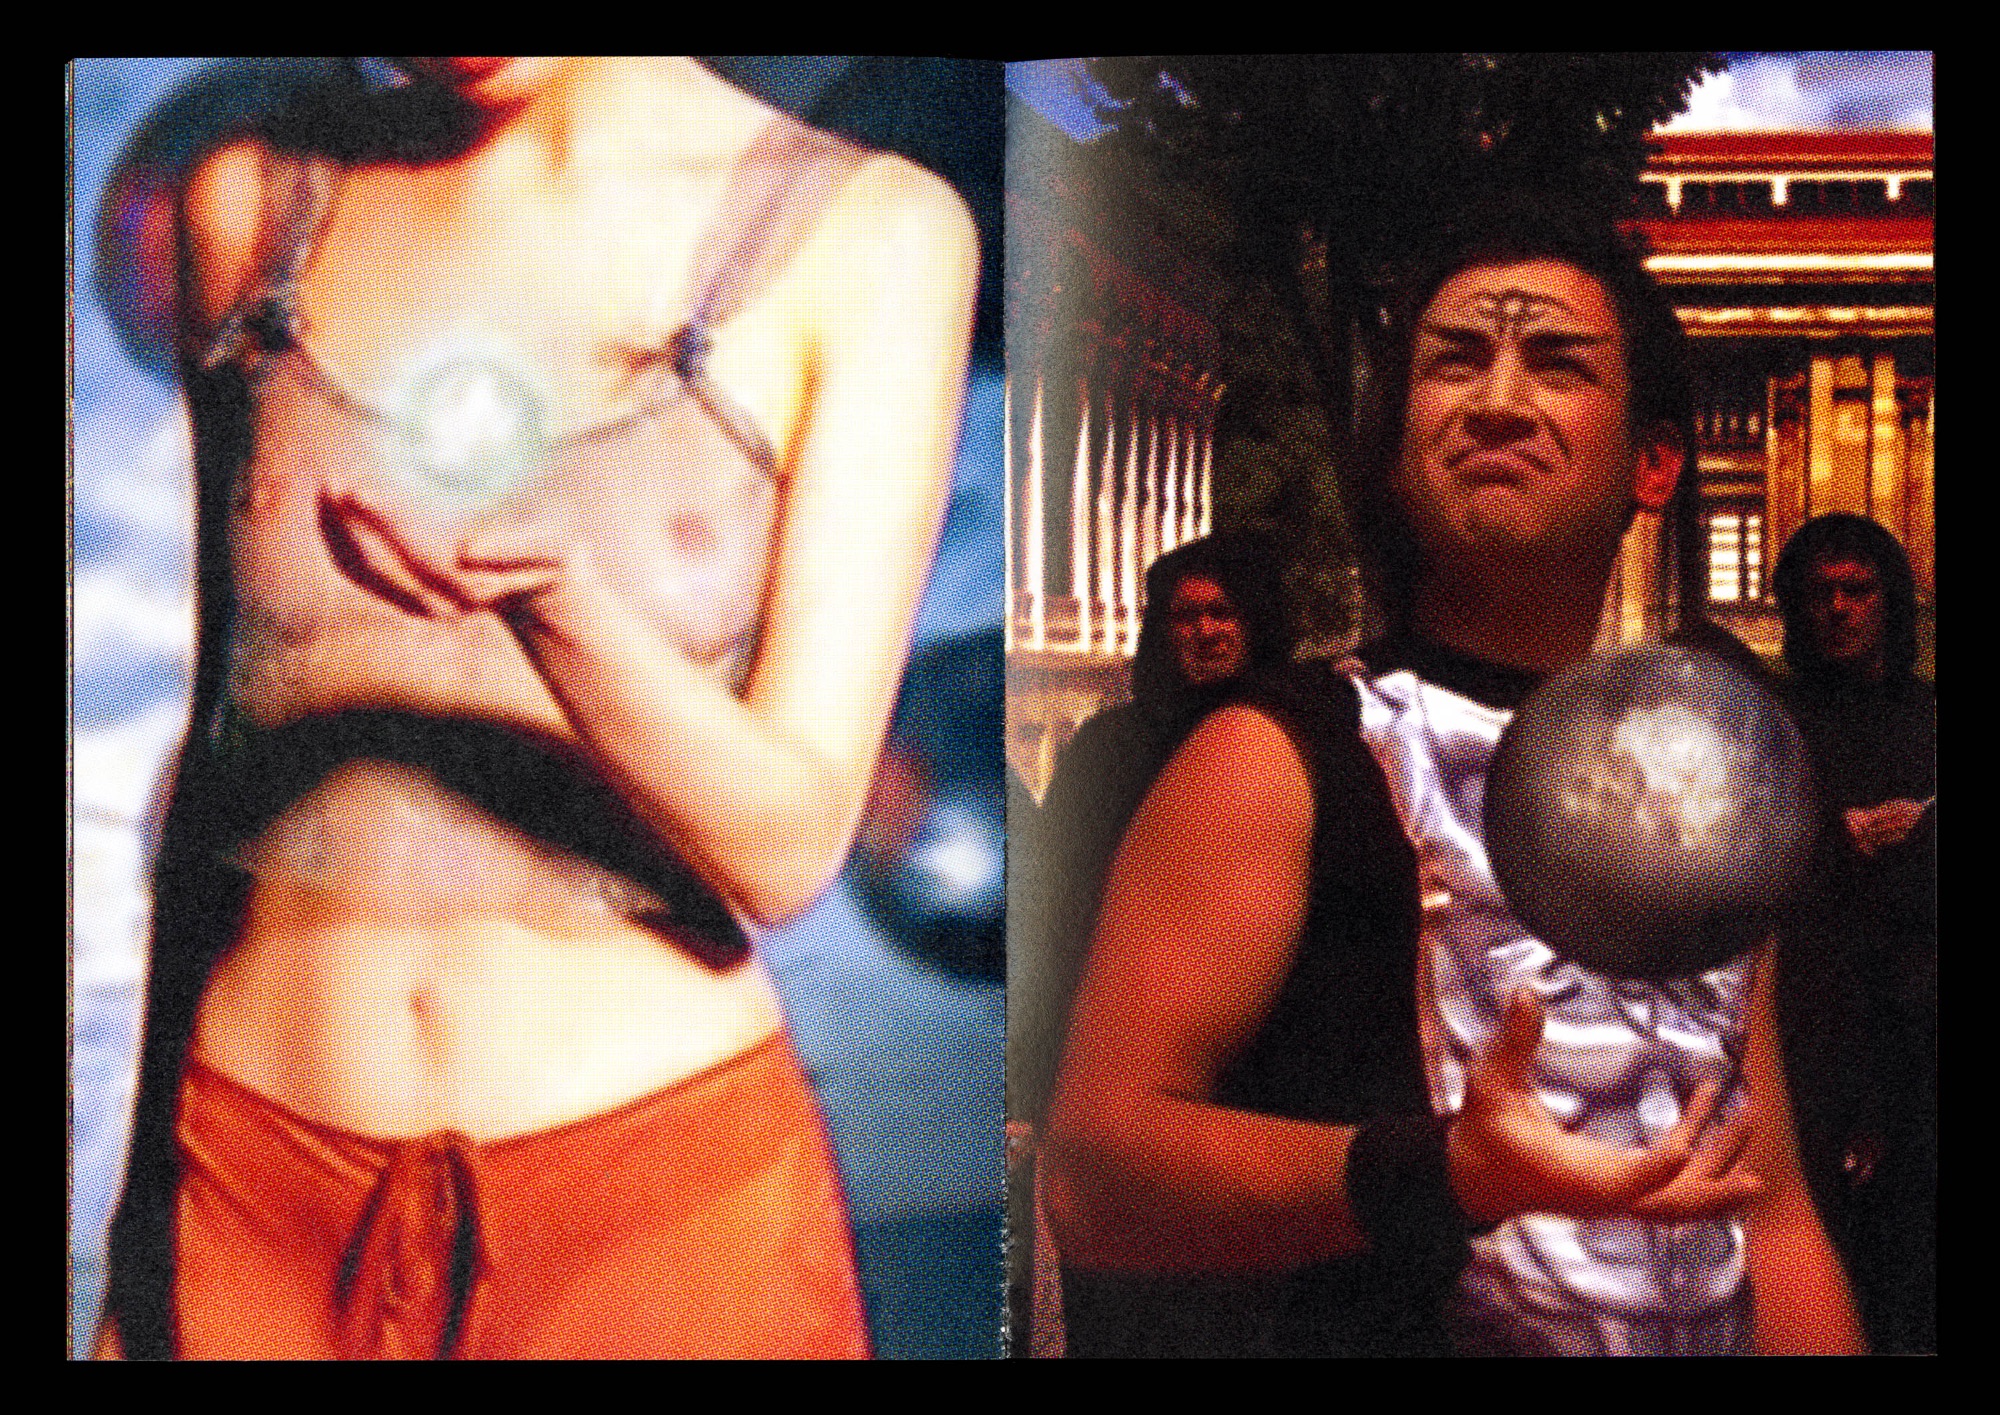
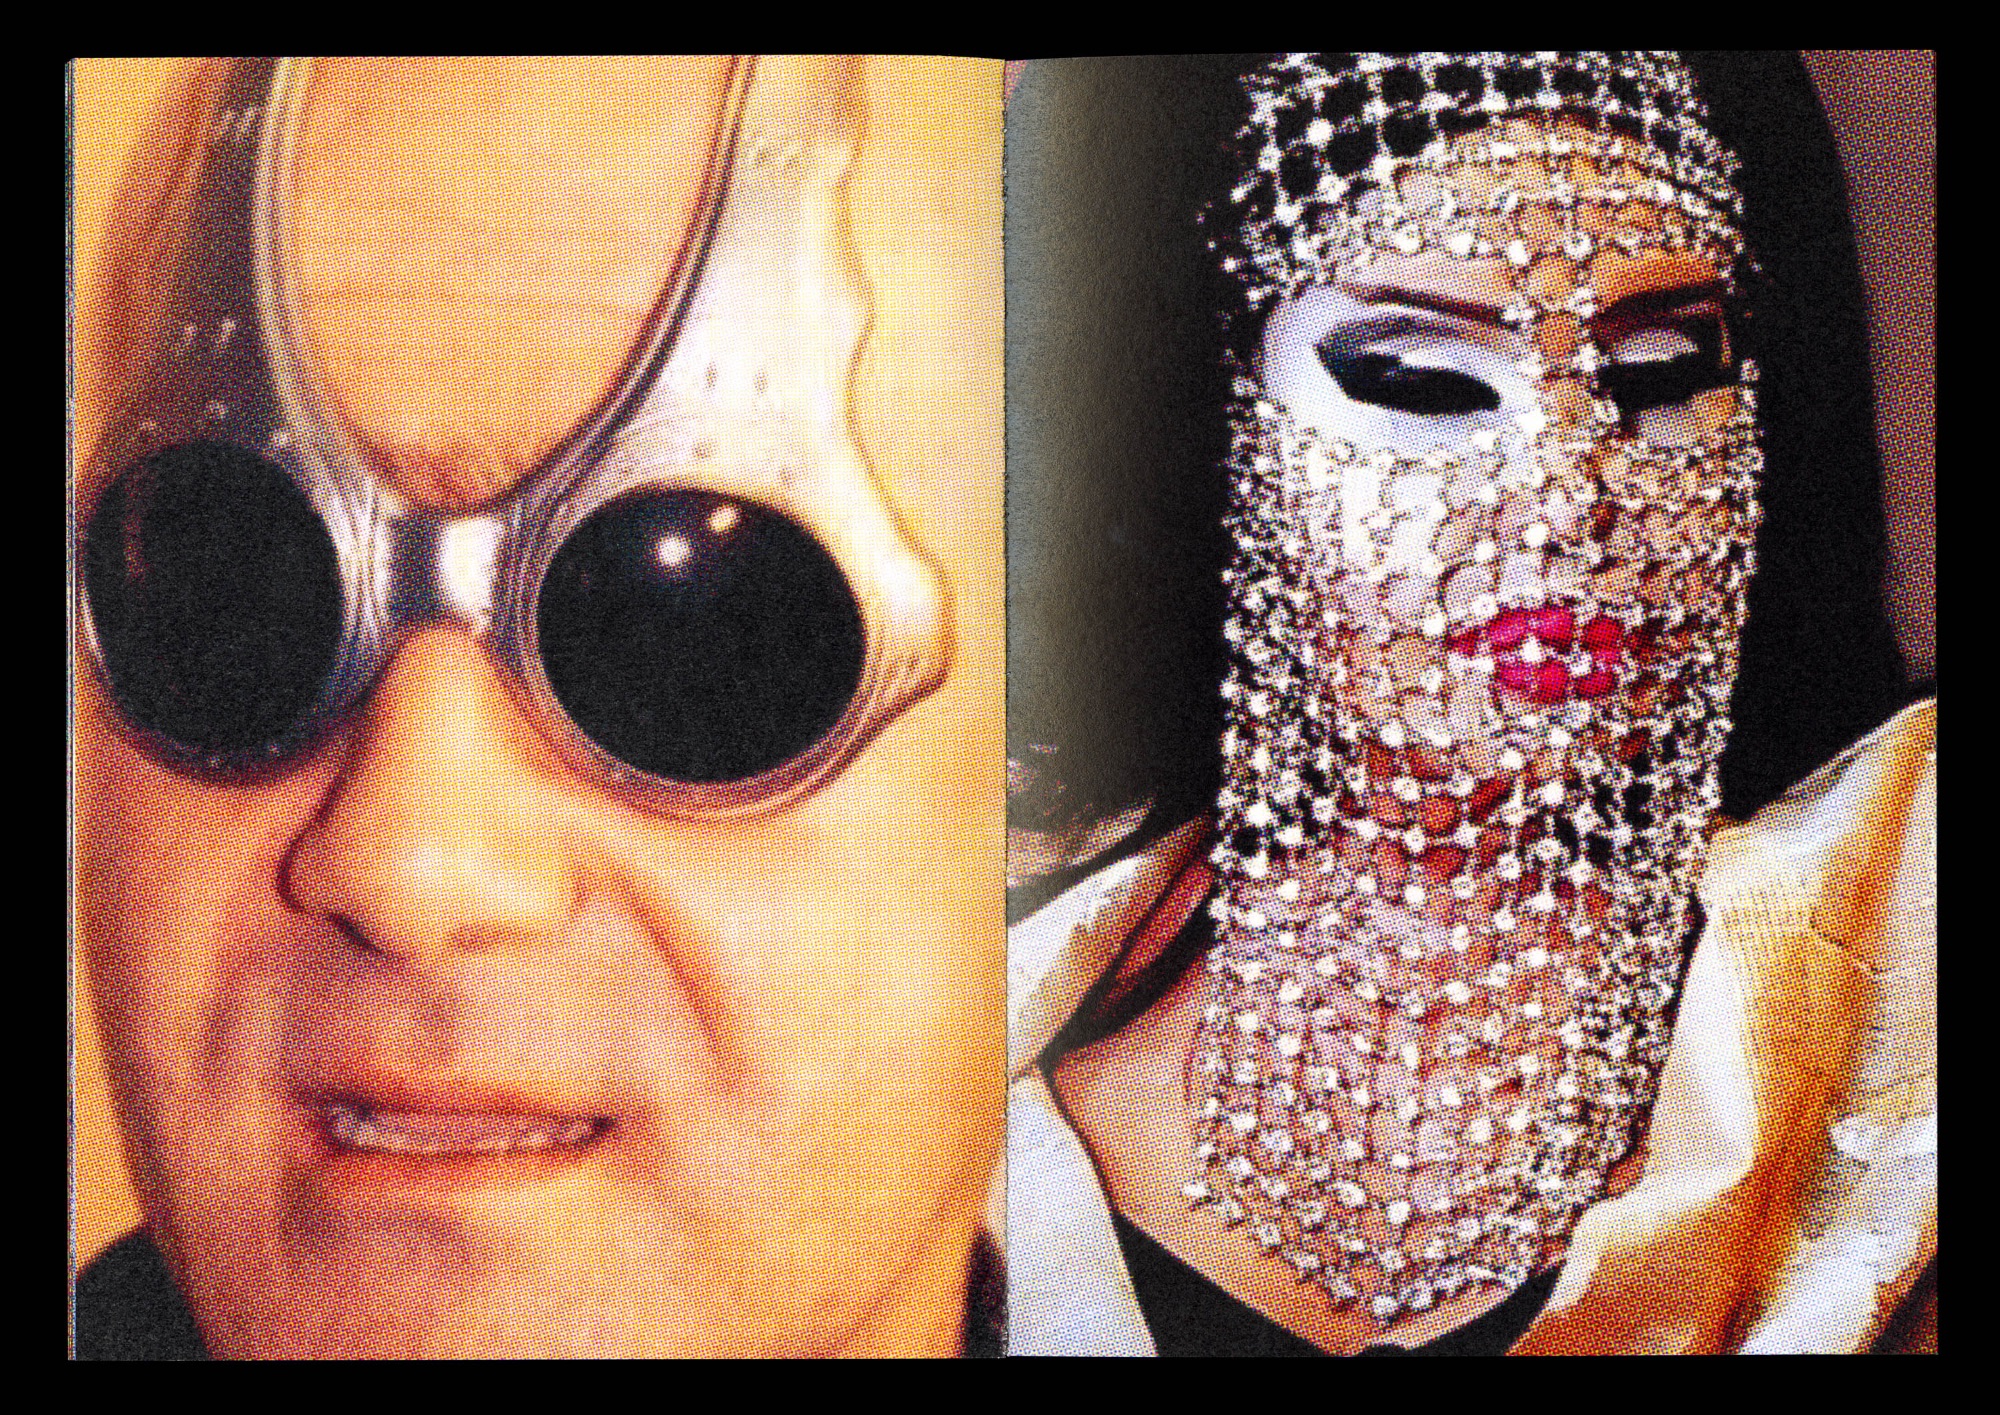
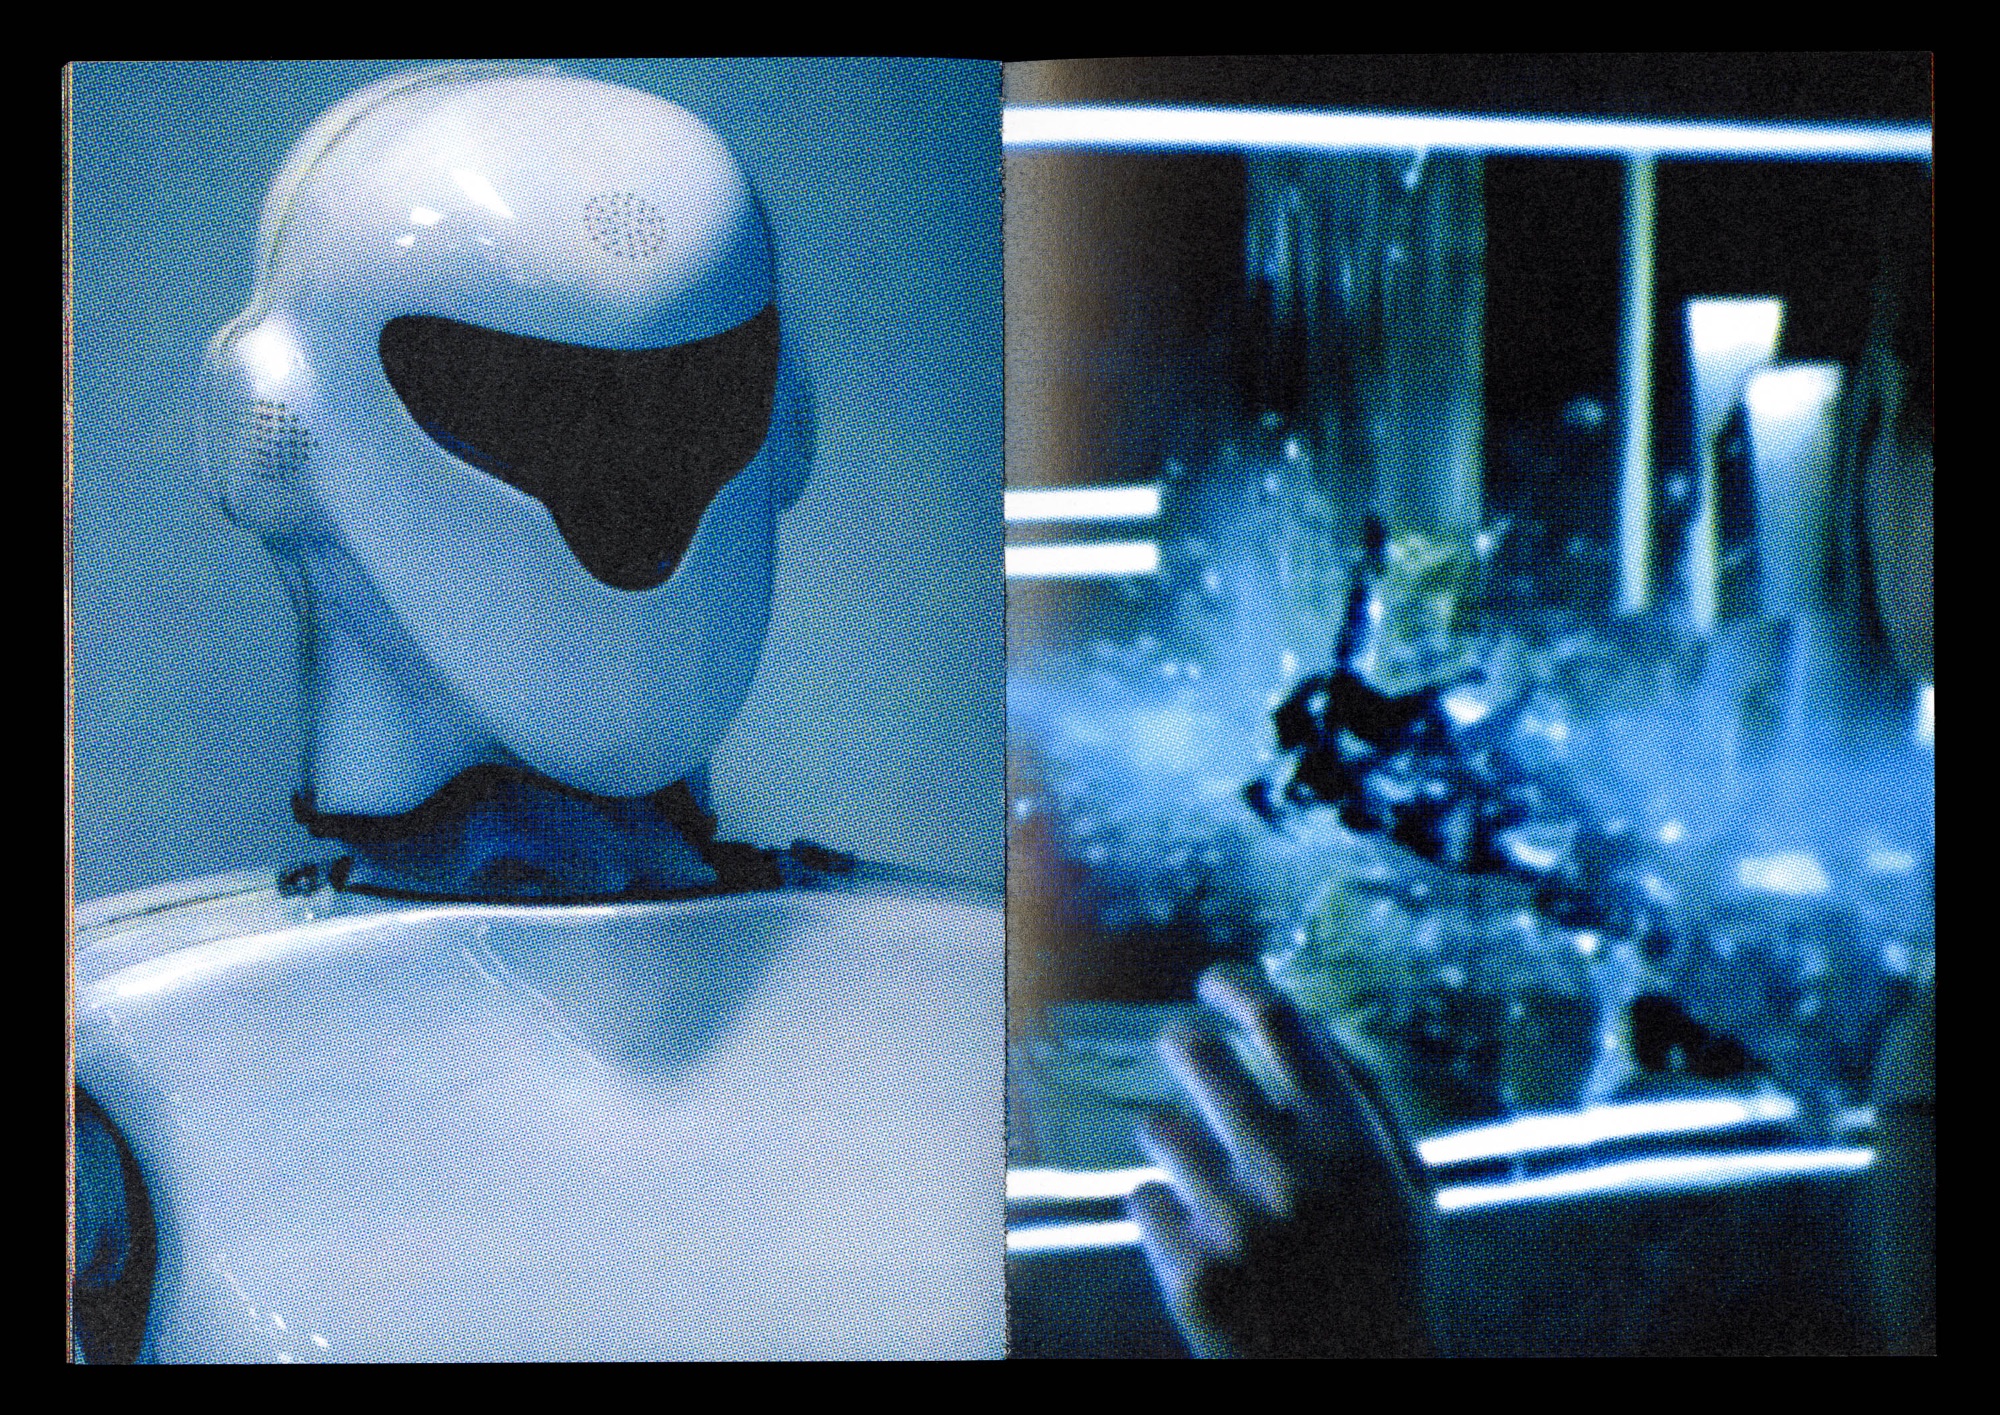
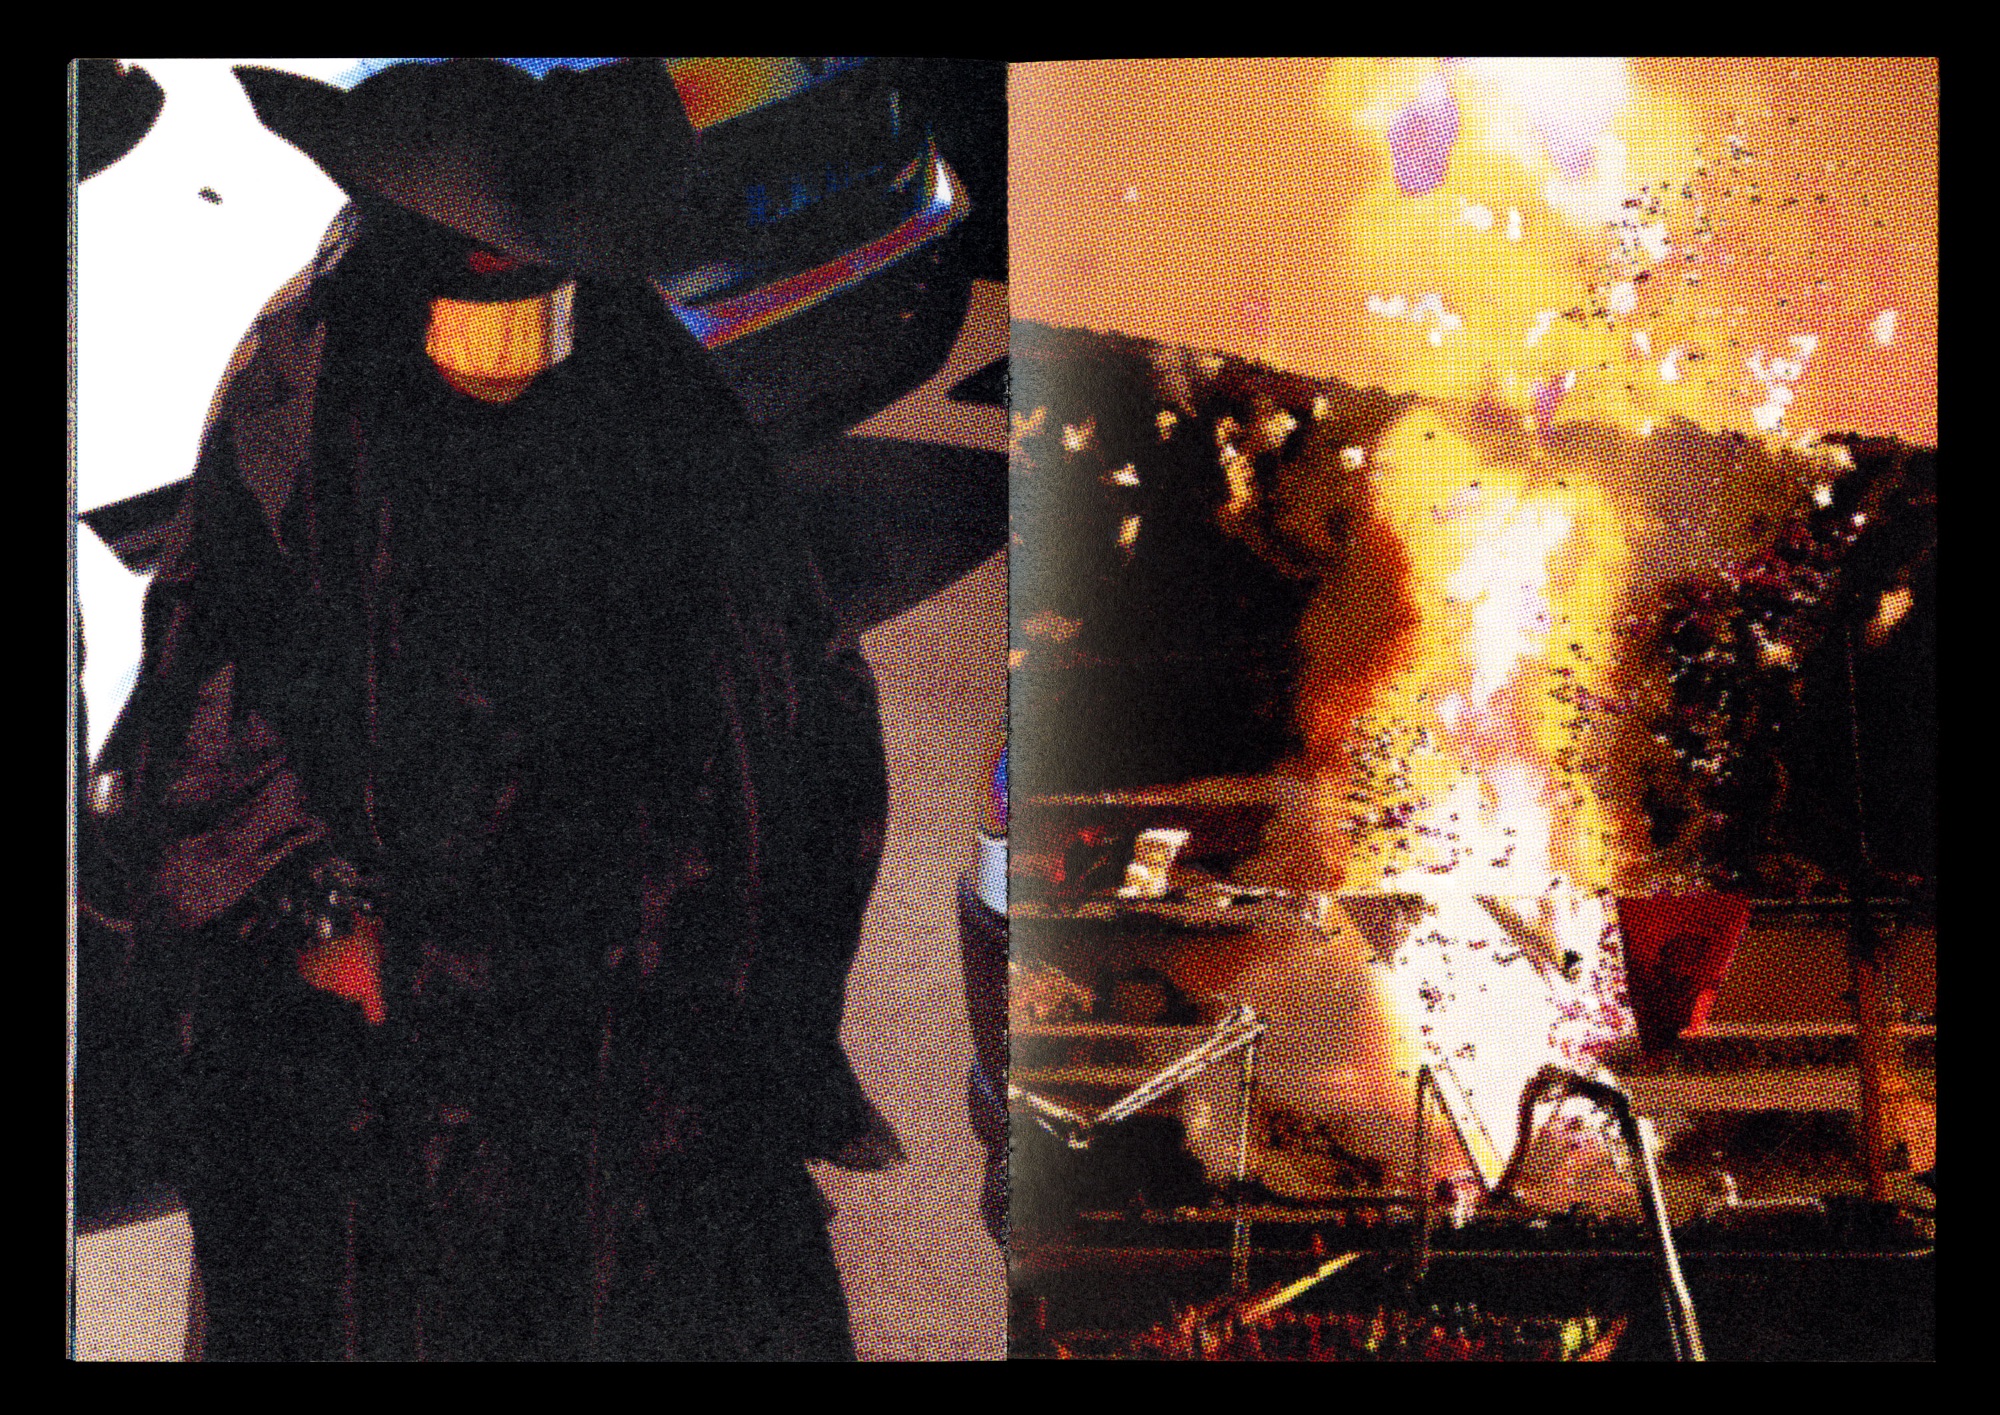
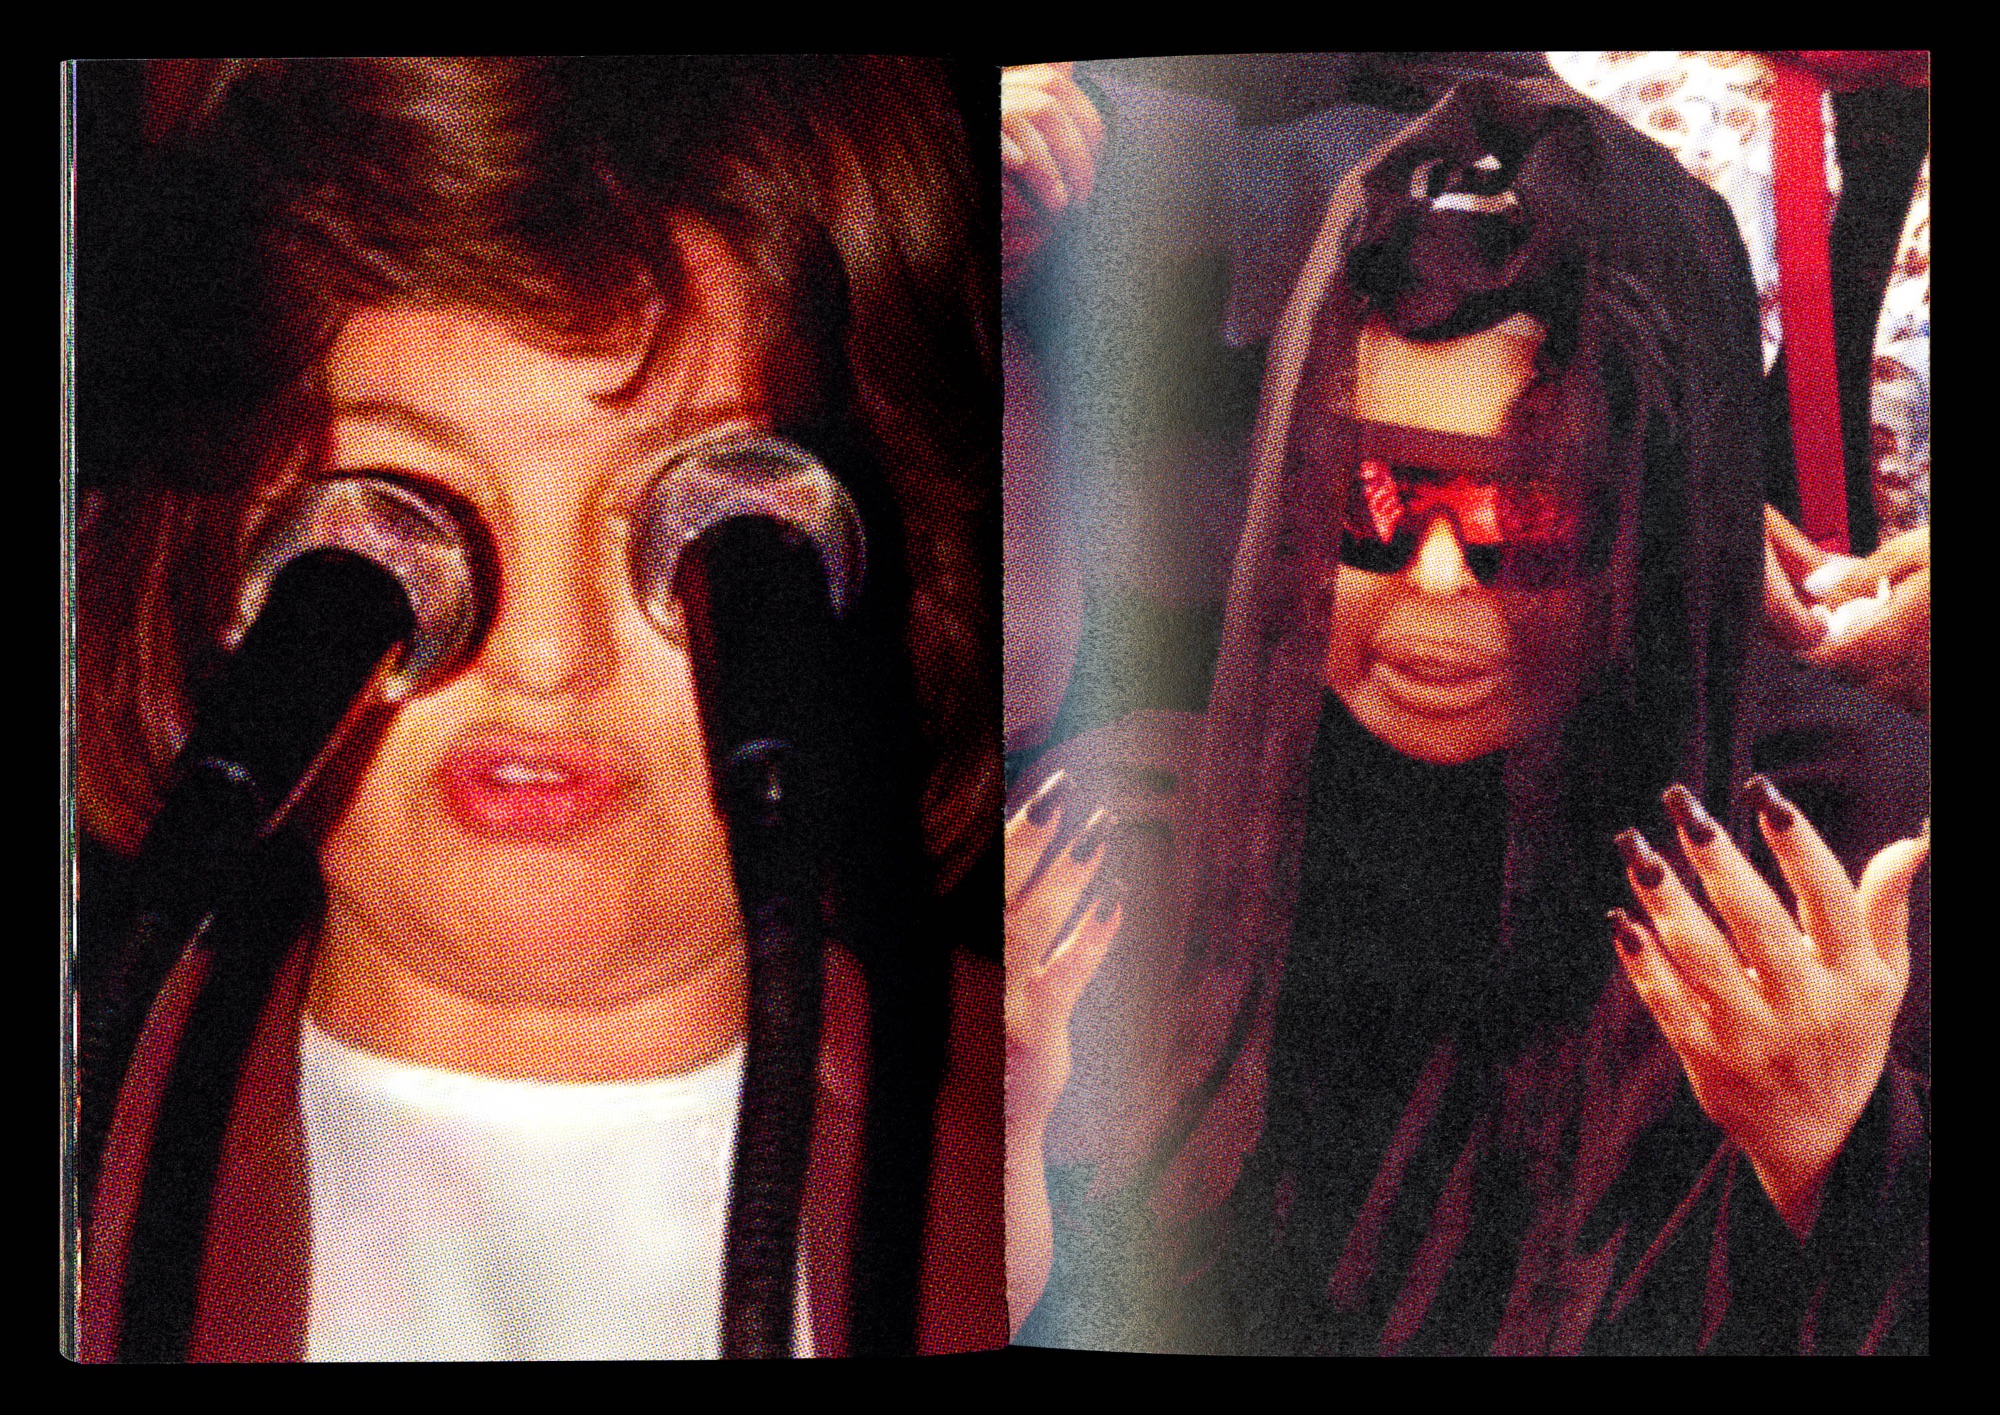
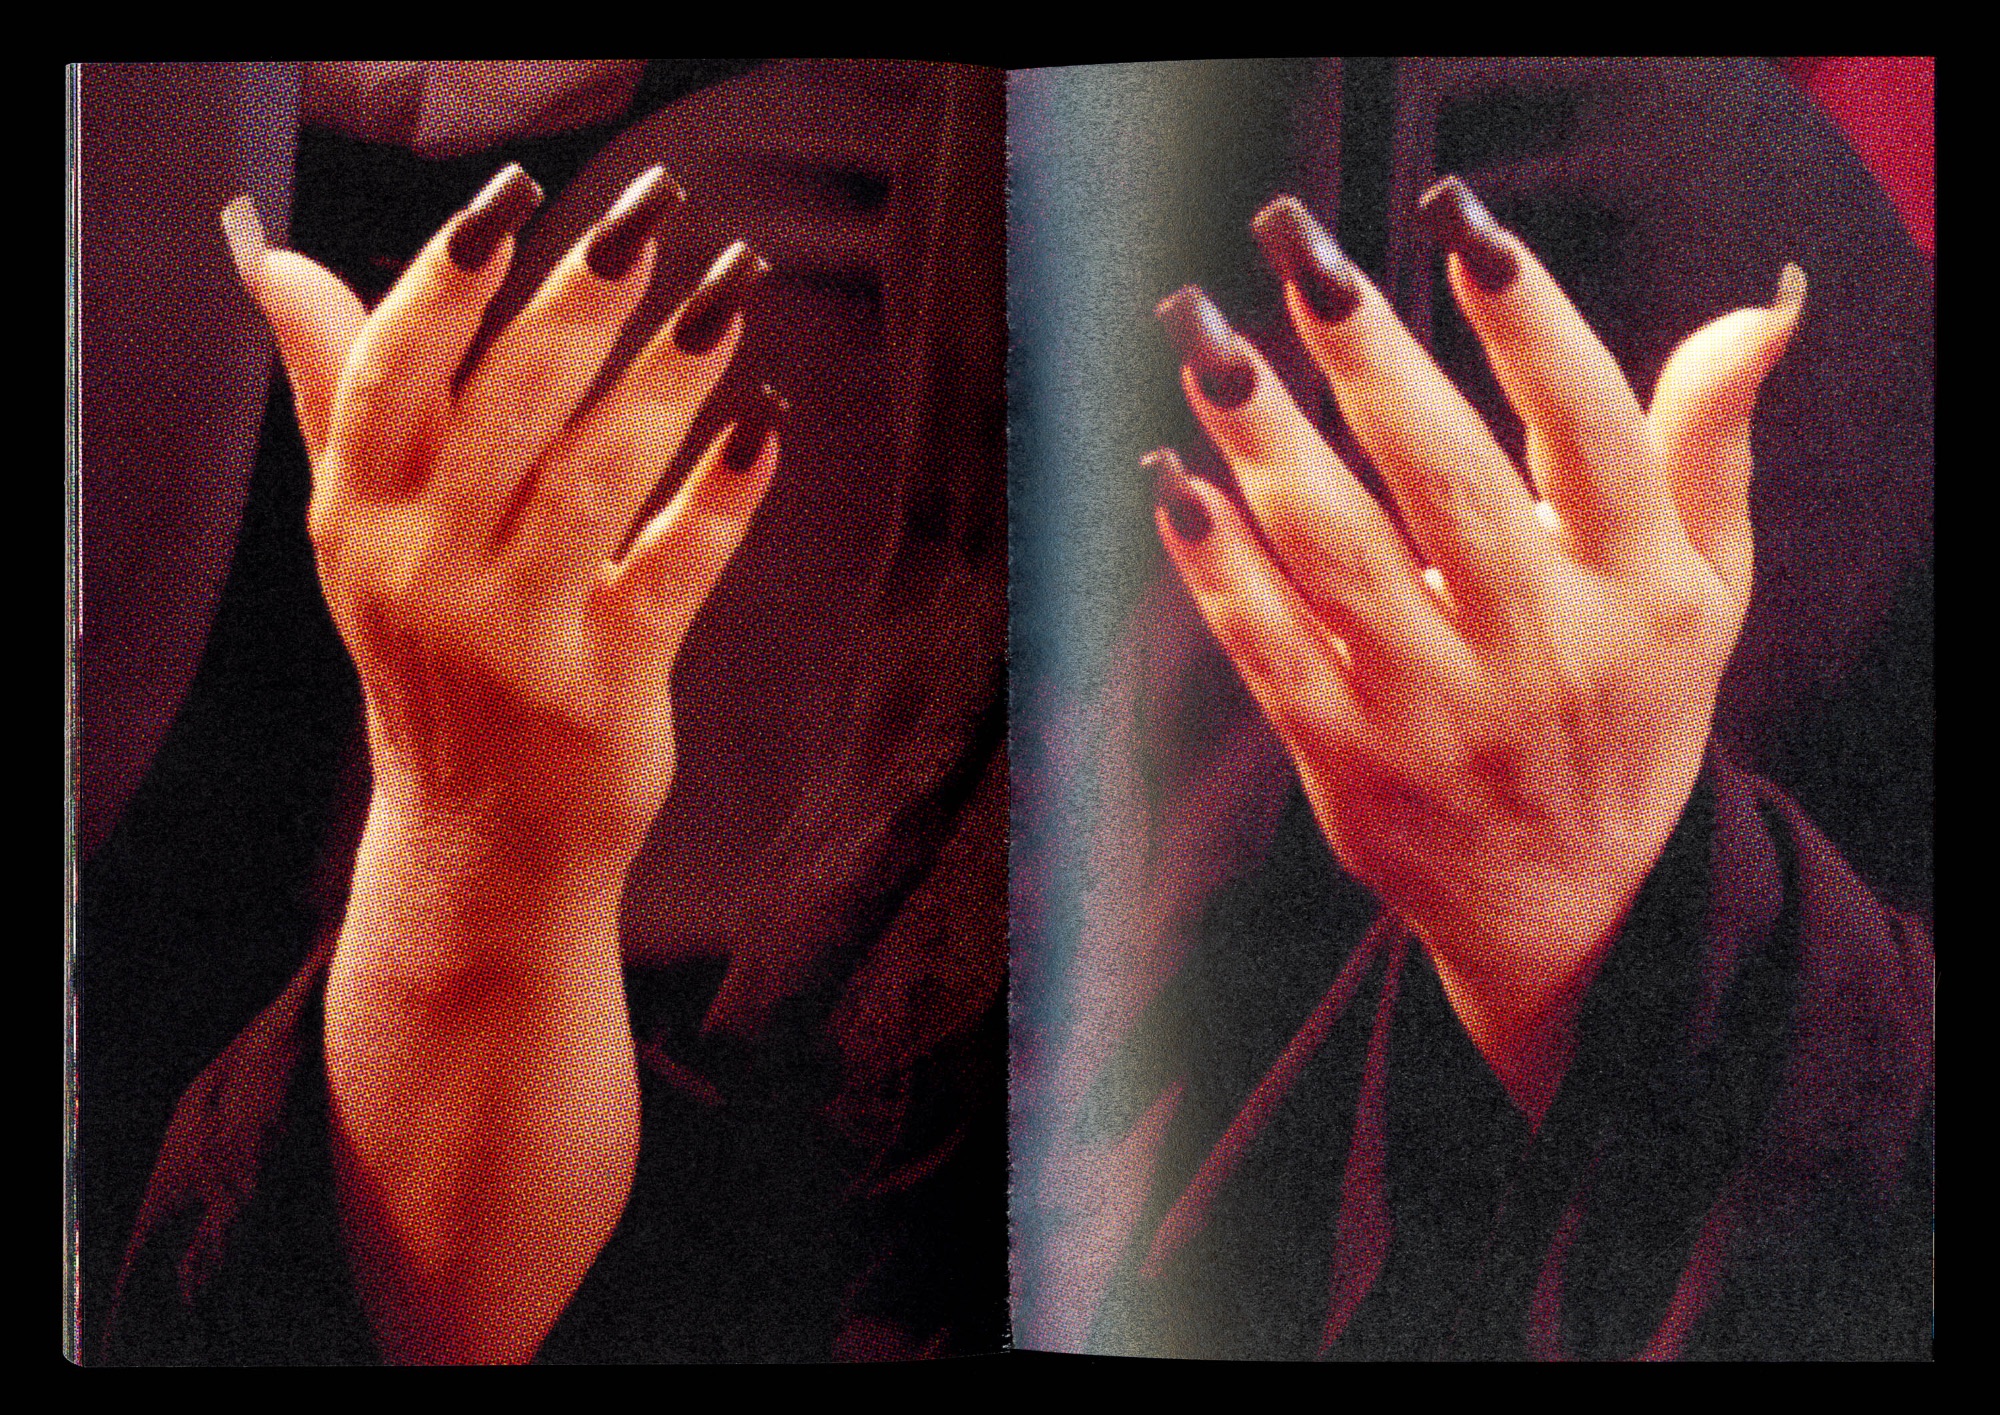
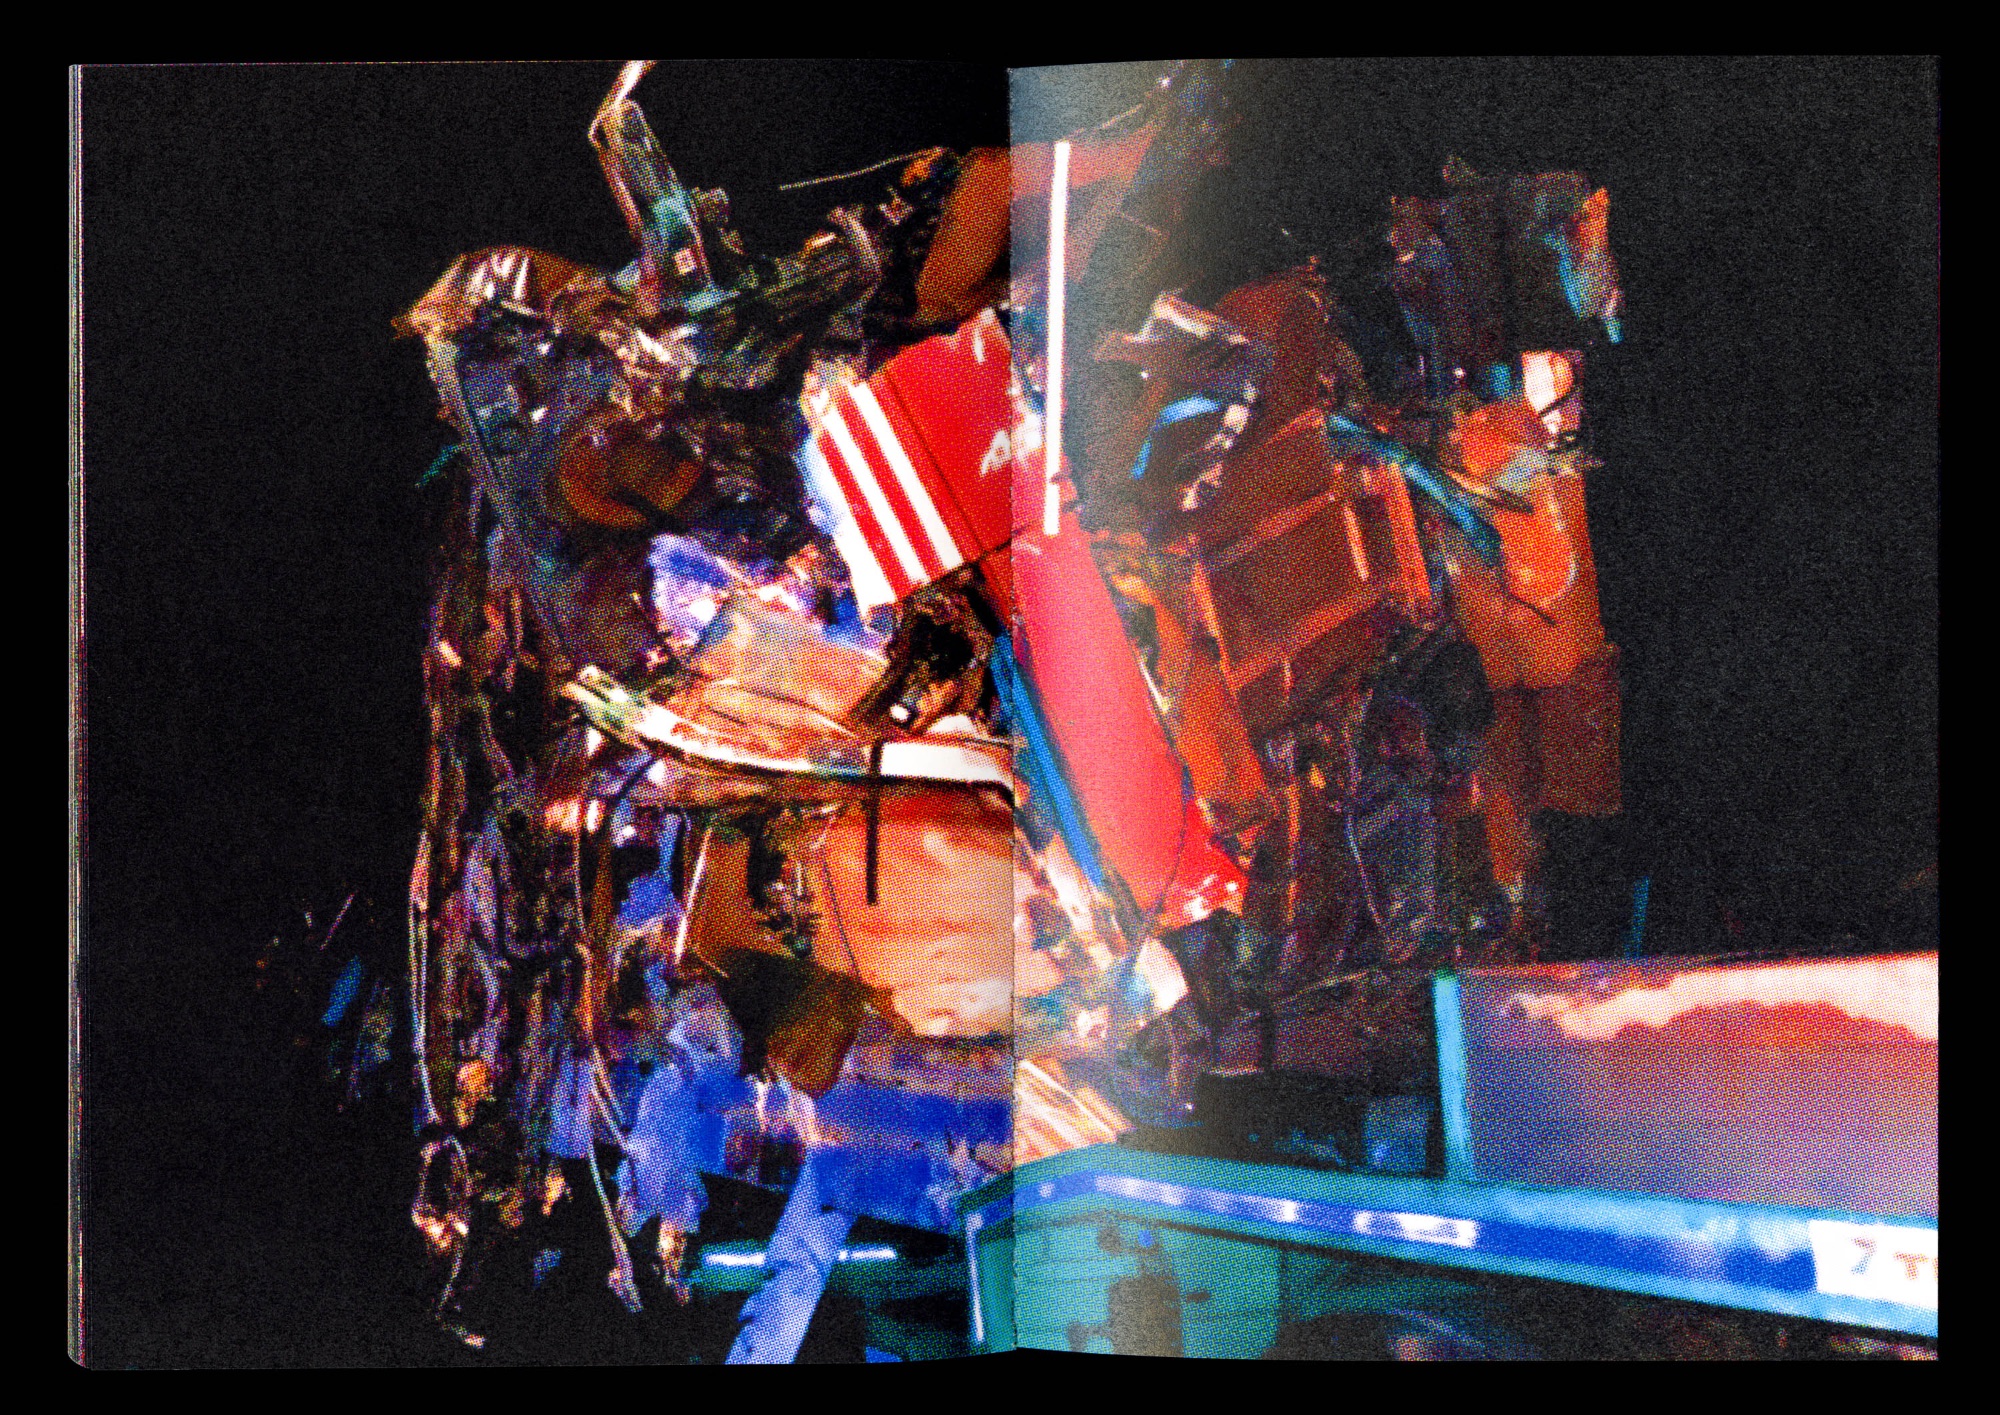
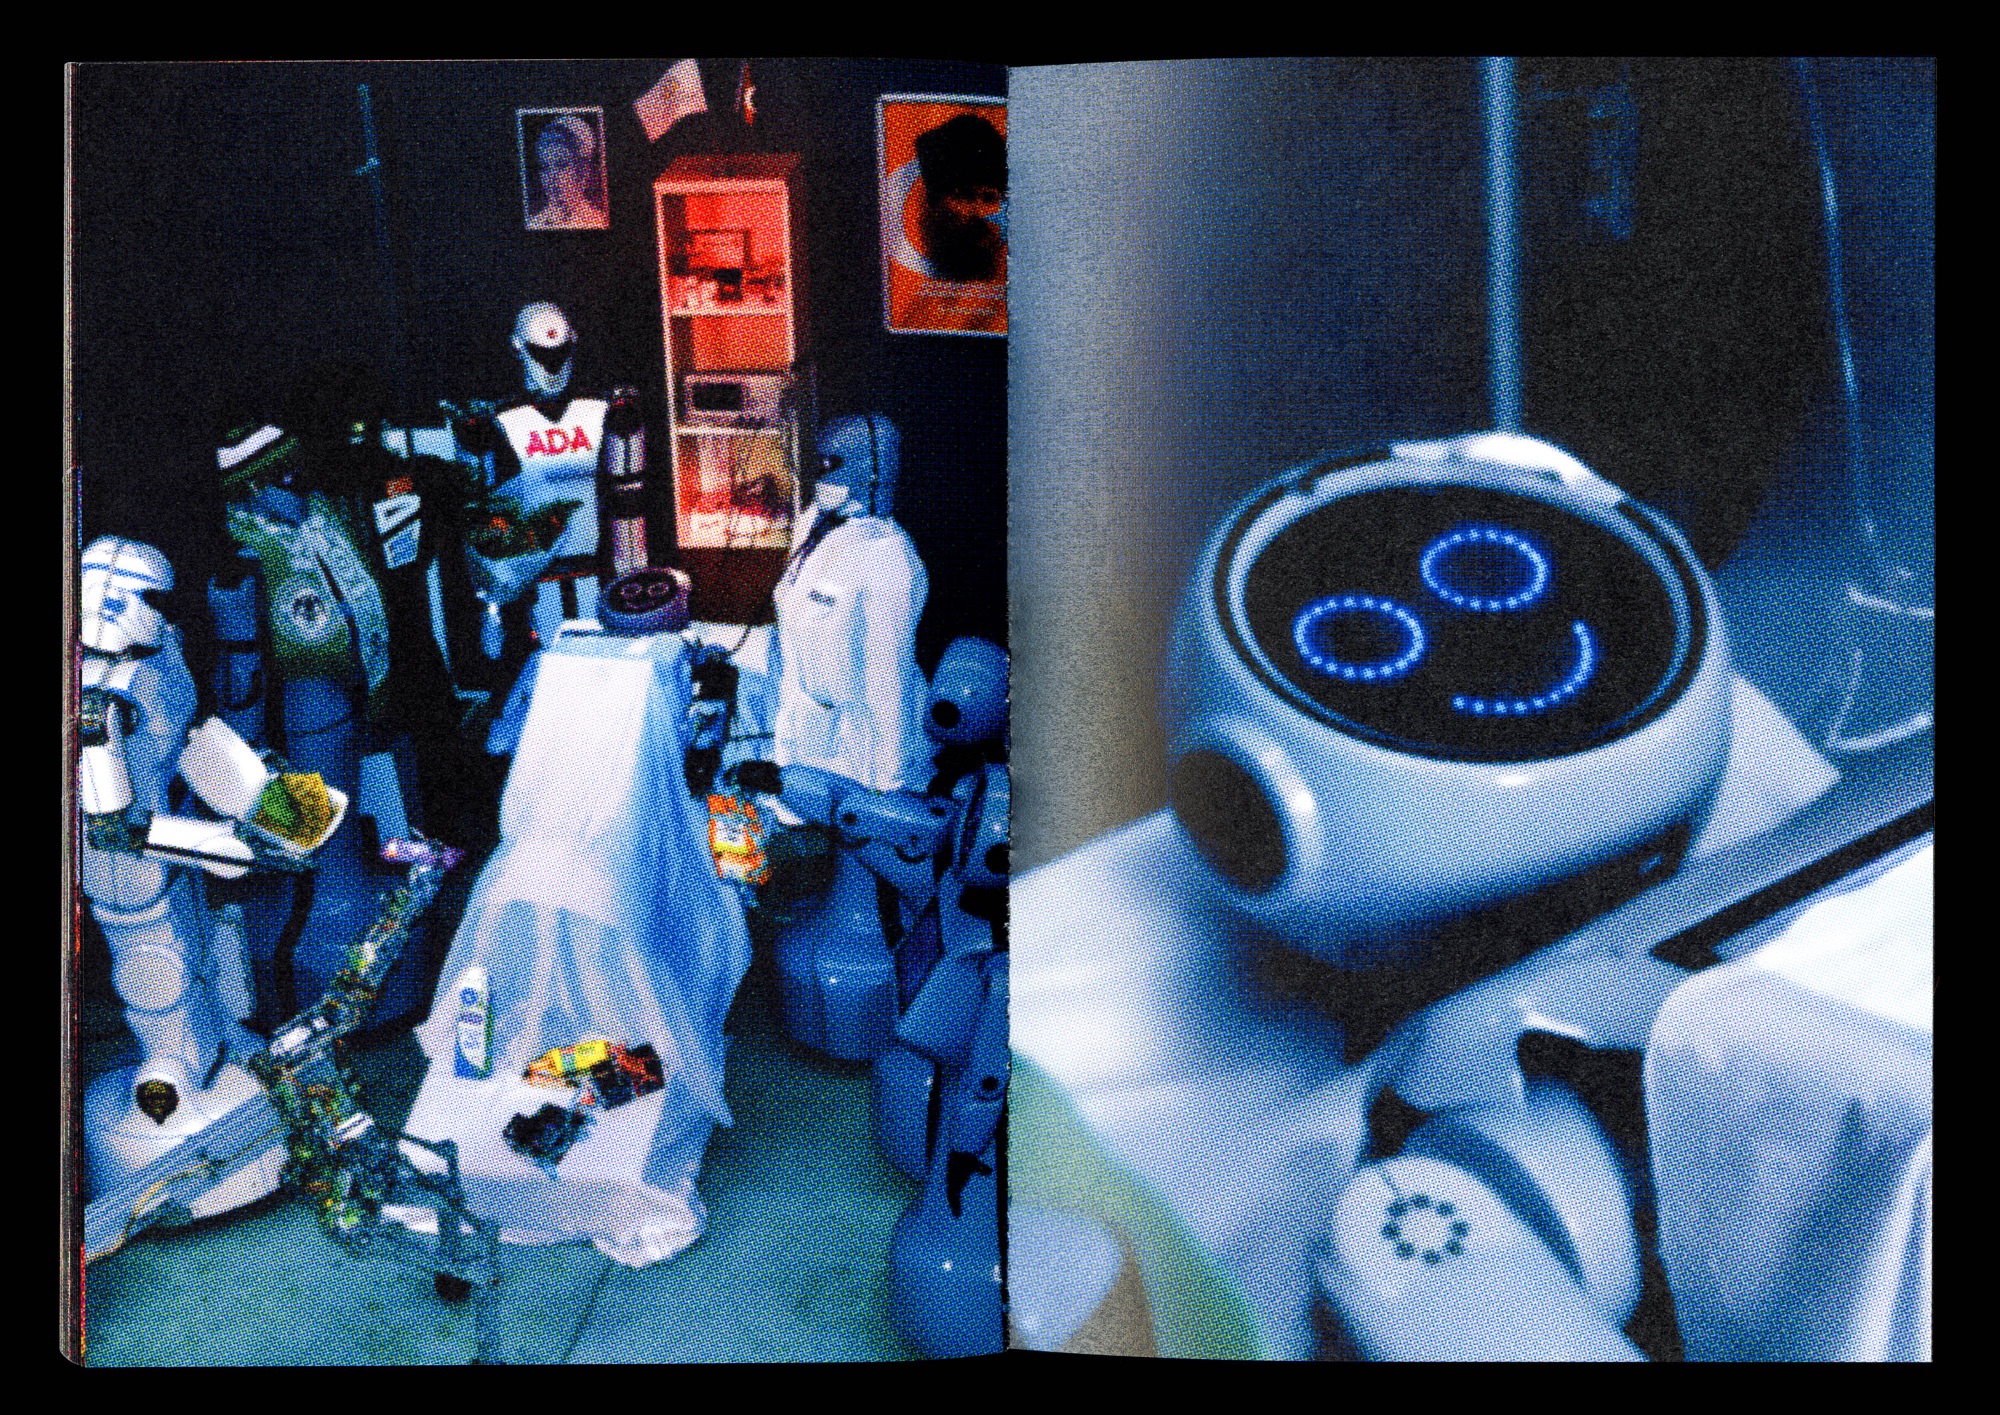
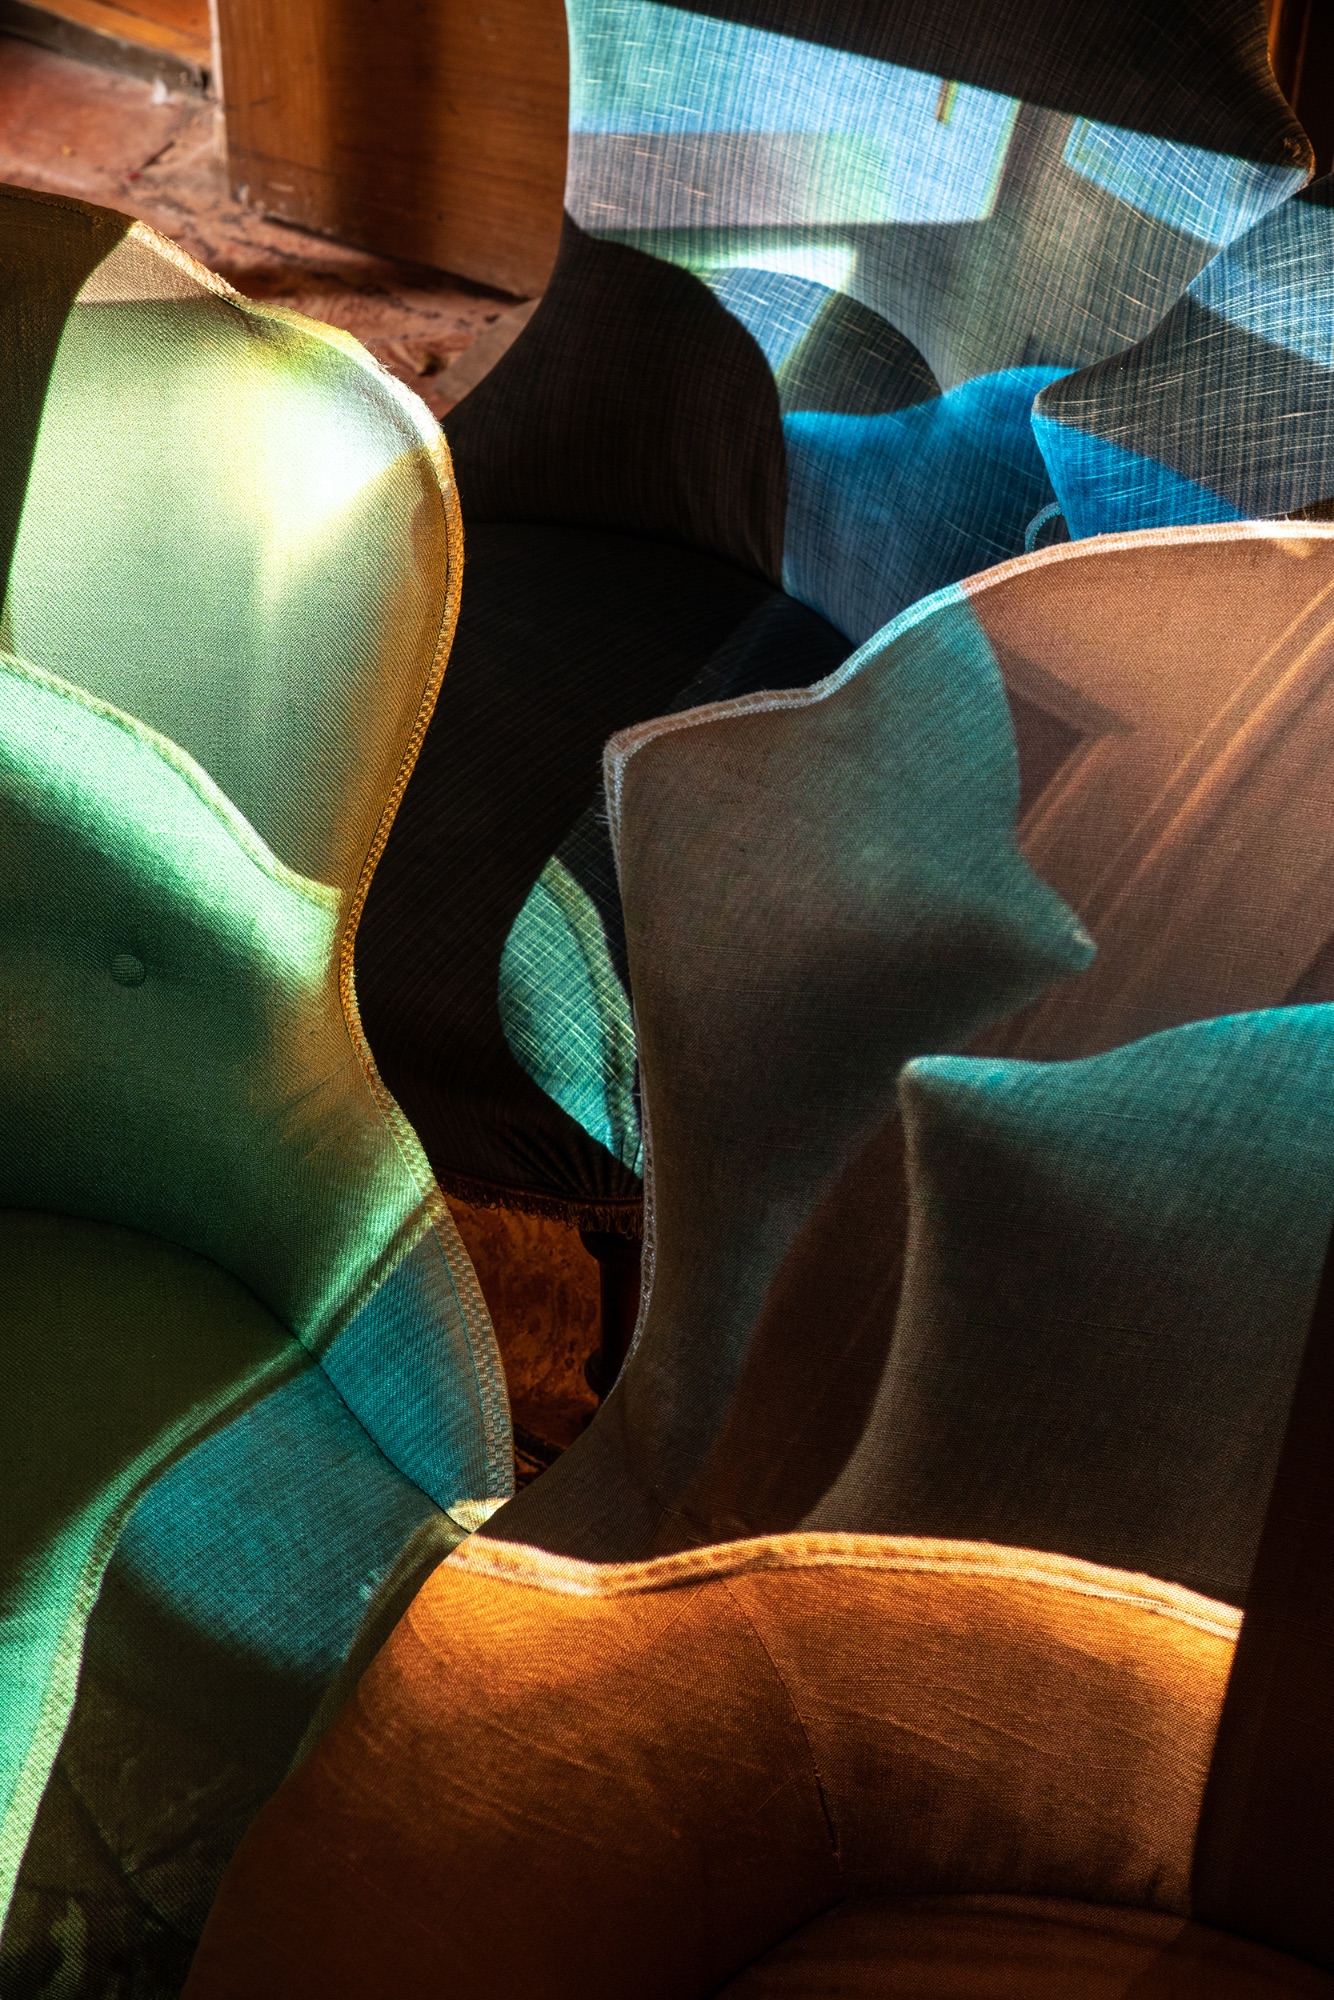
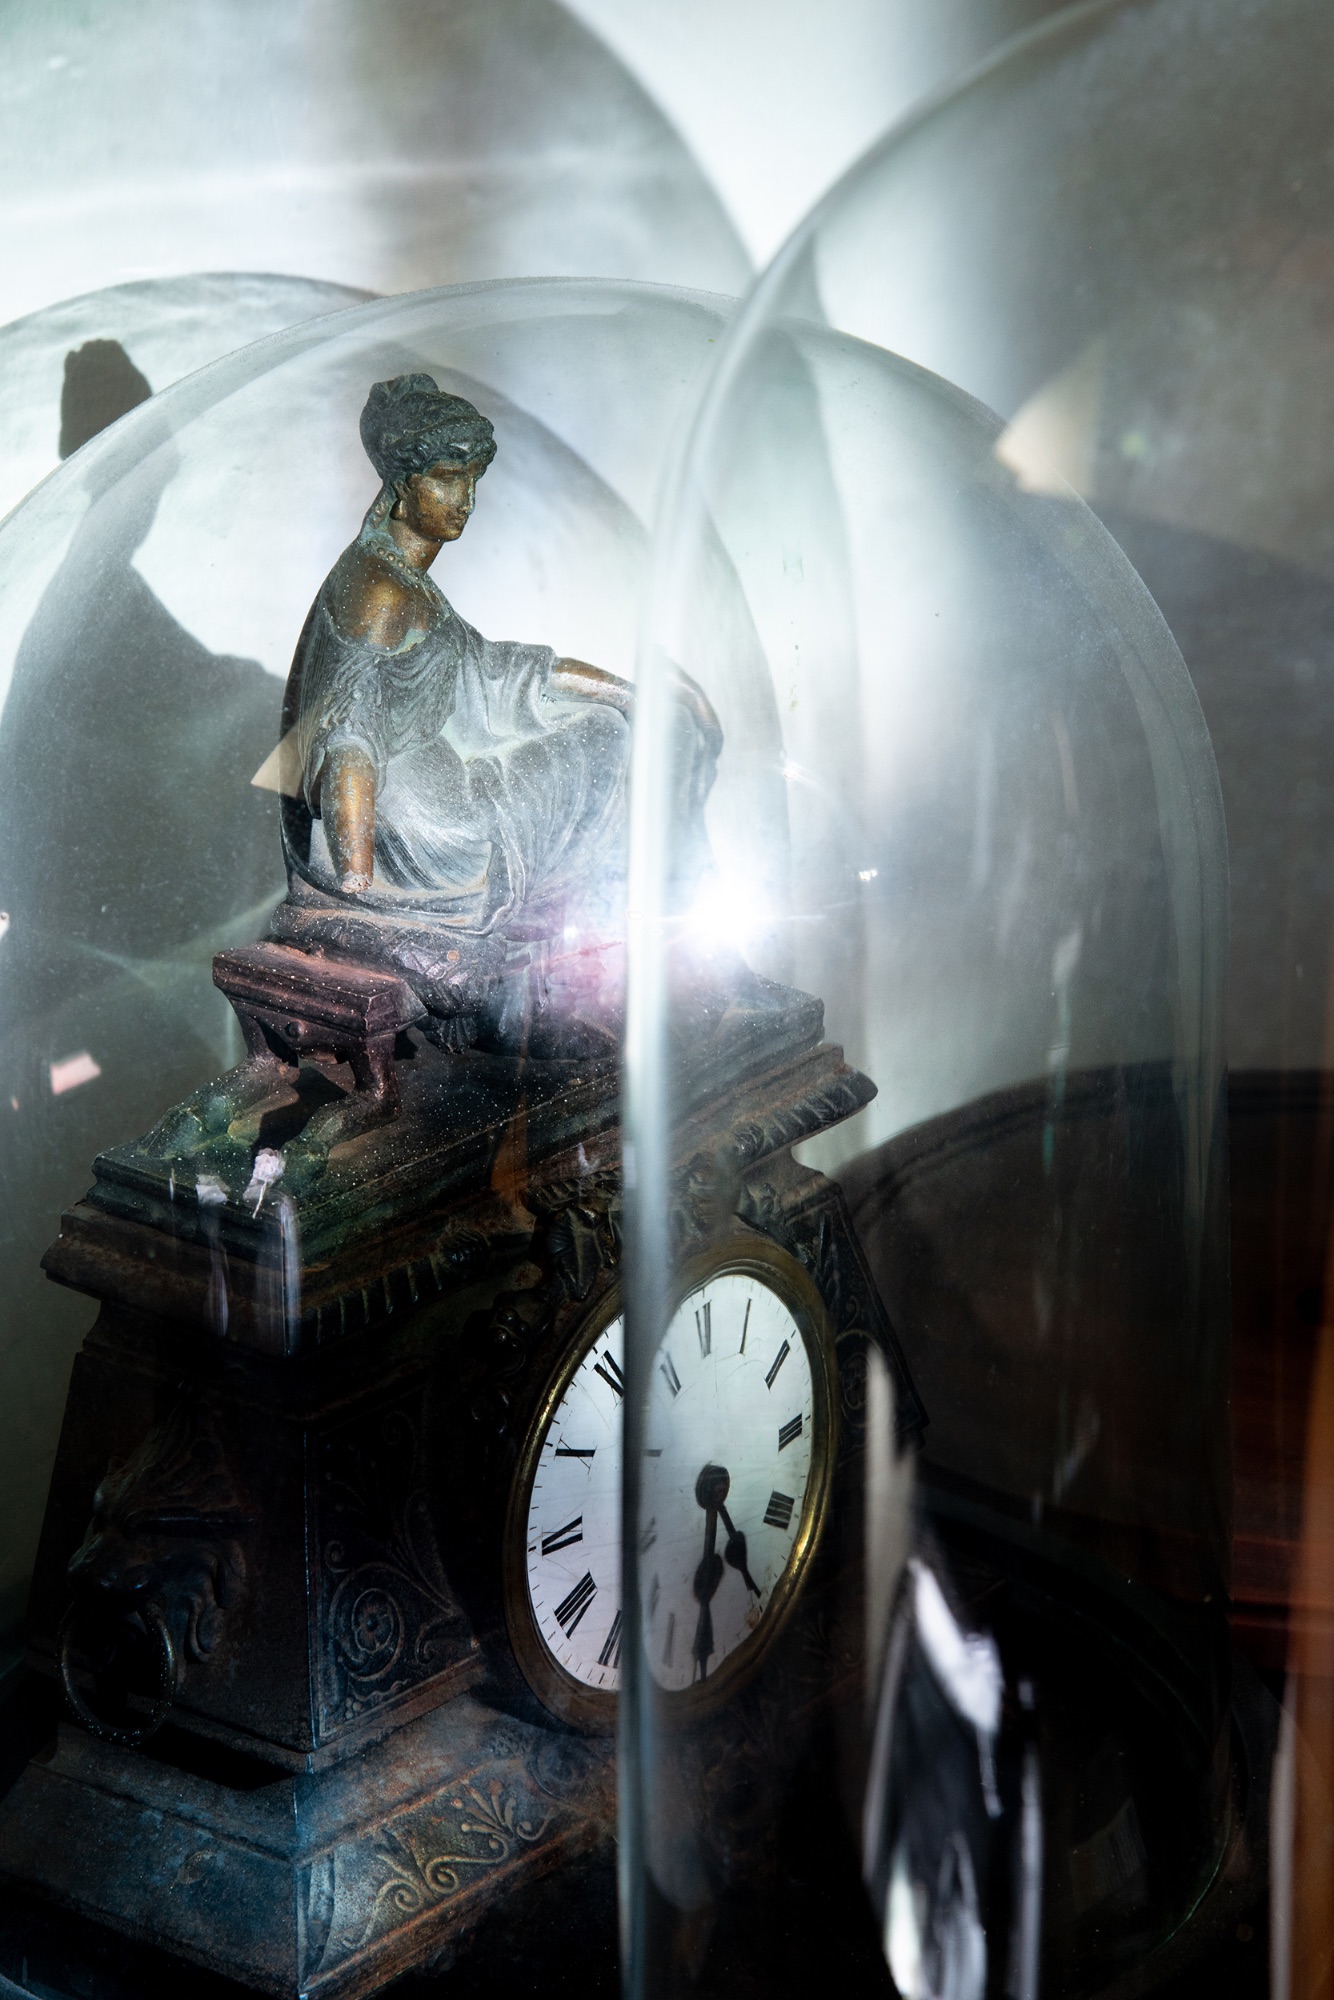
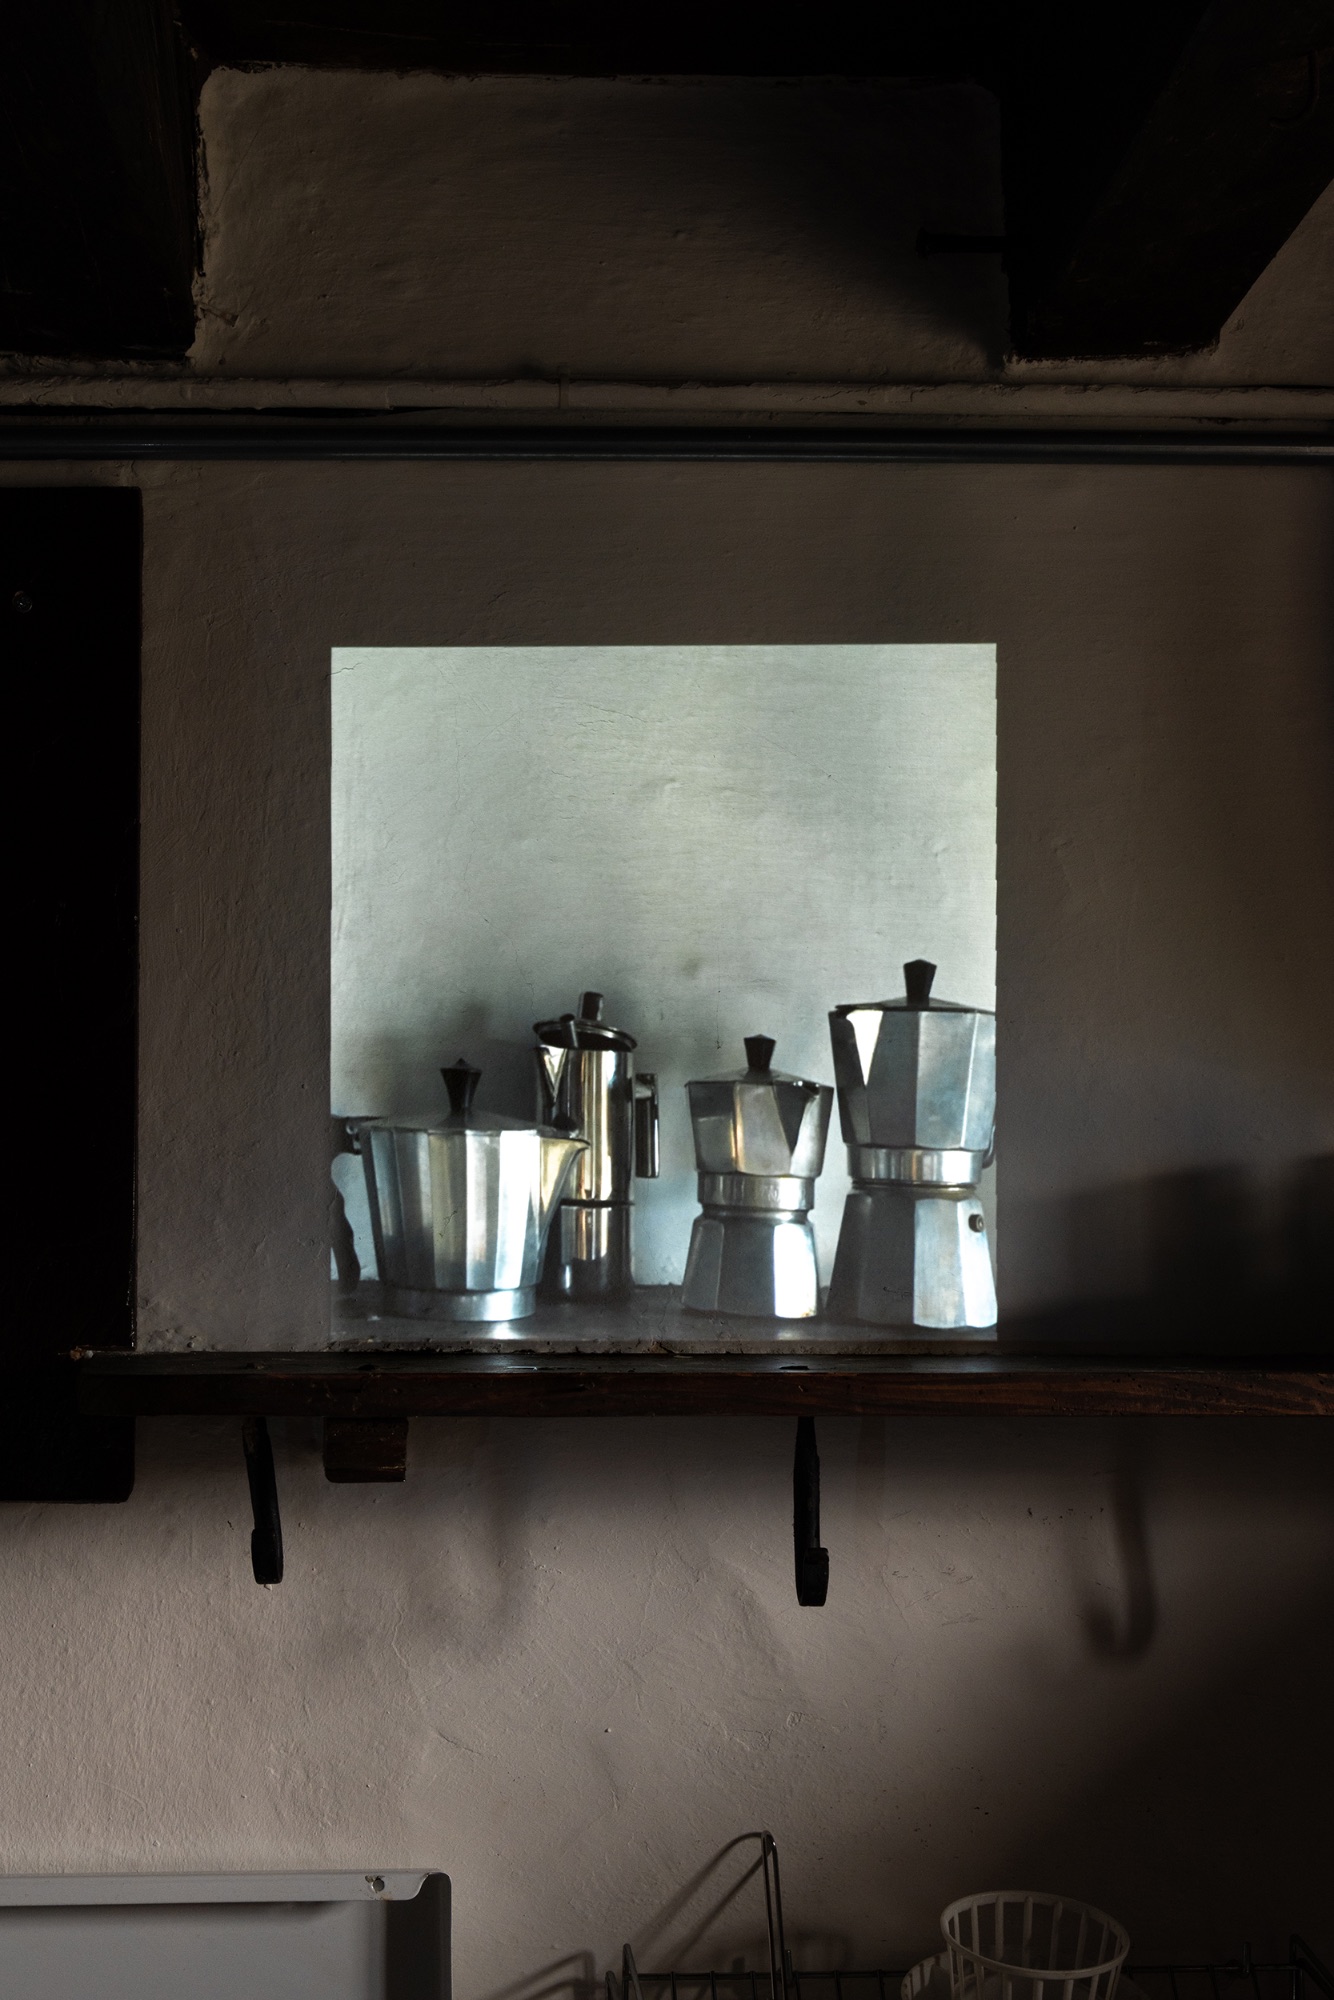
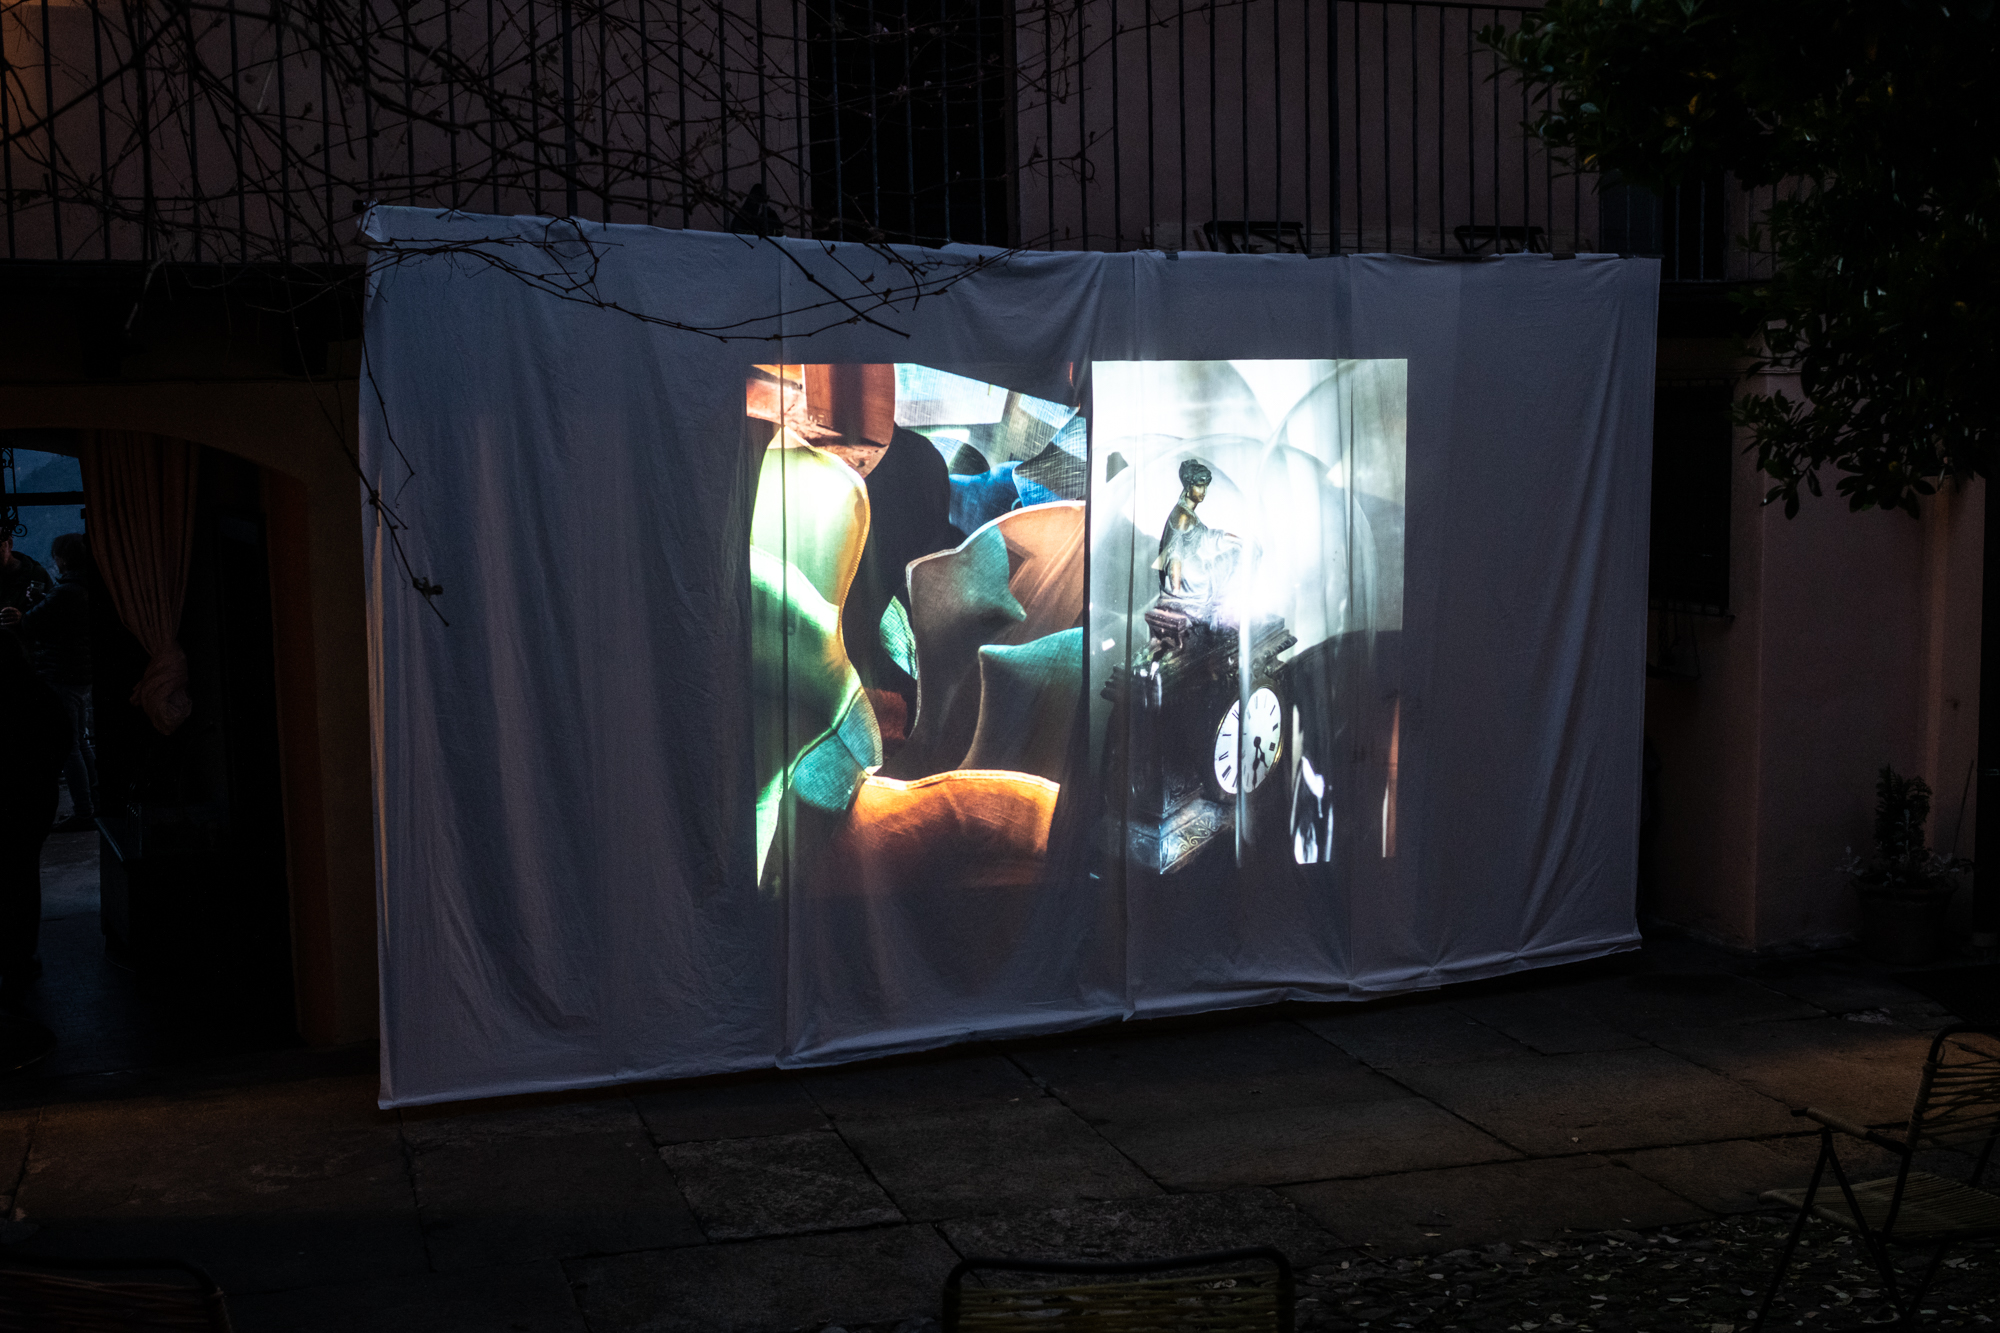
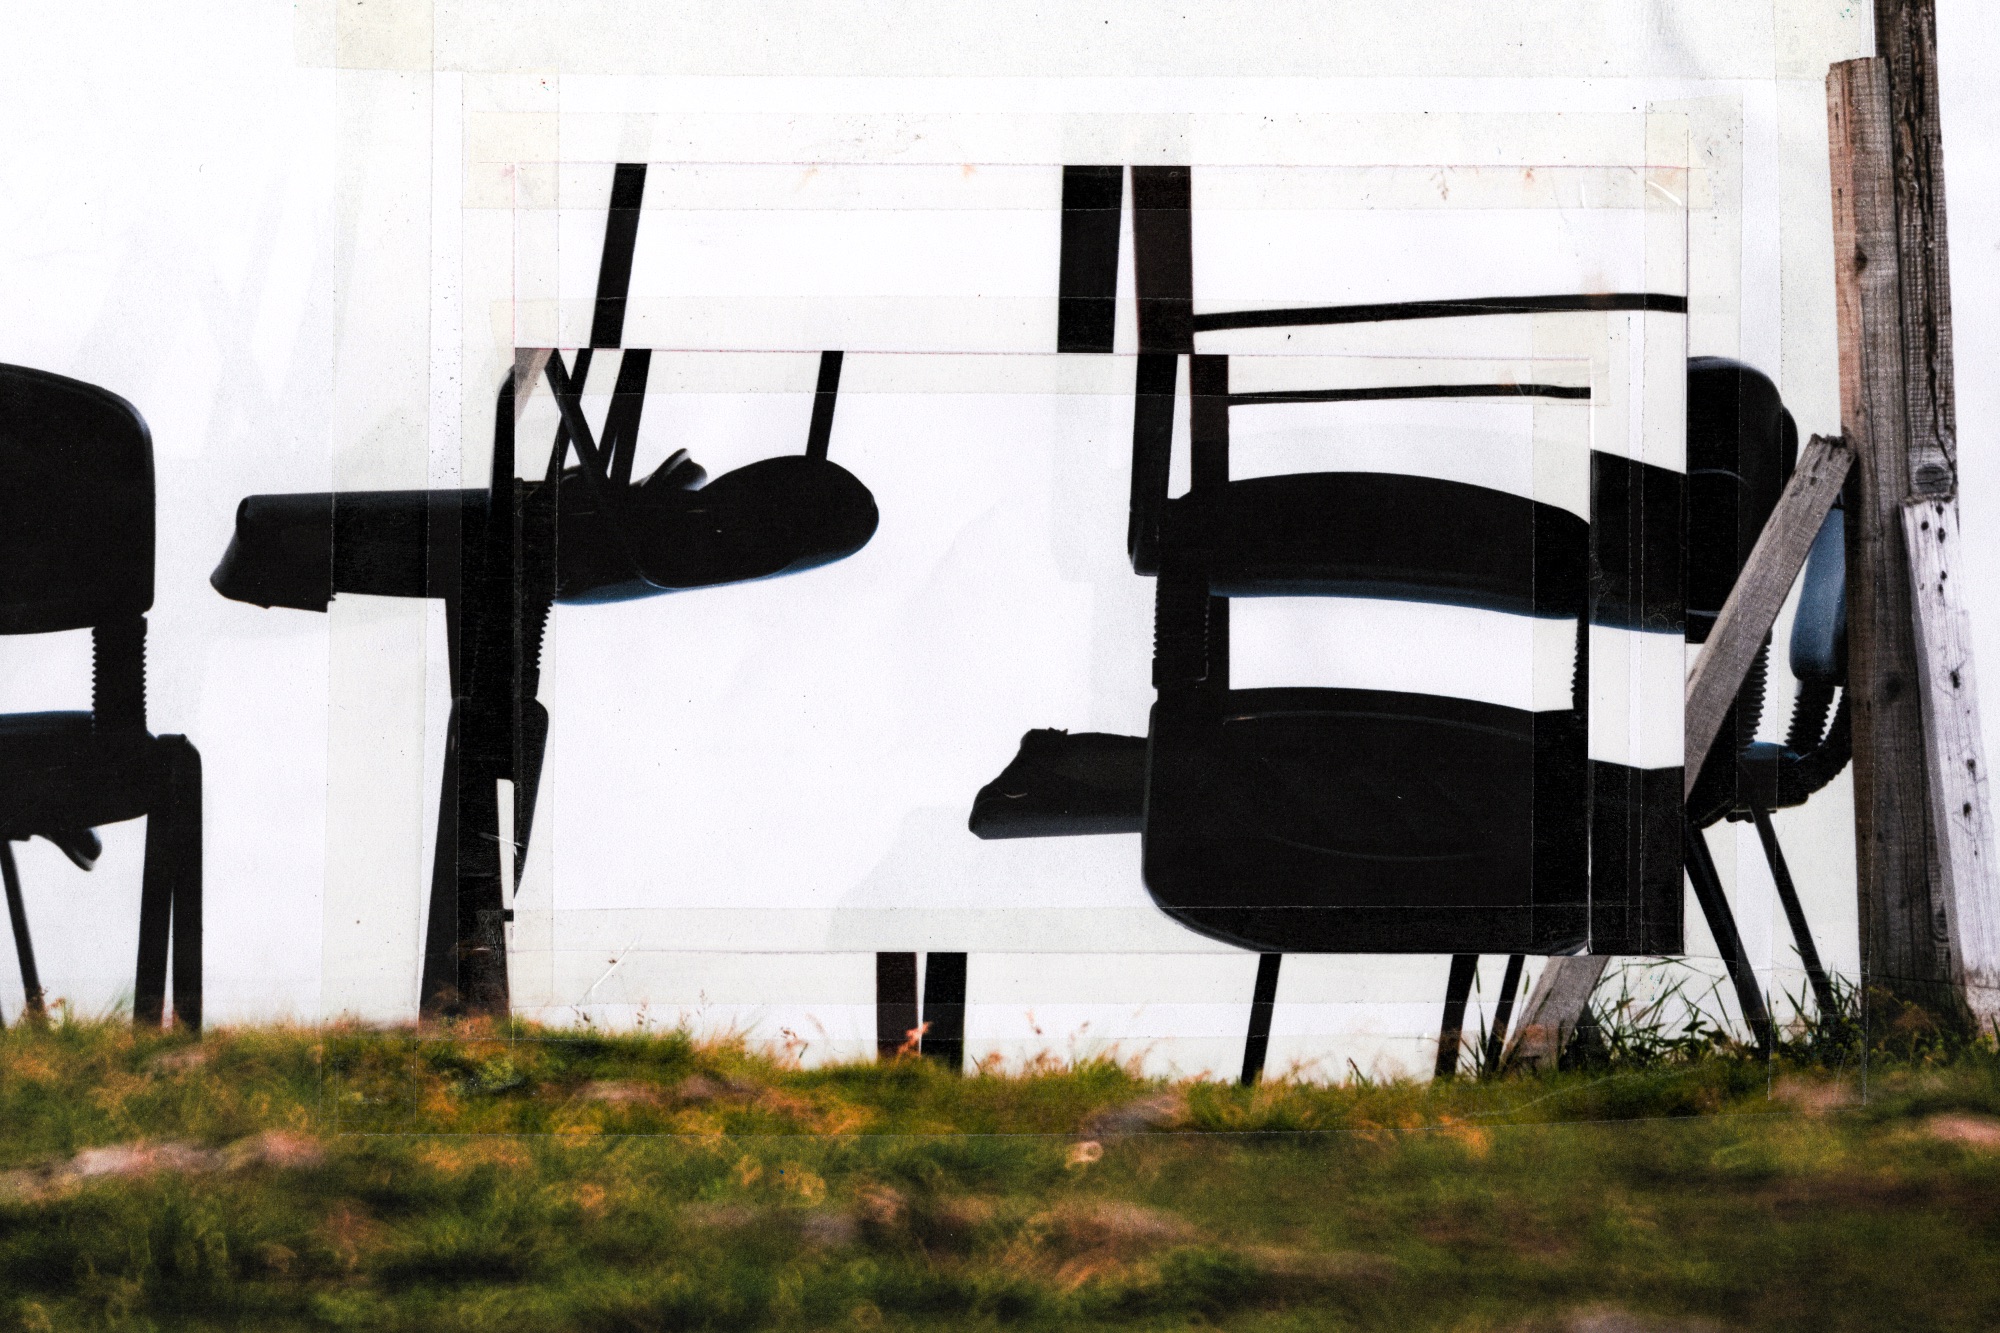
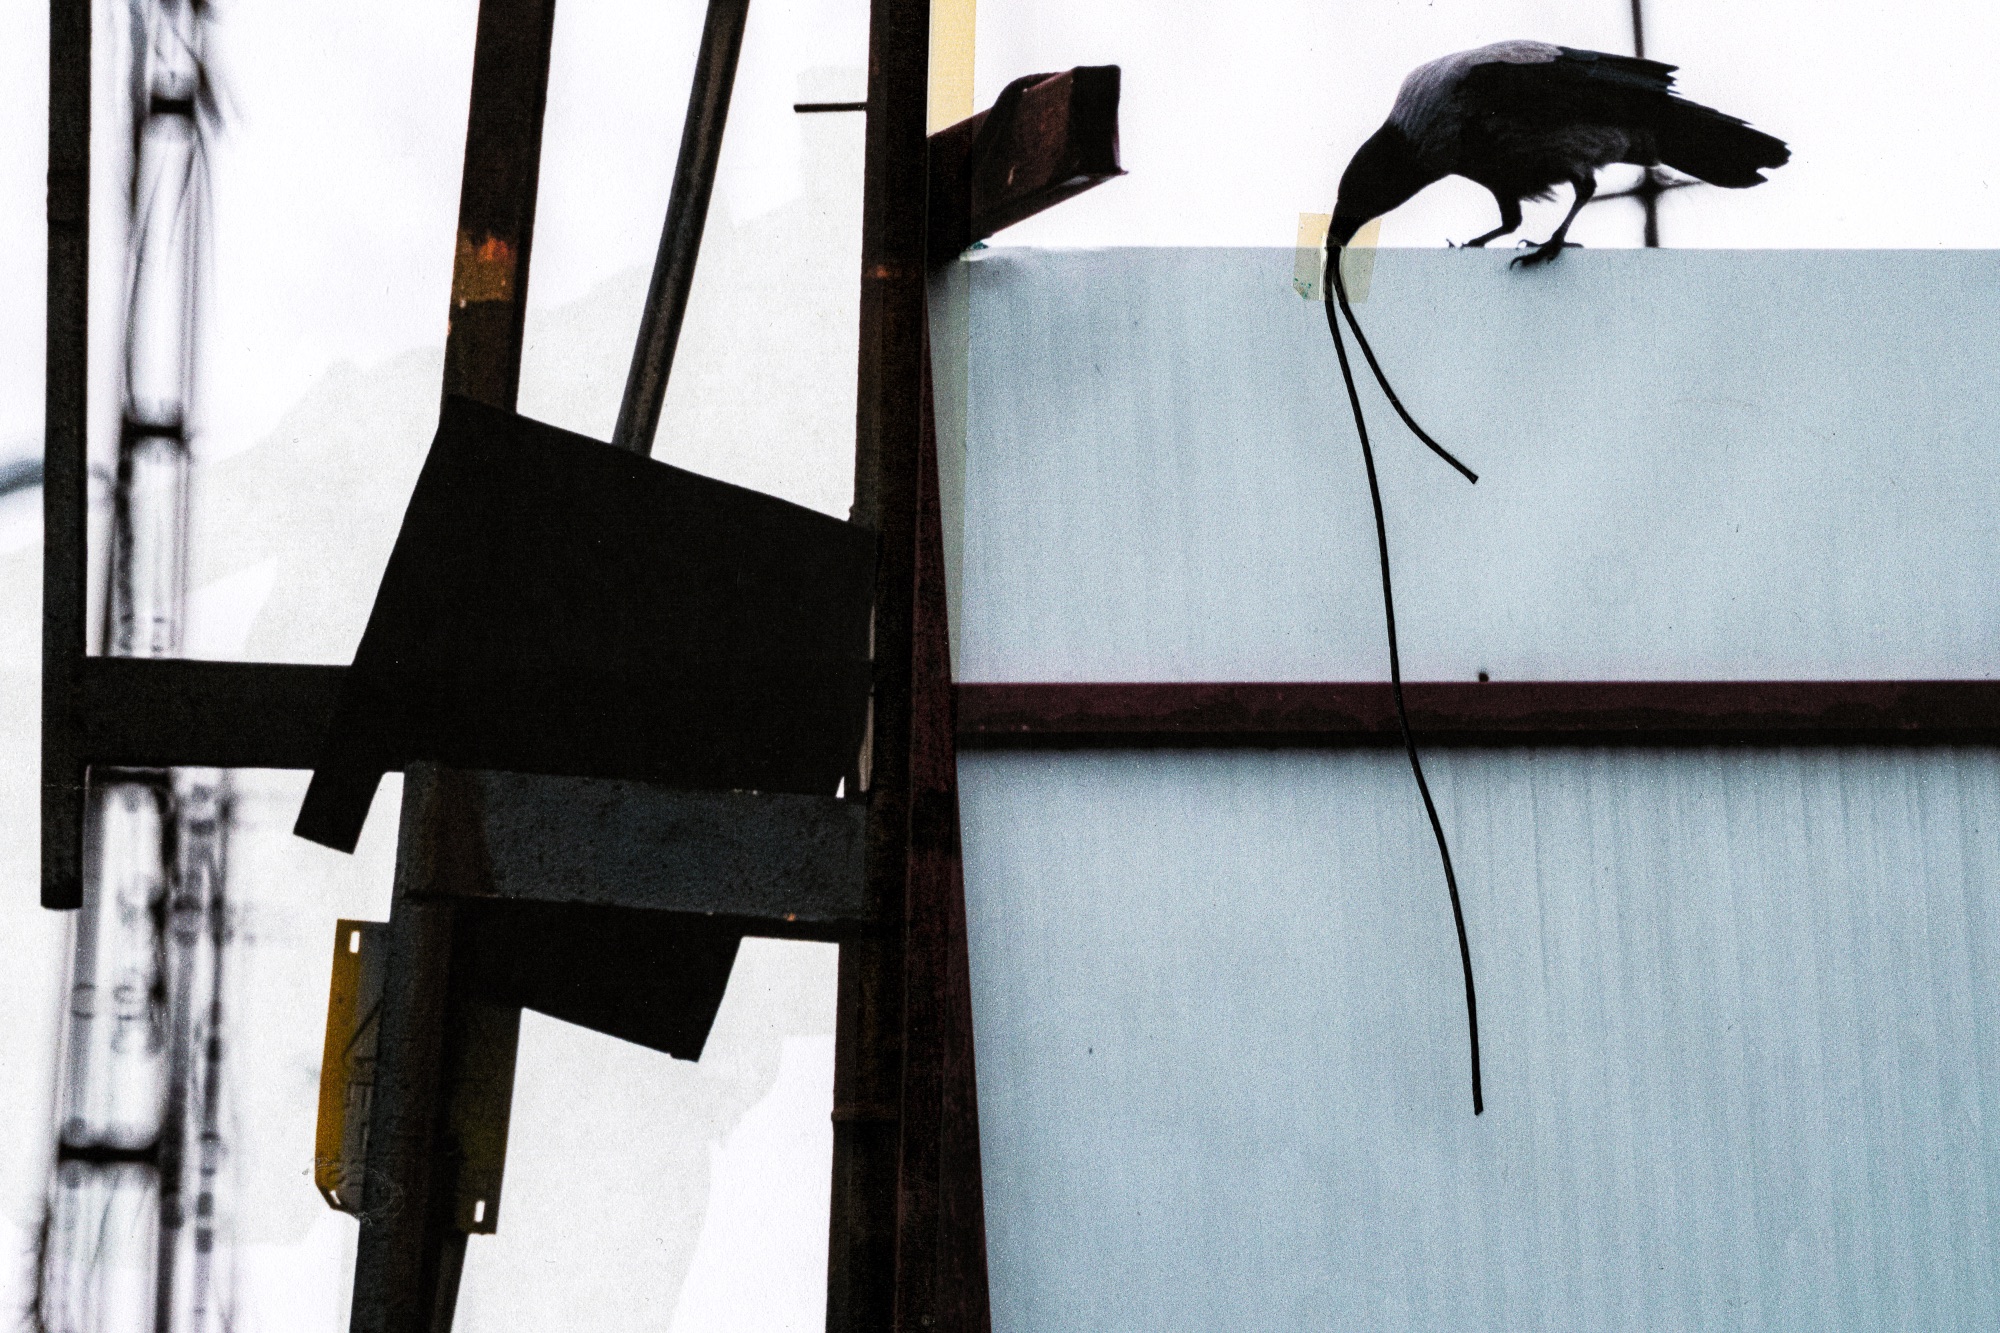
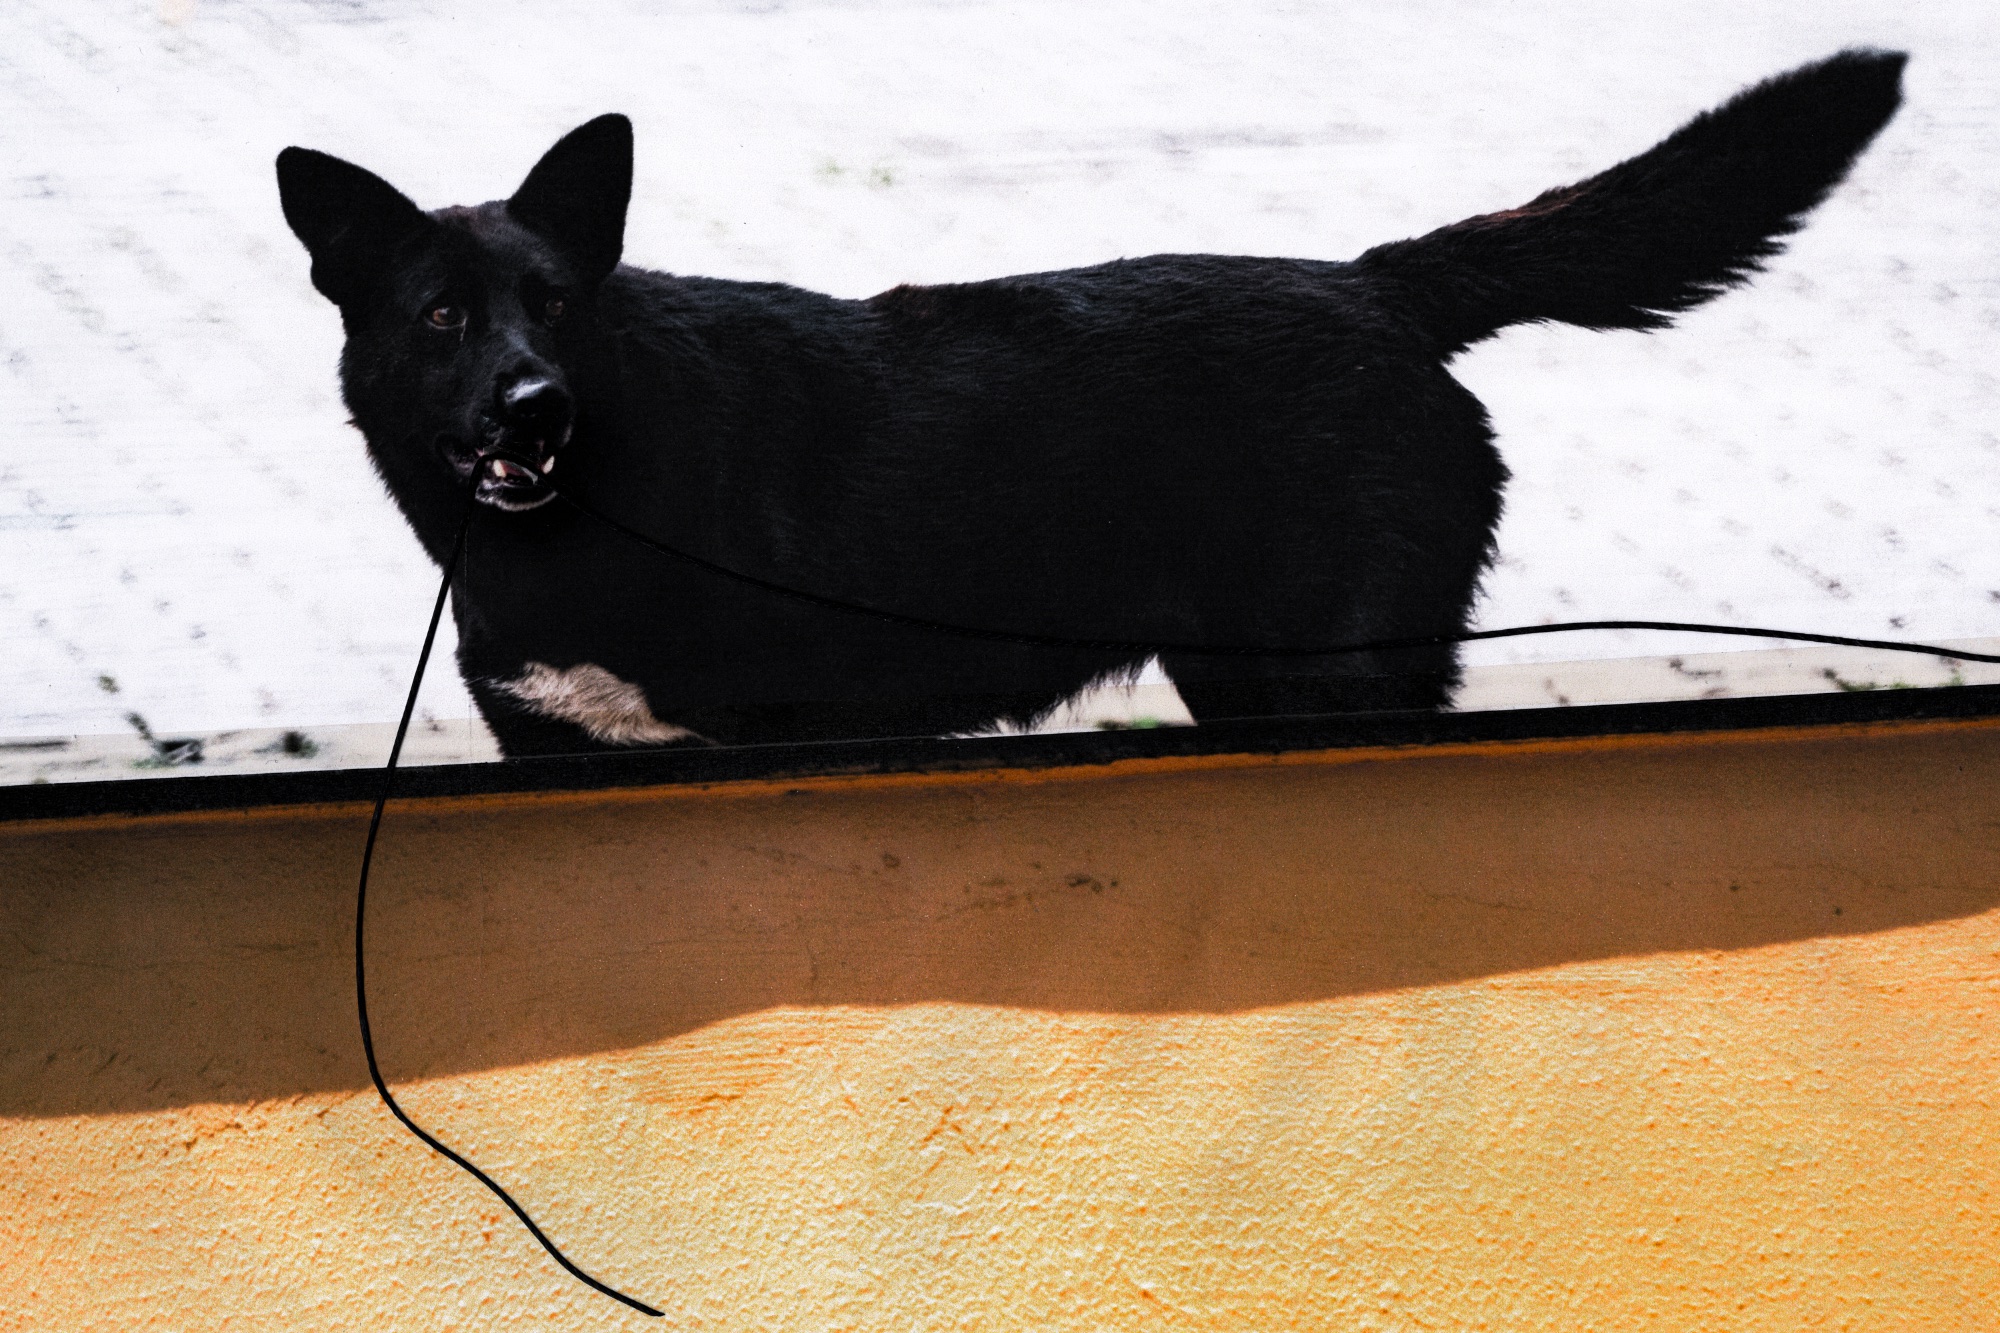
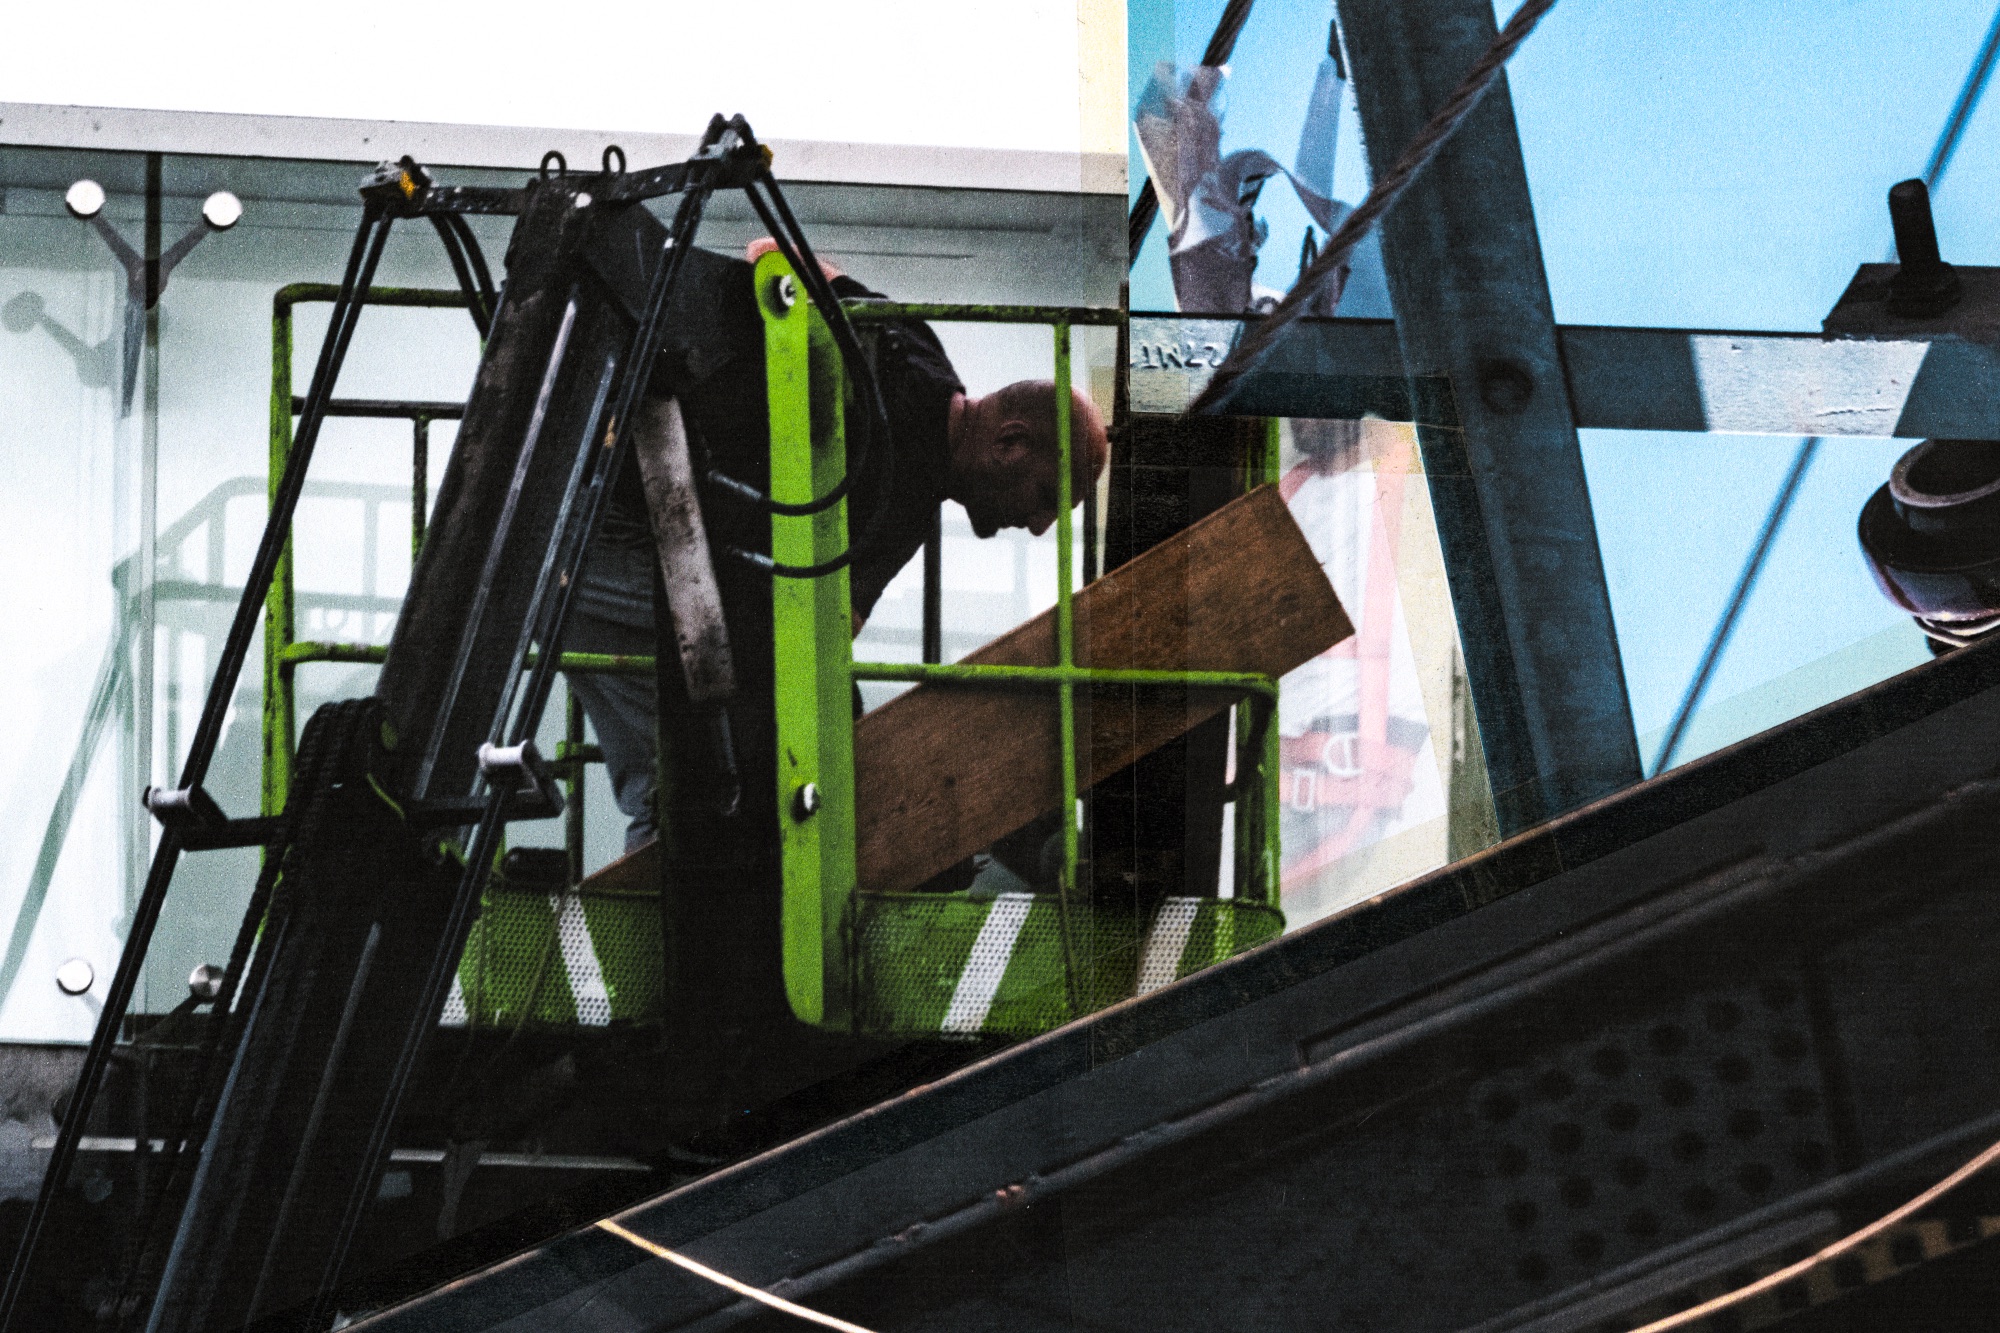
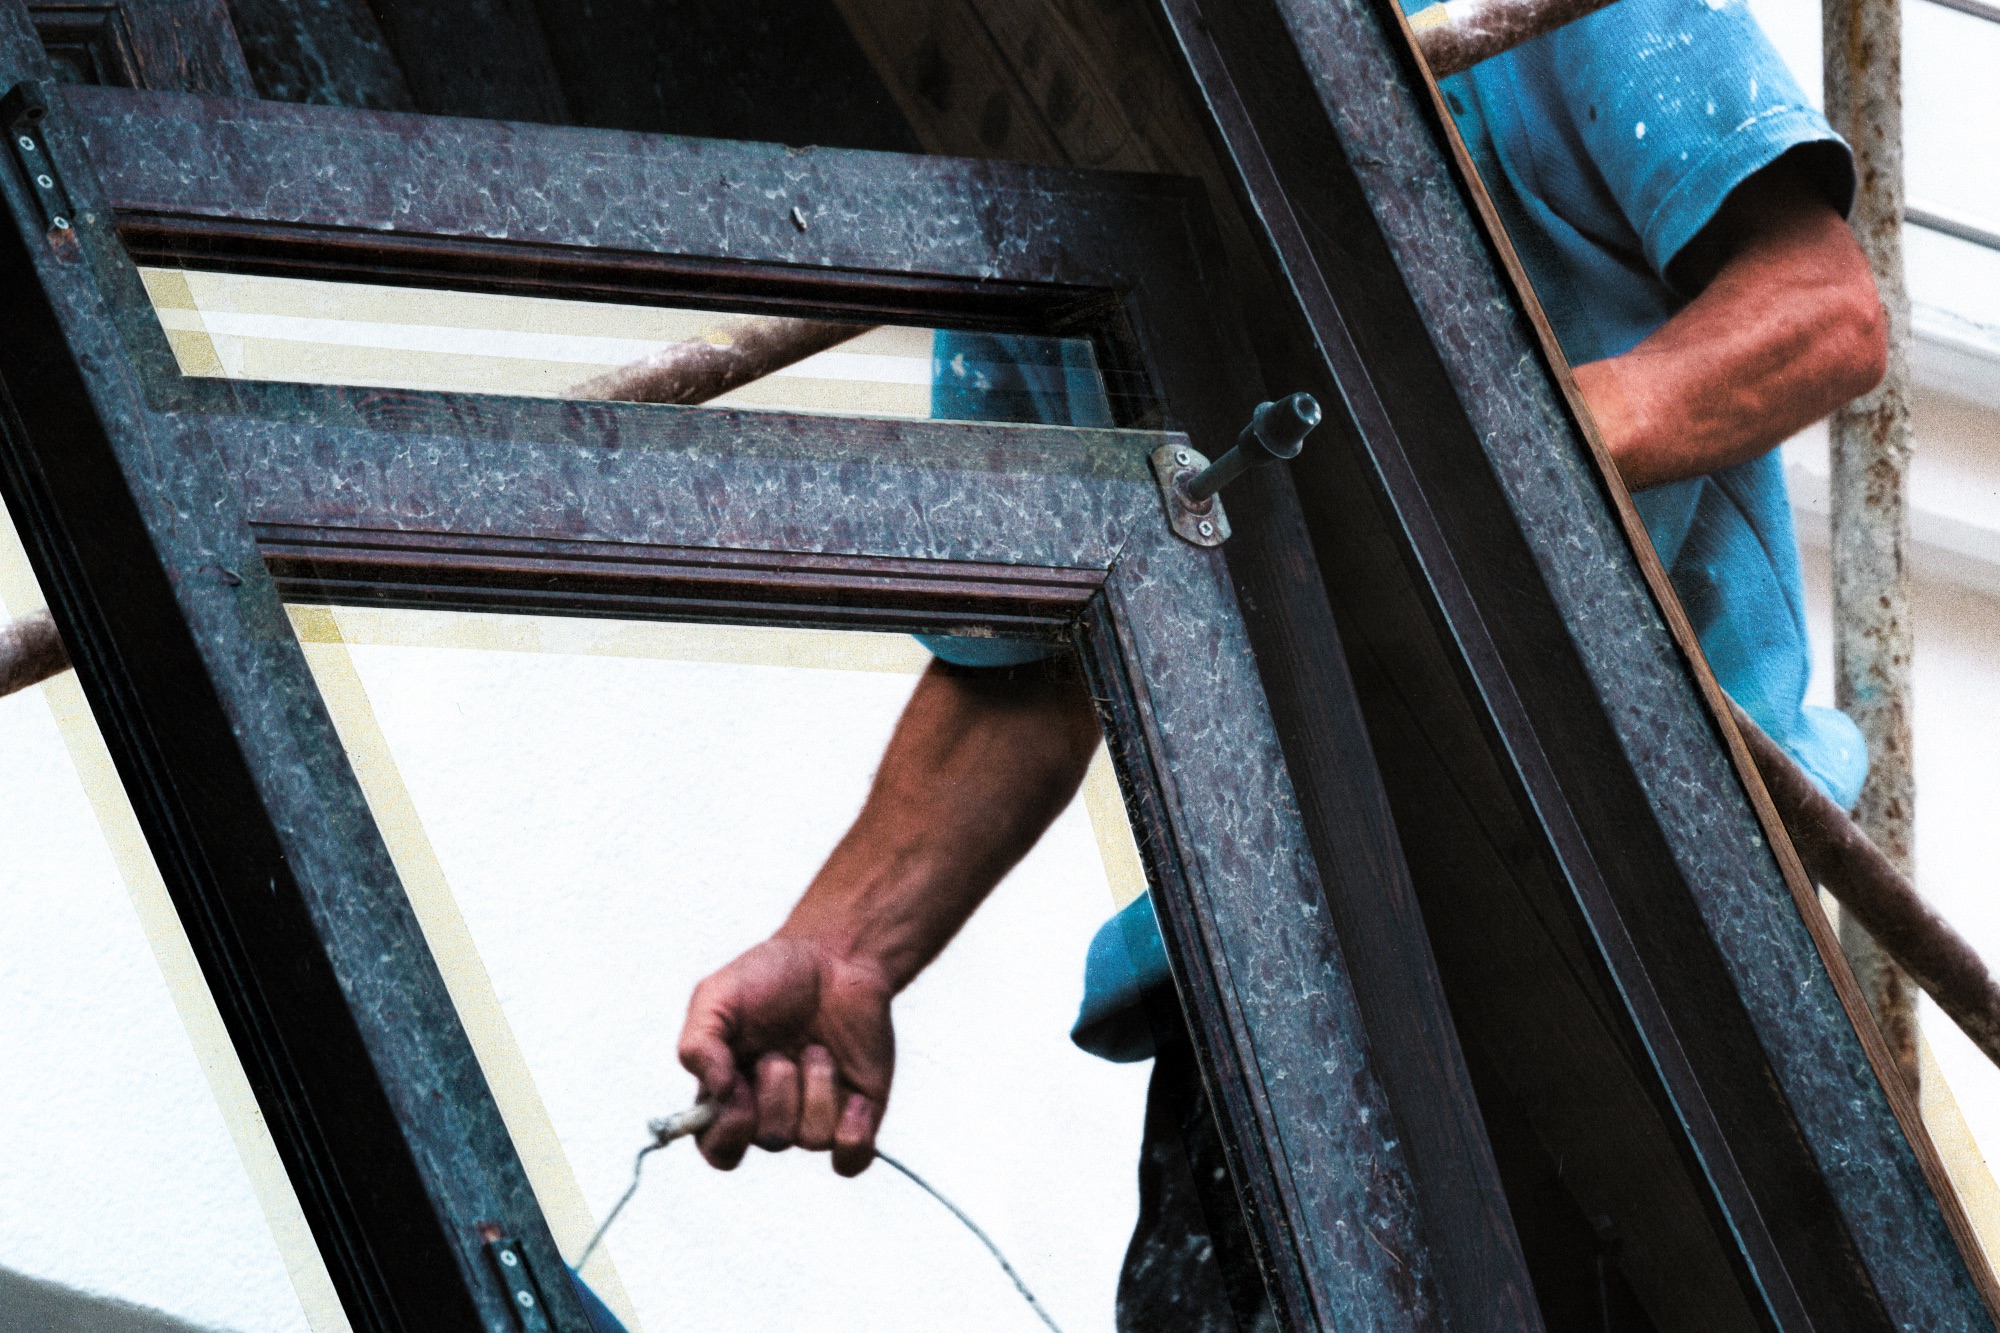
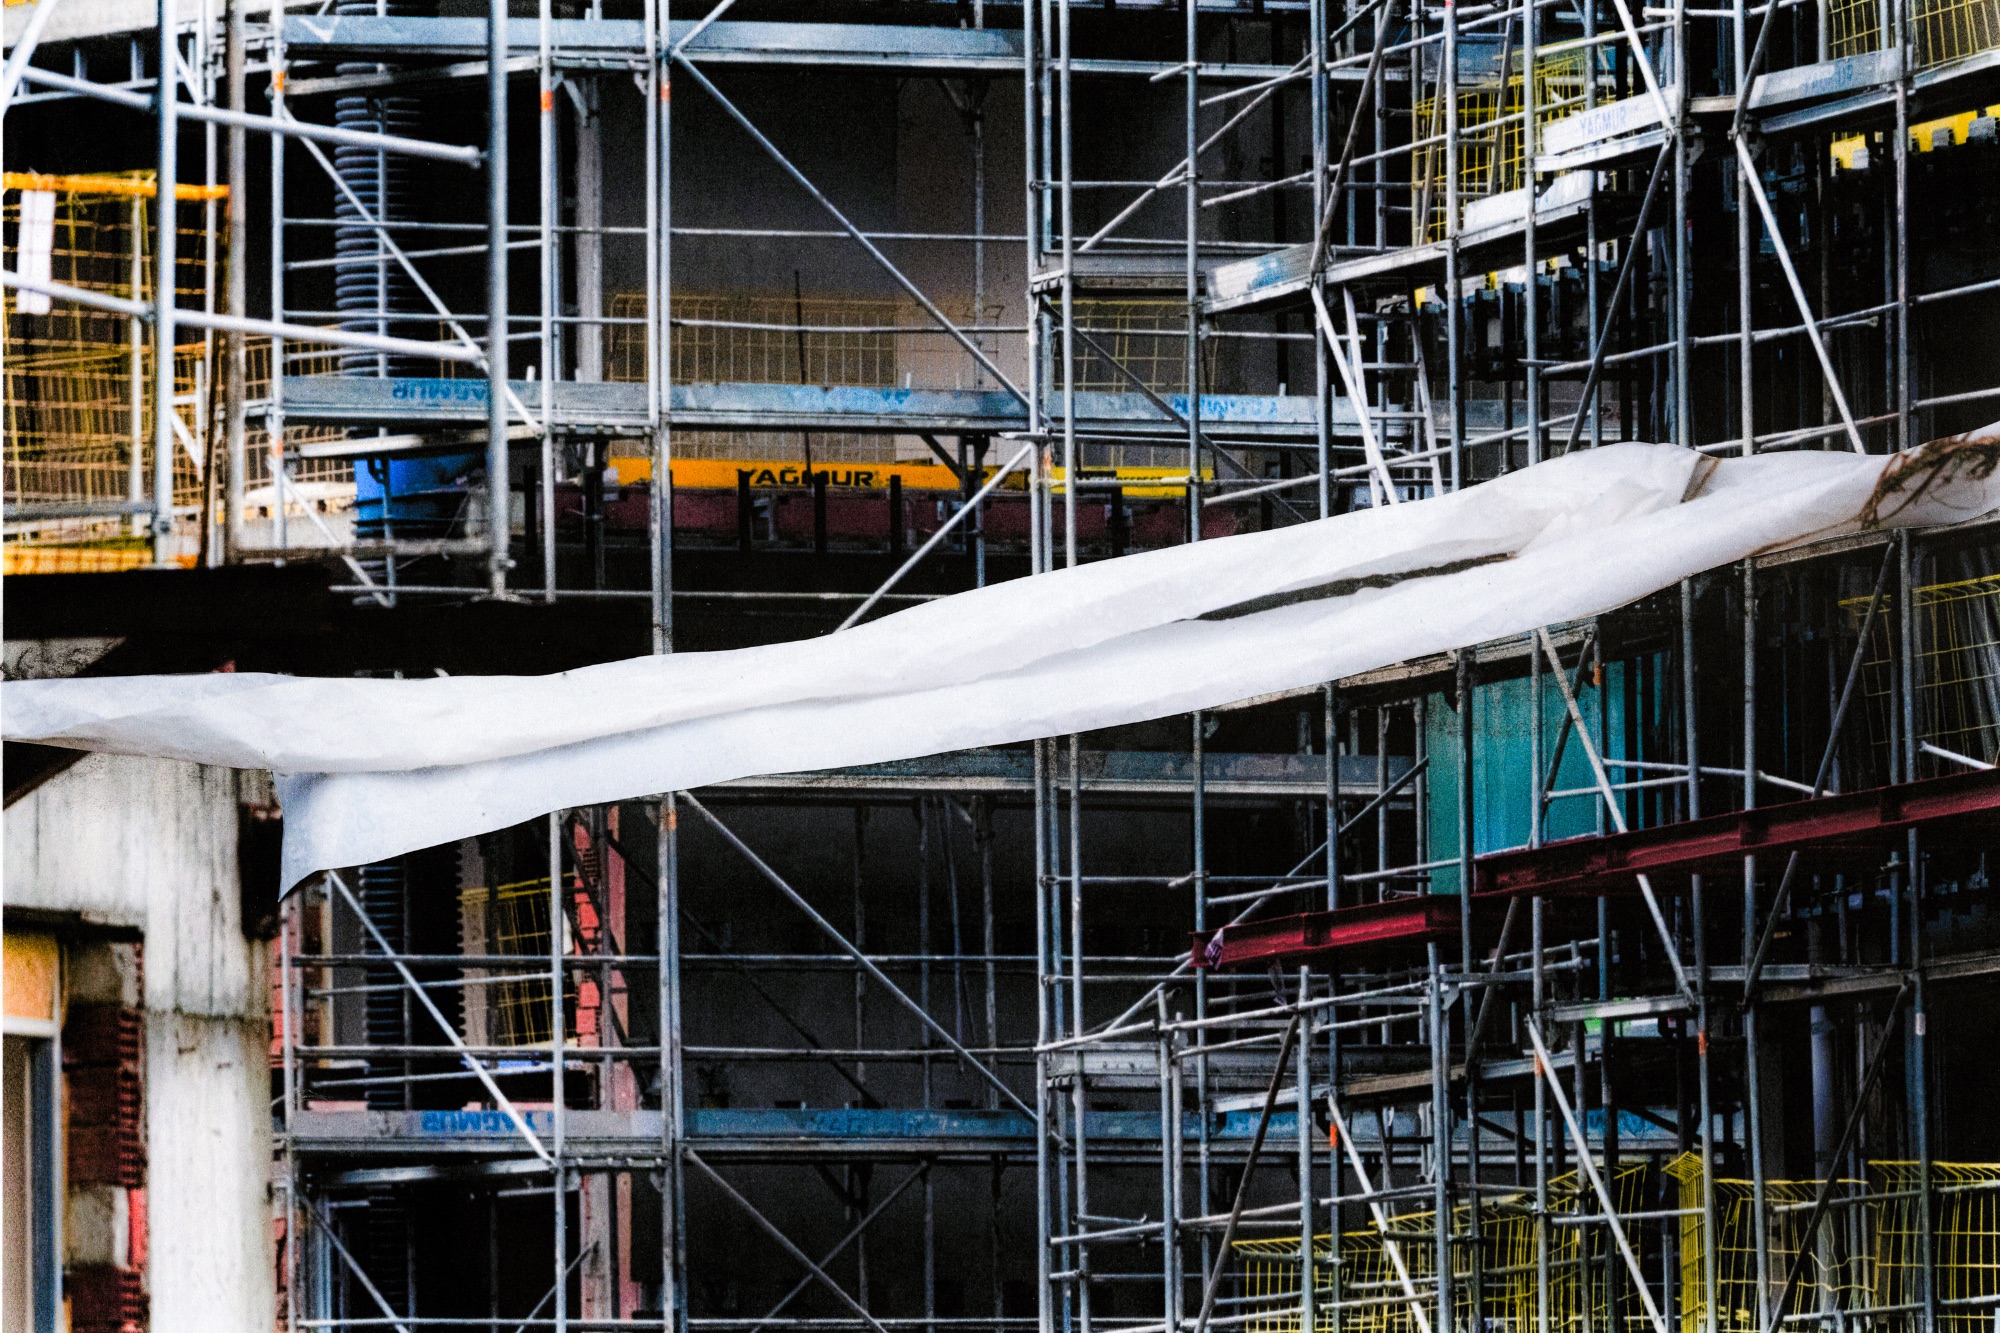
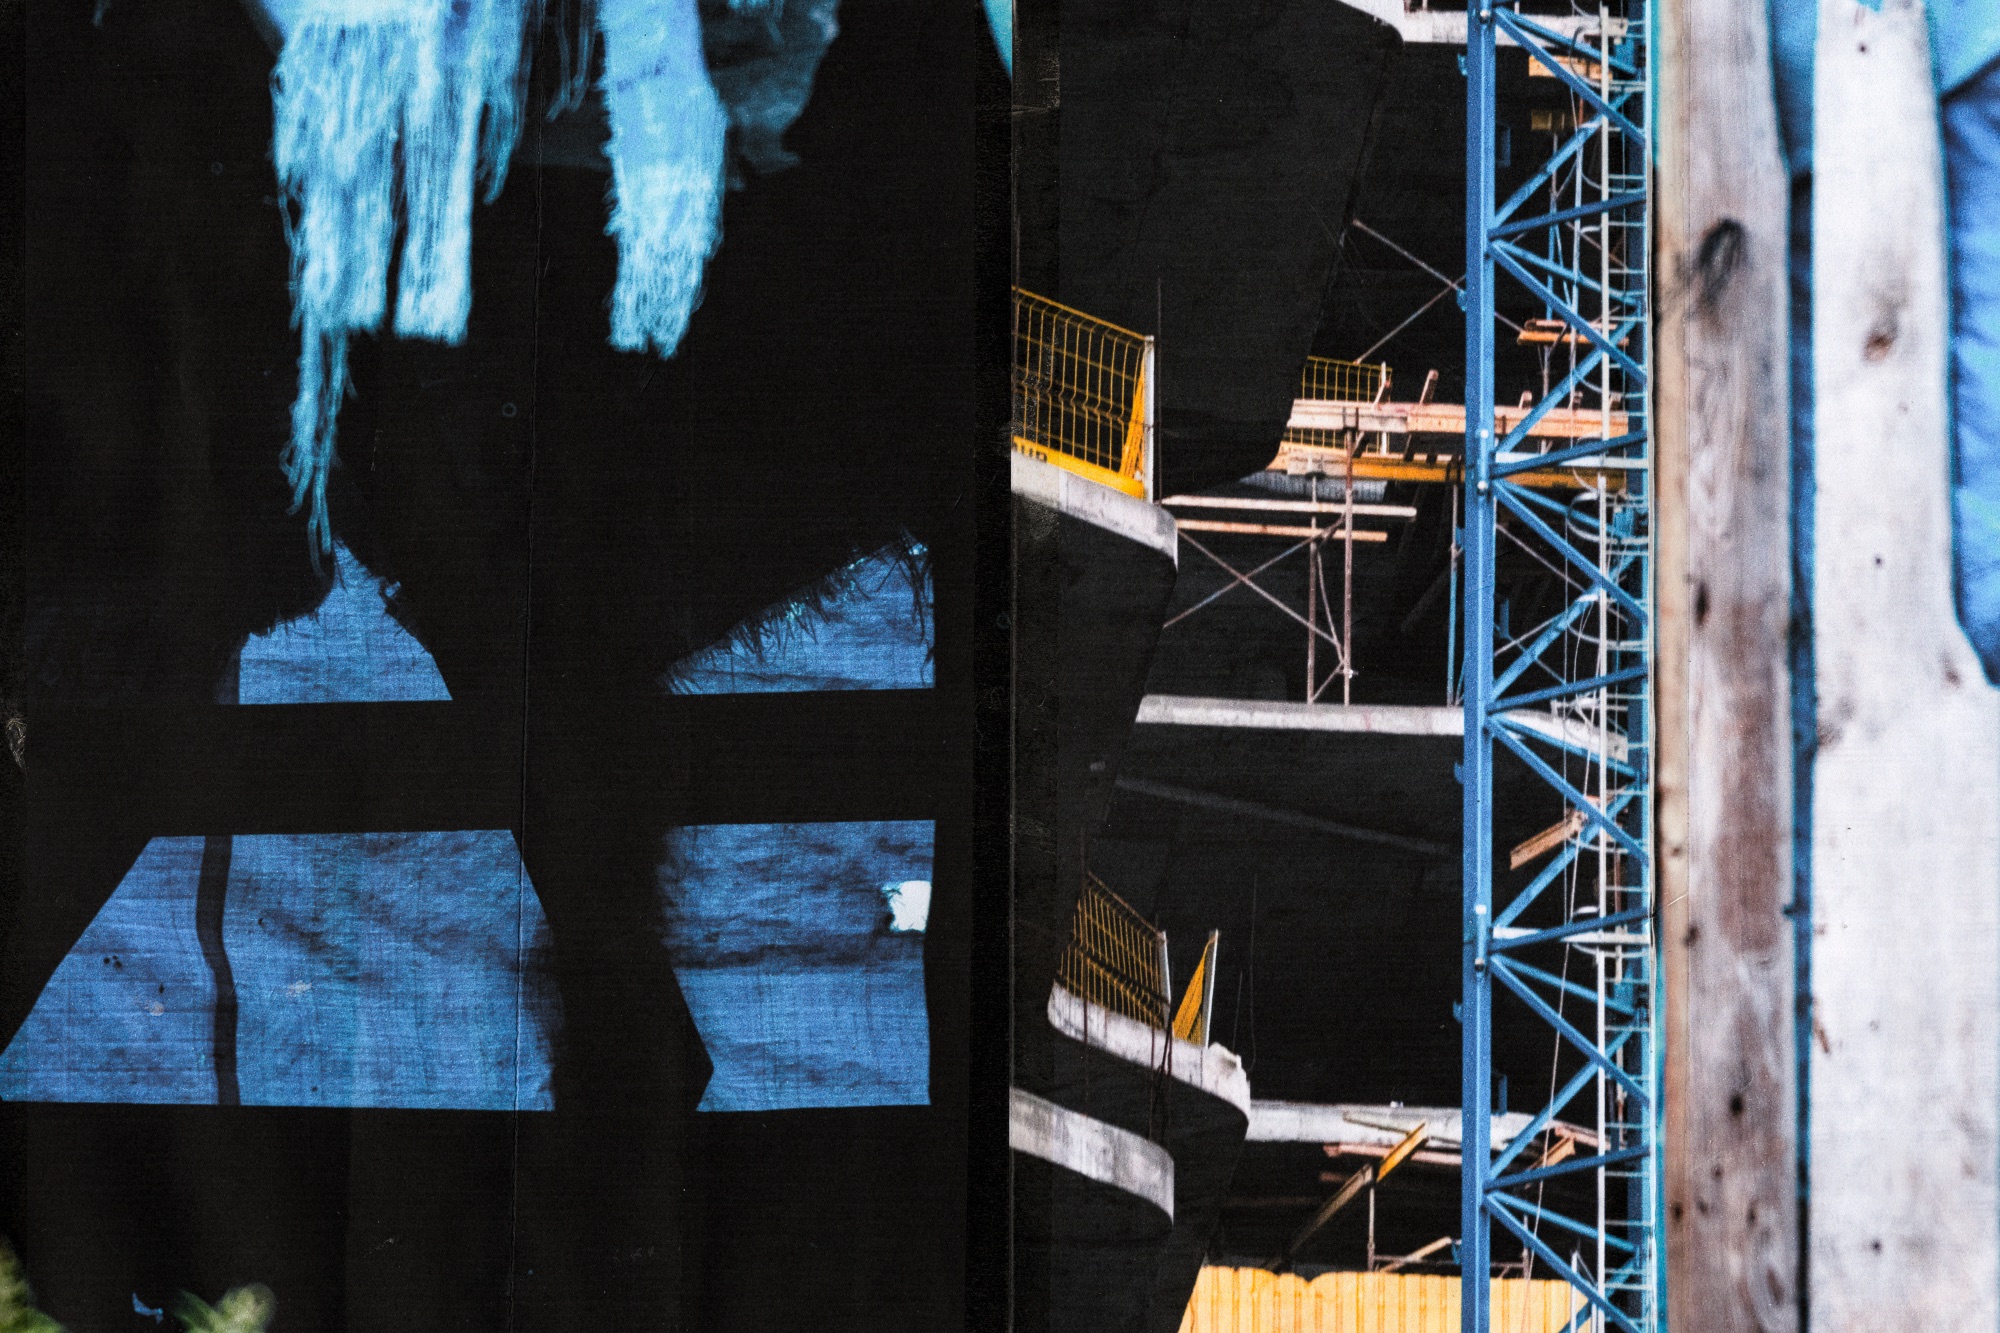
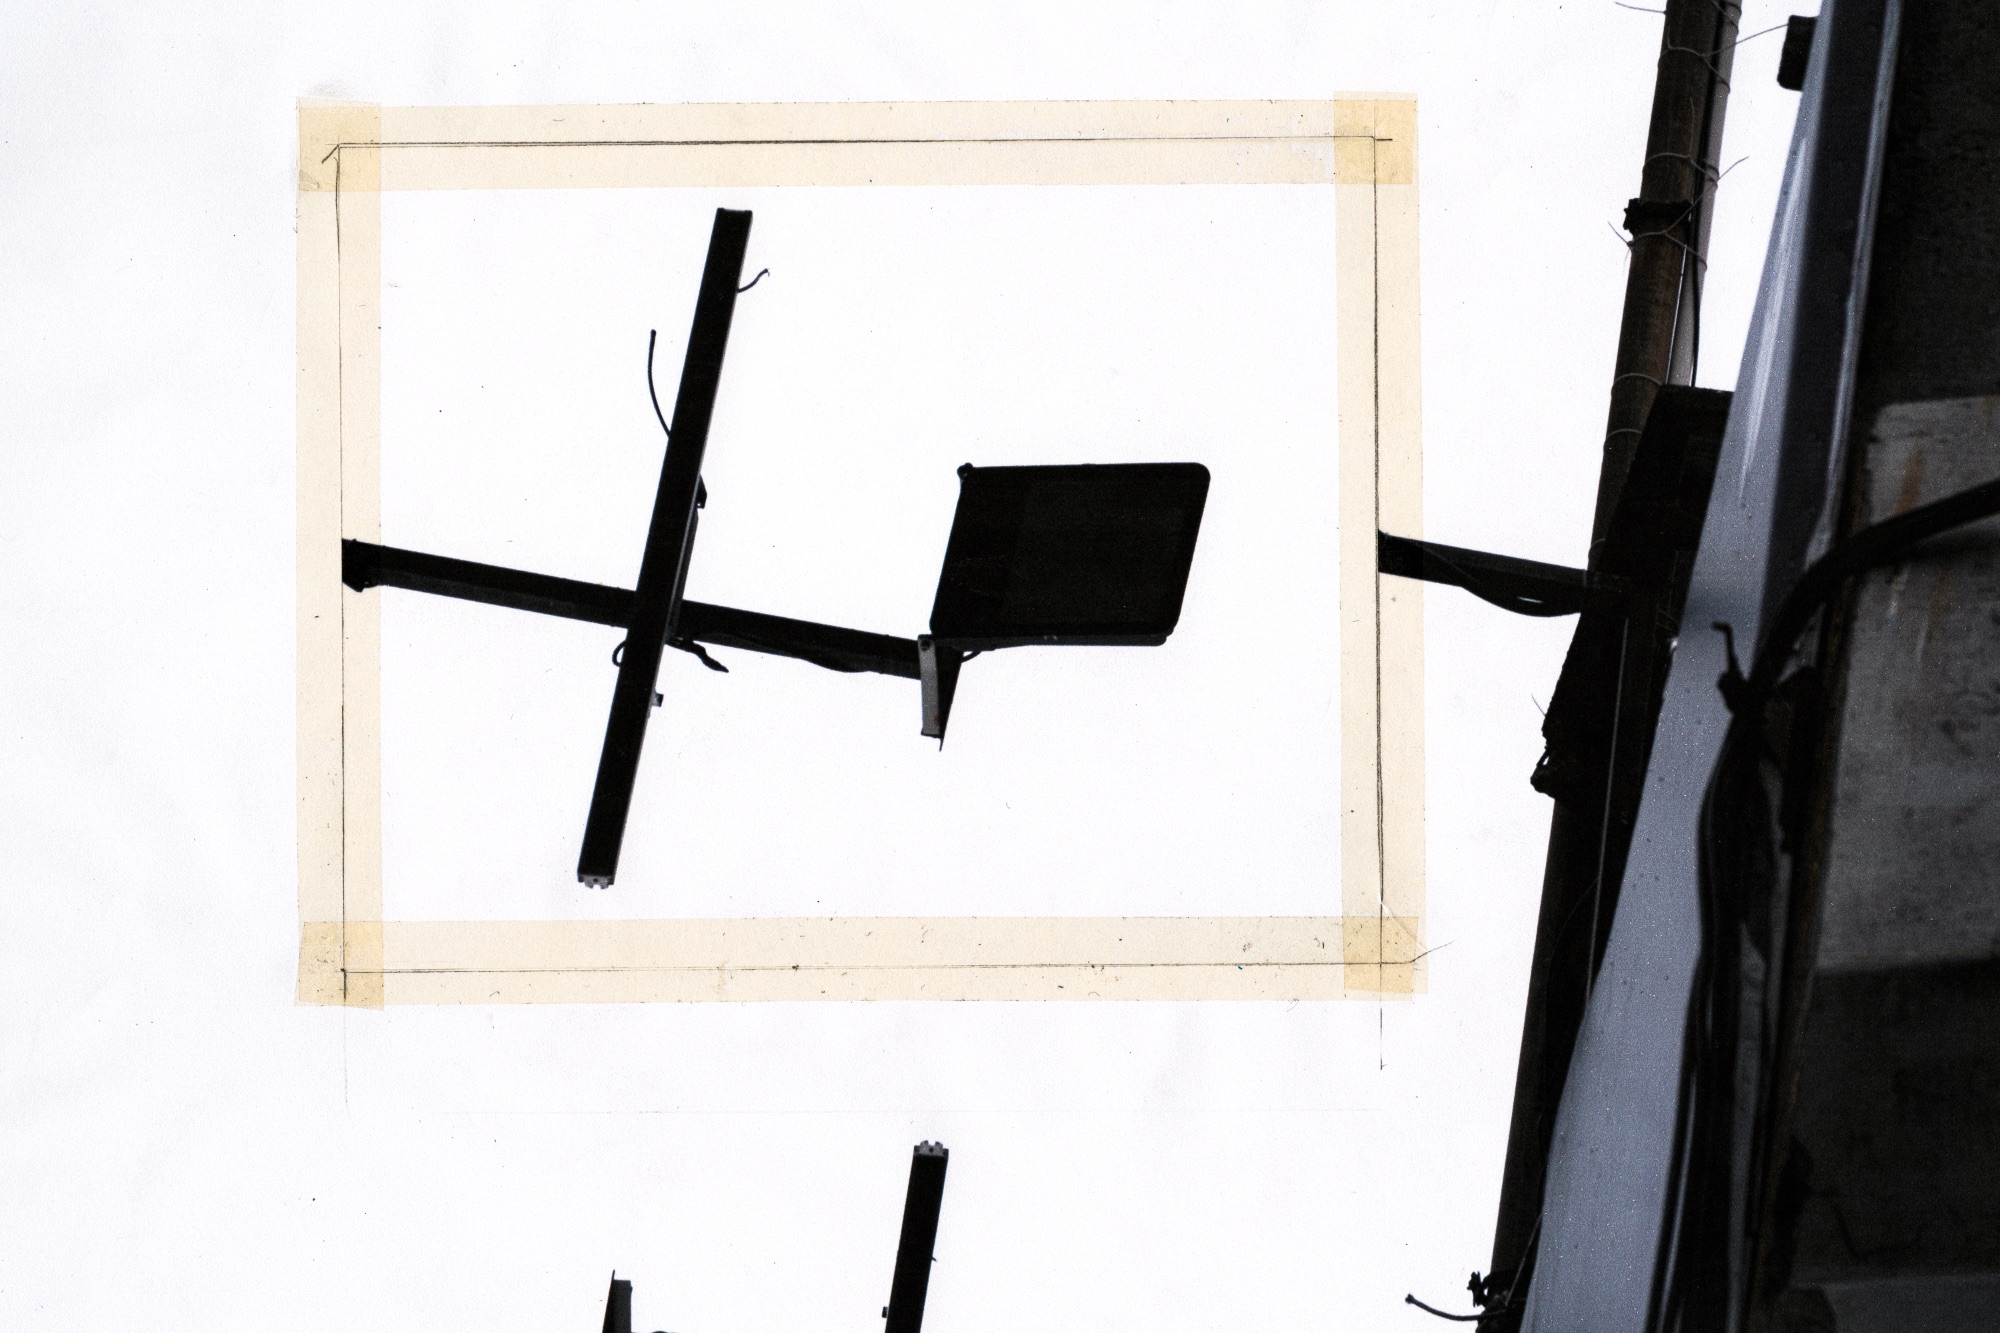
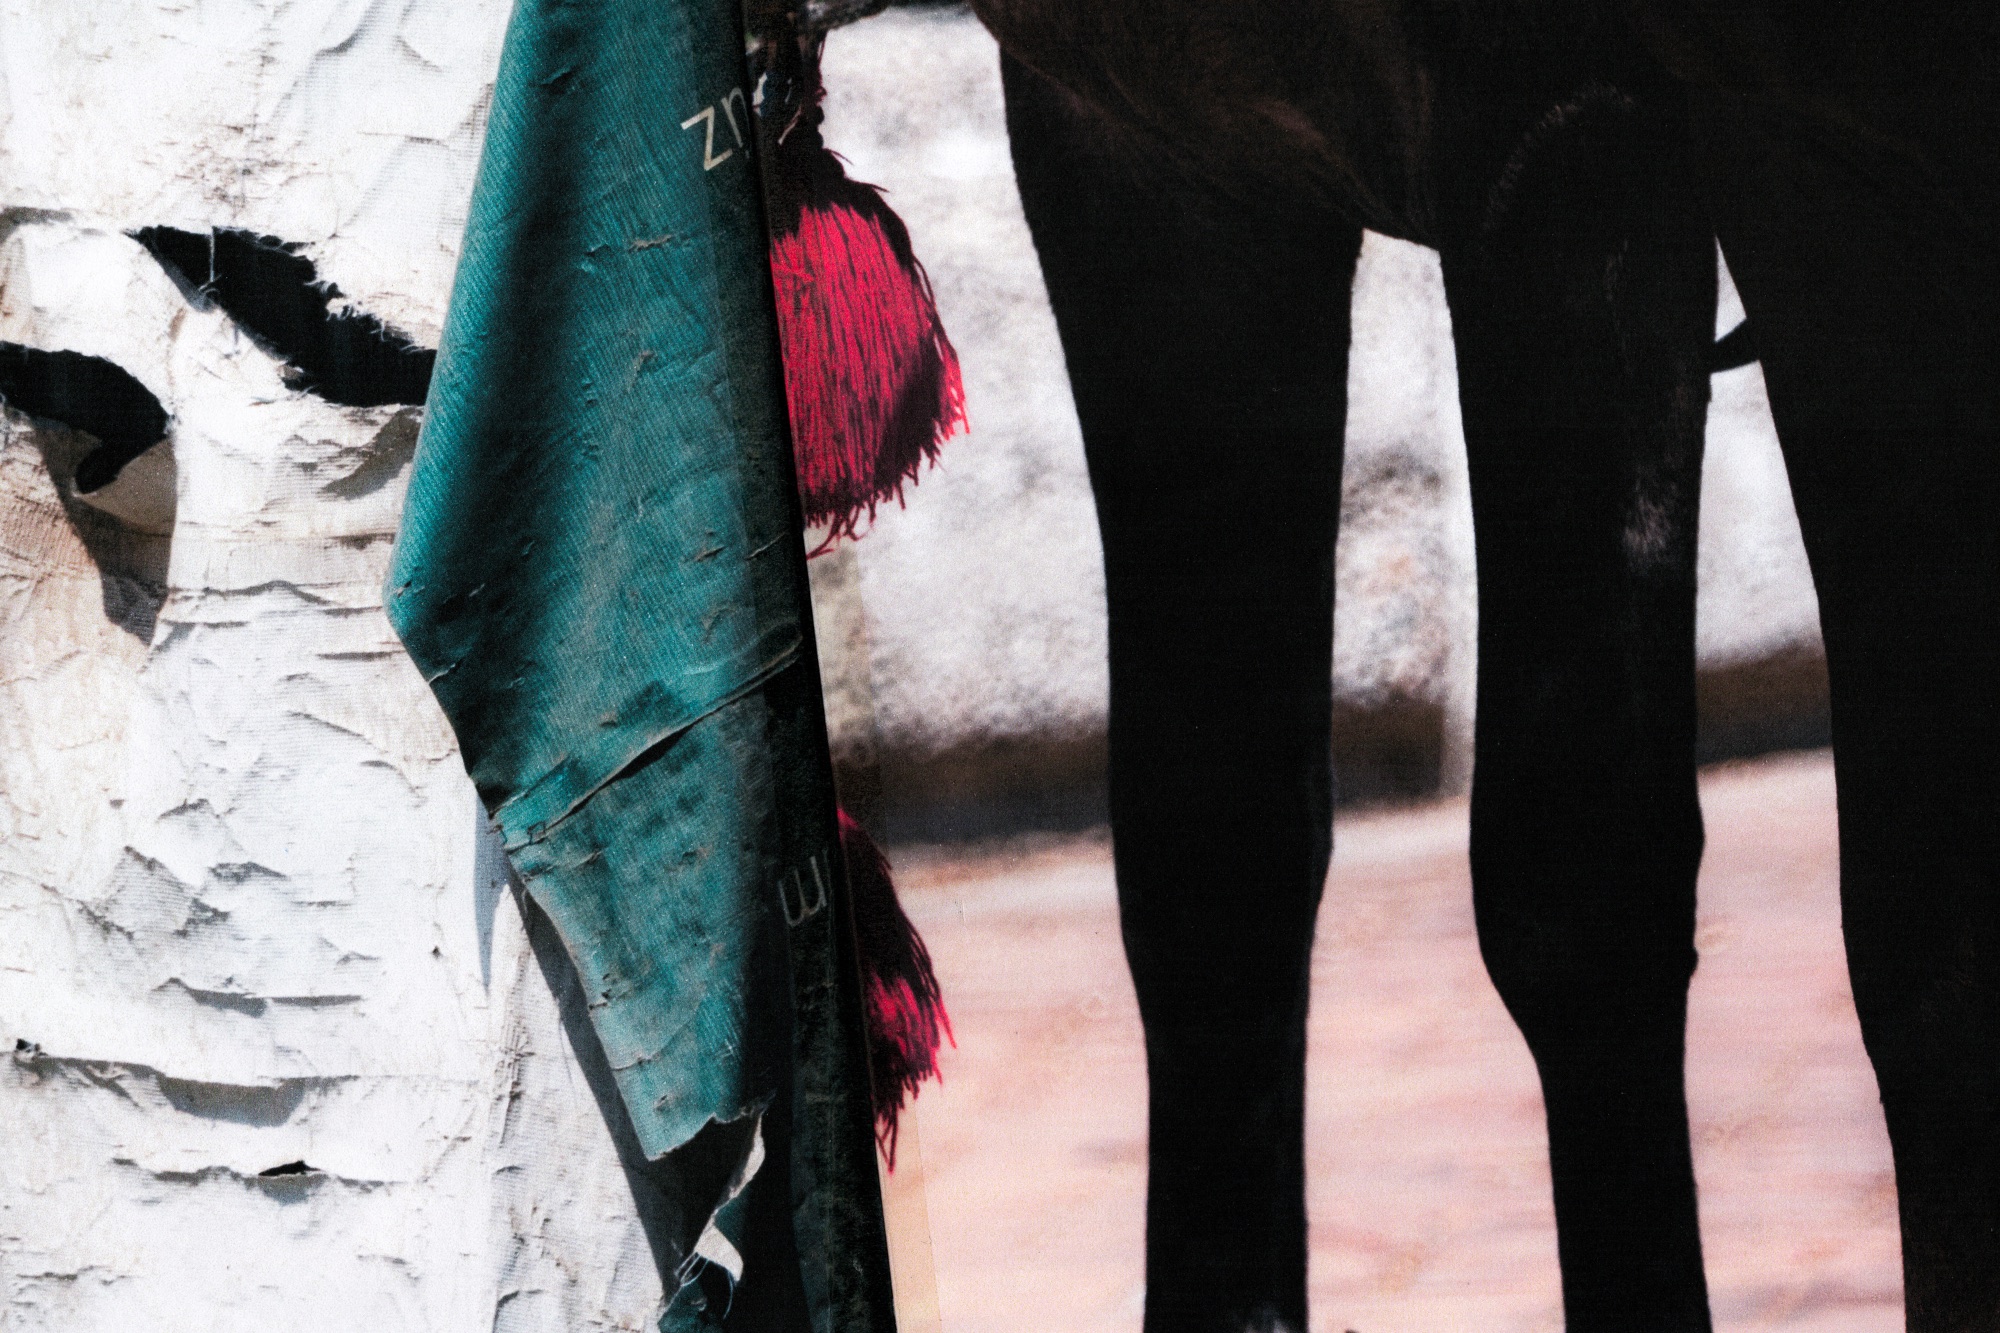
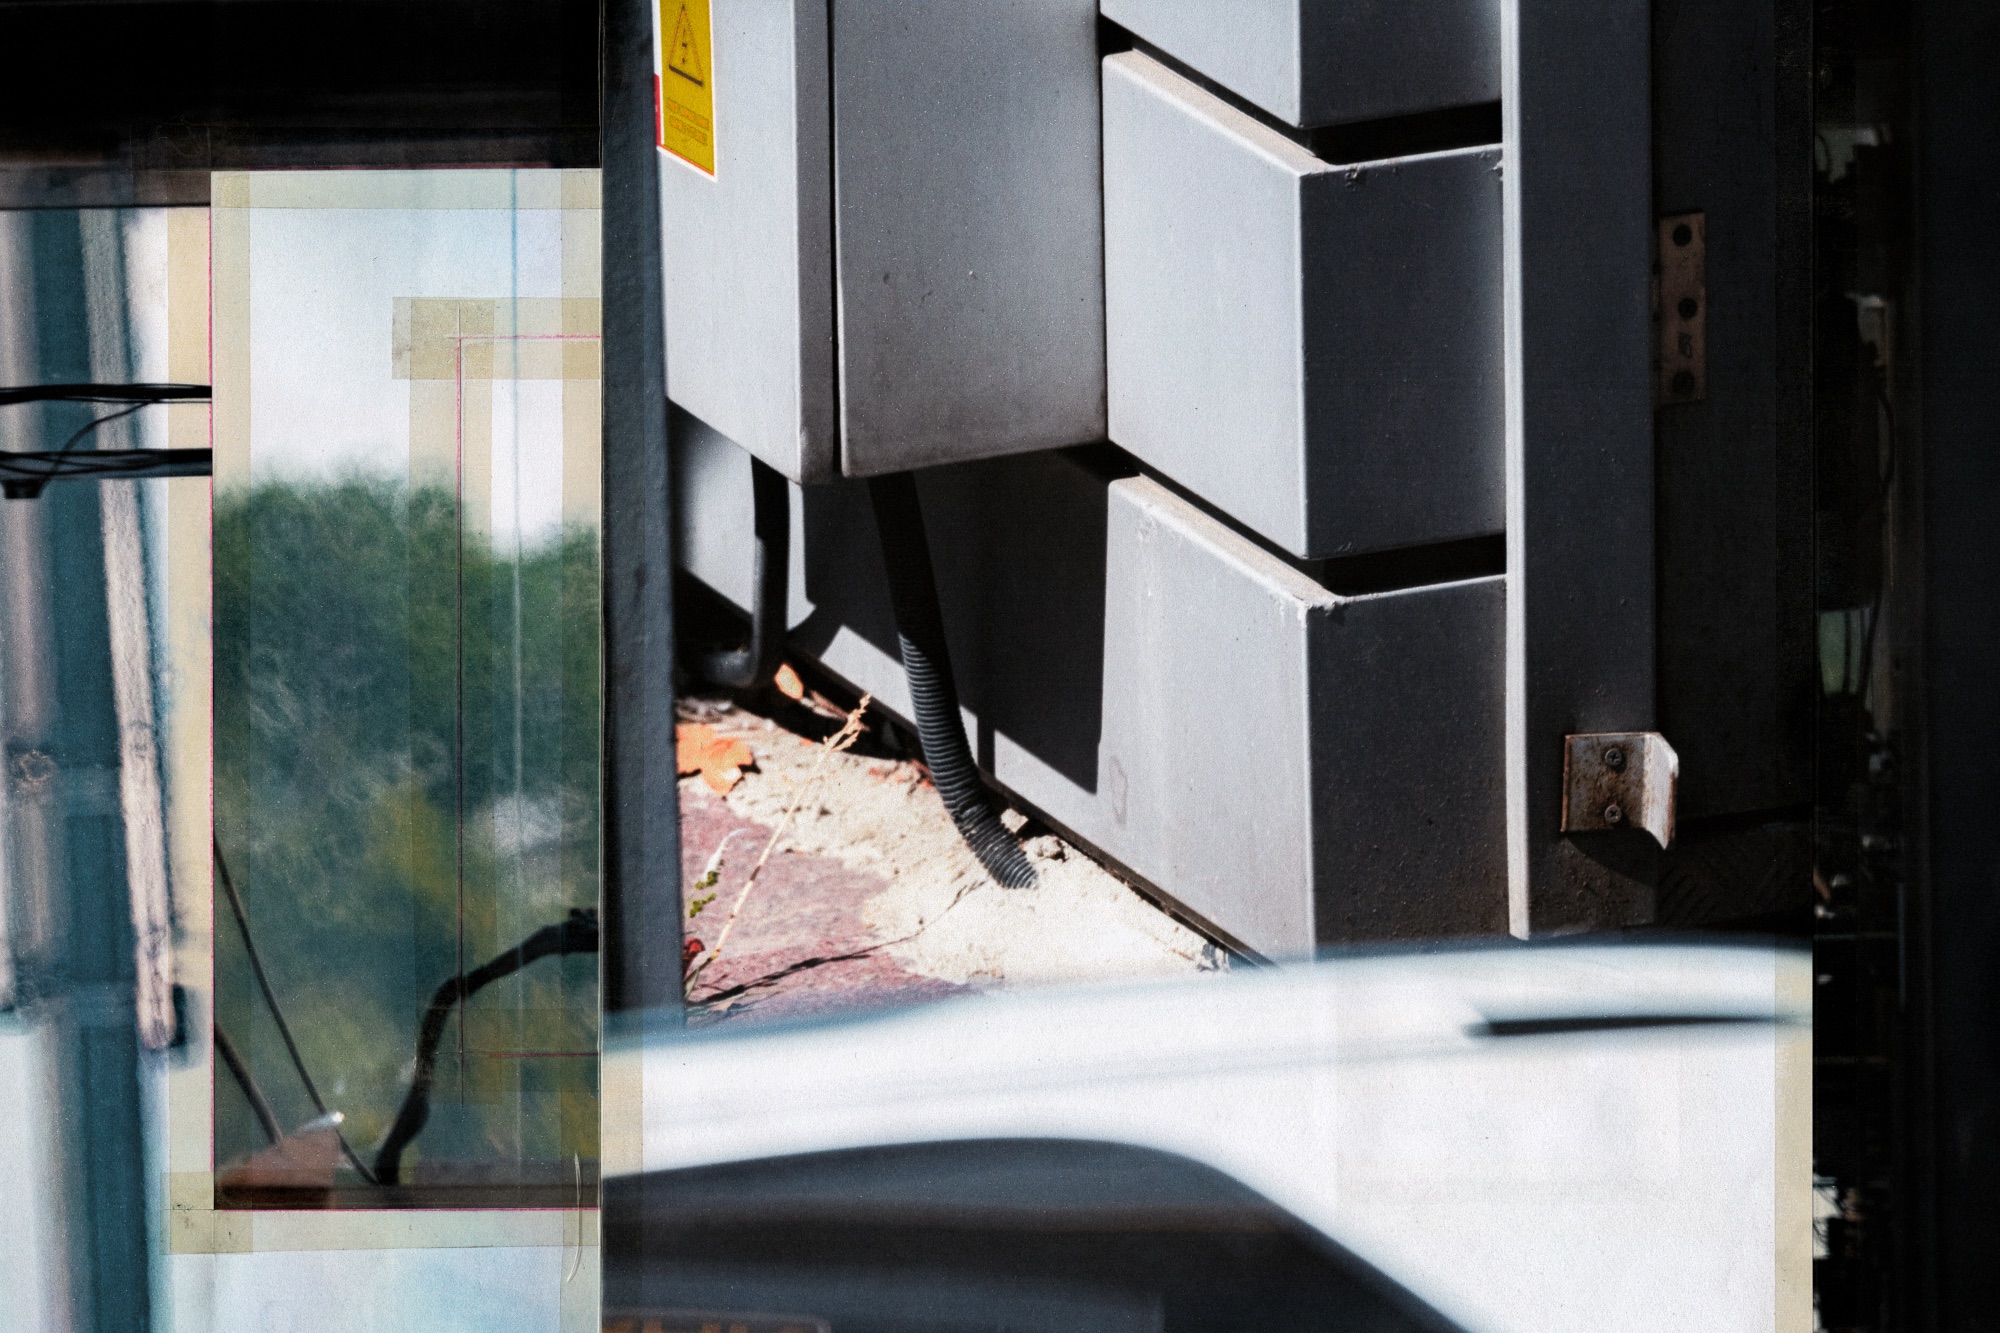
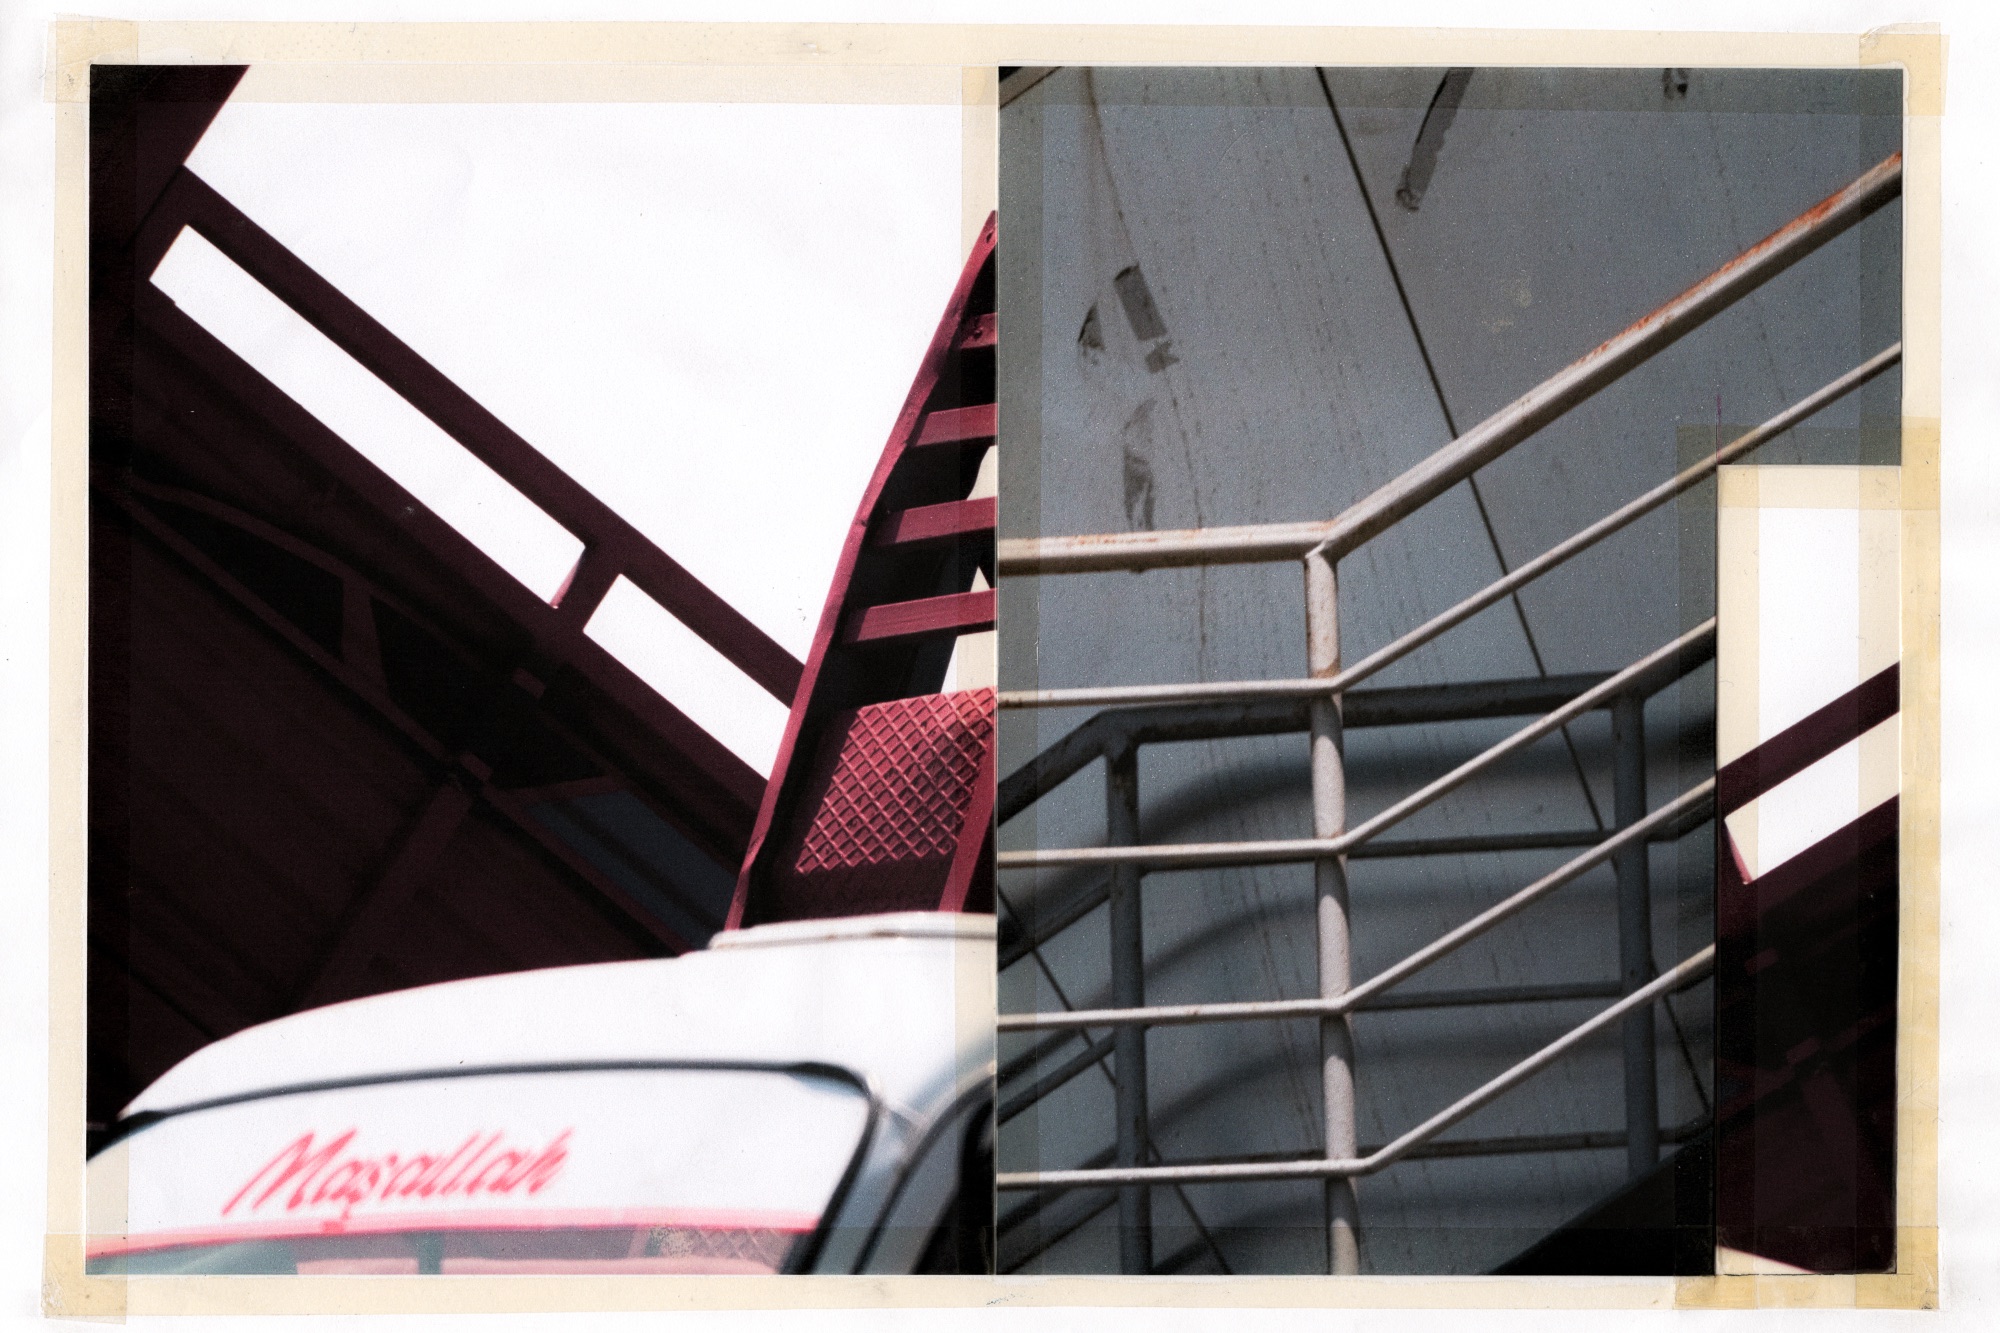
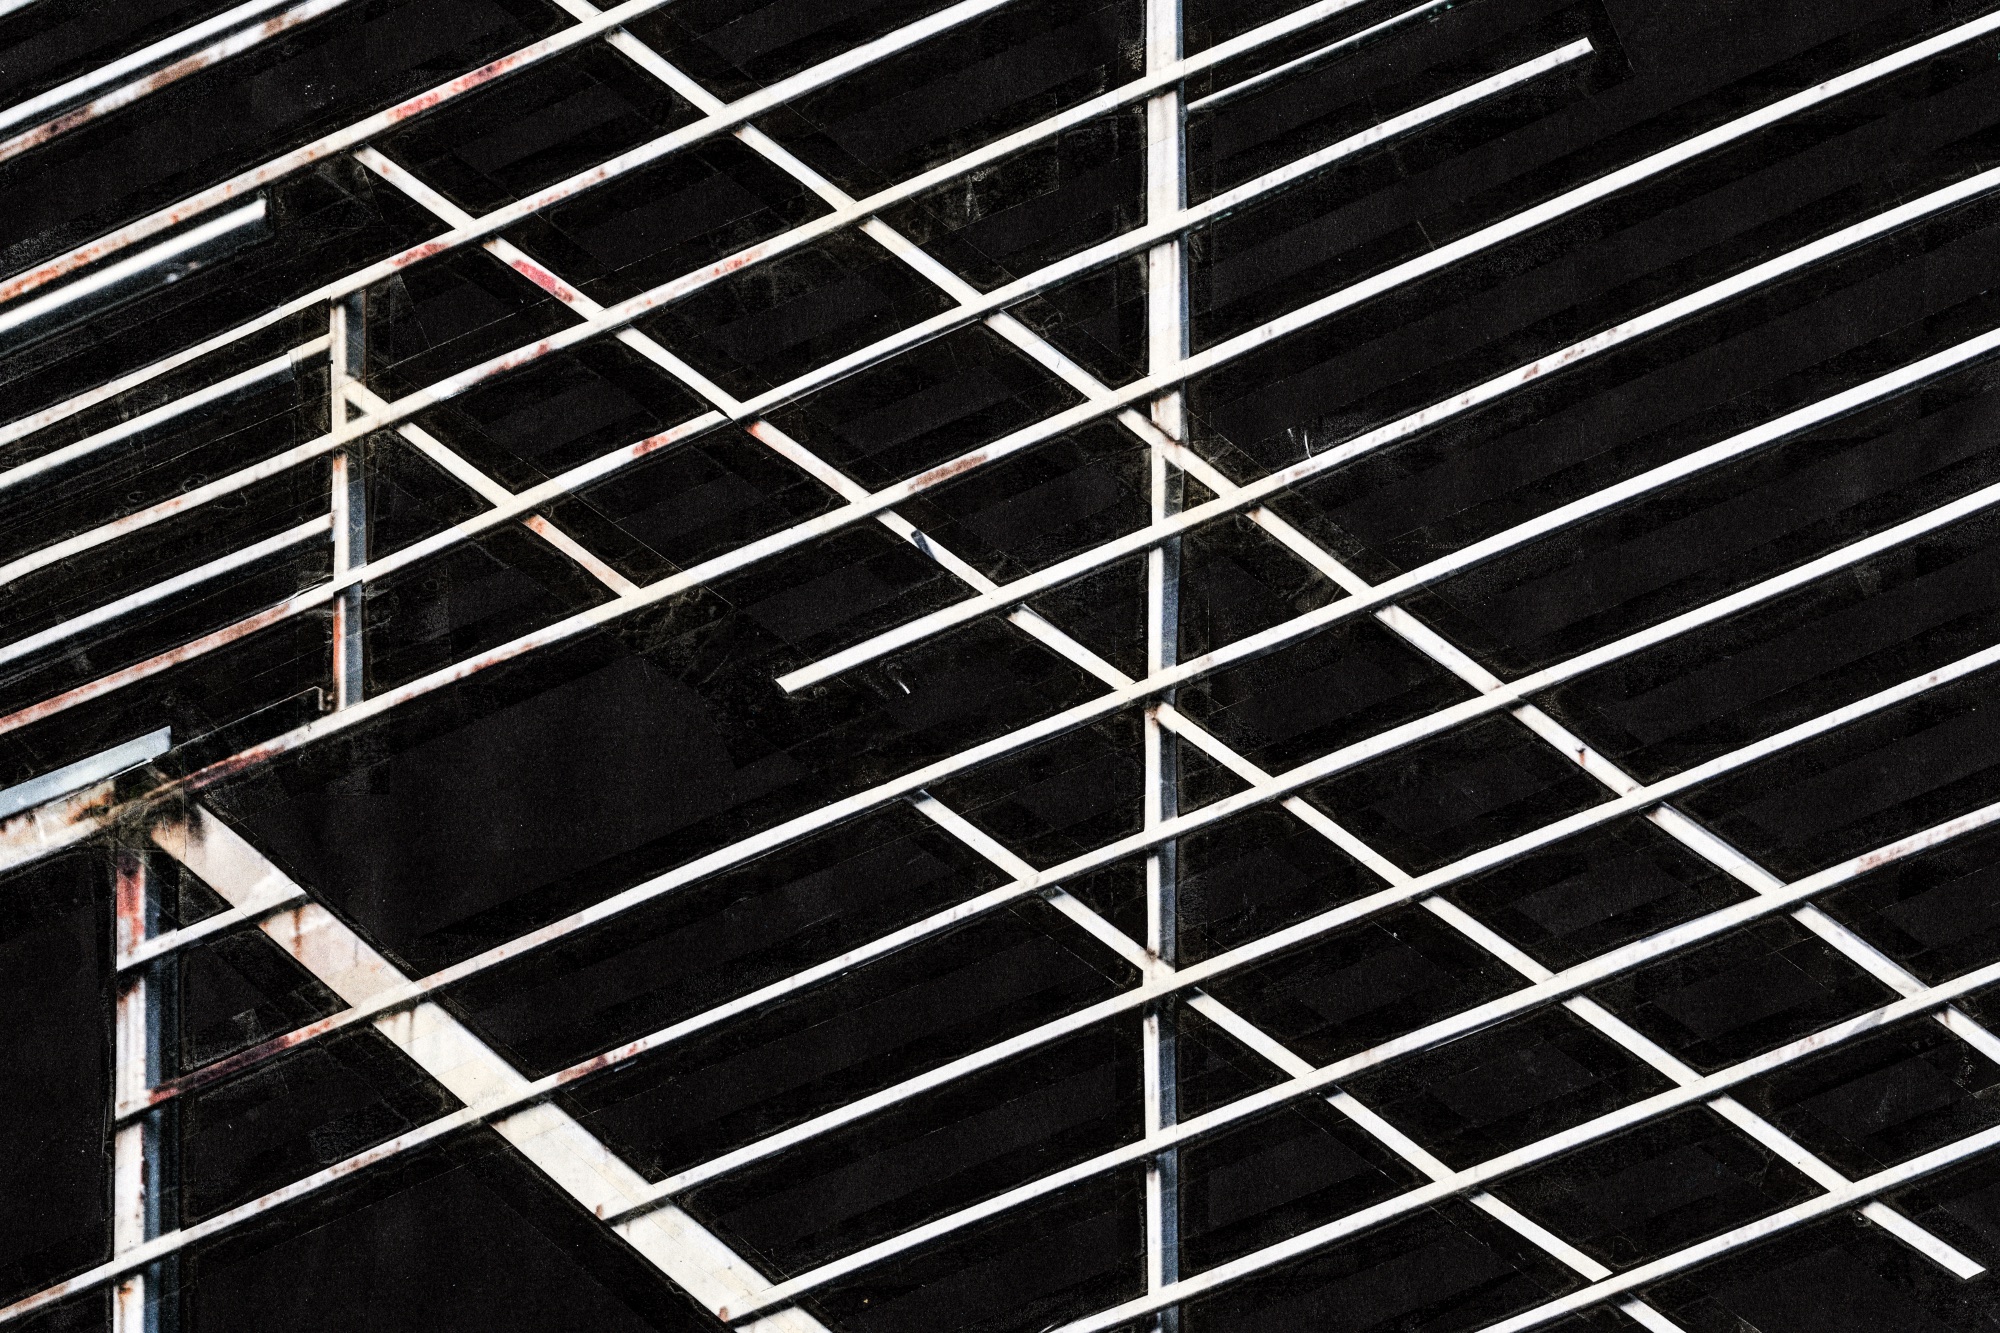
No Entry Allowed

photographycollage
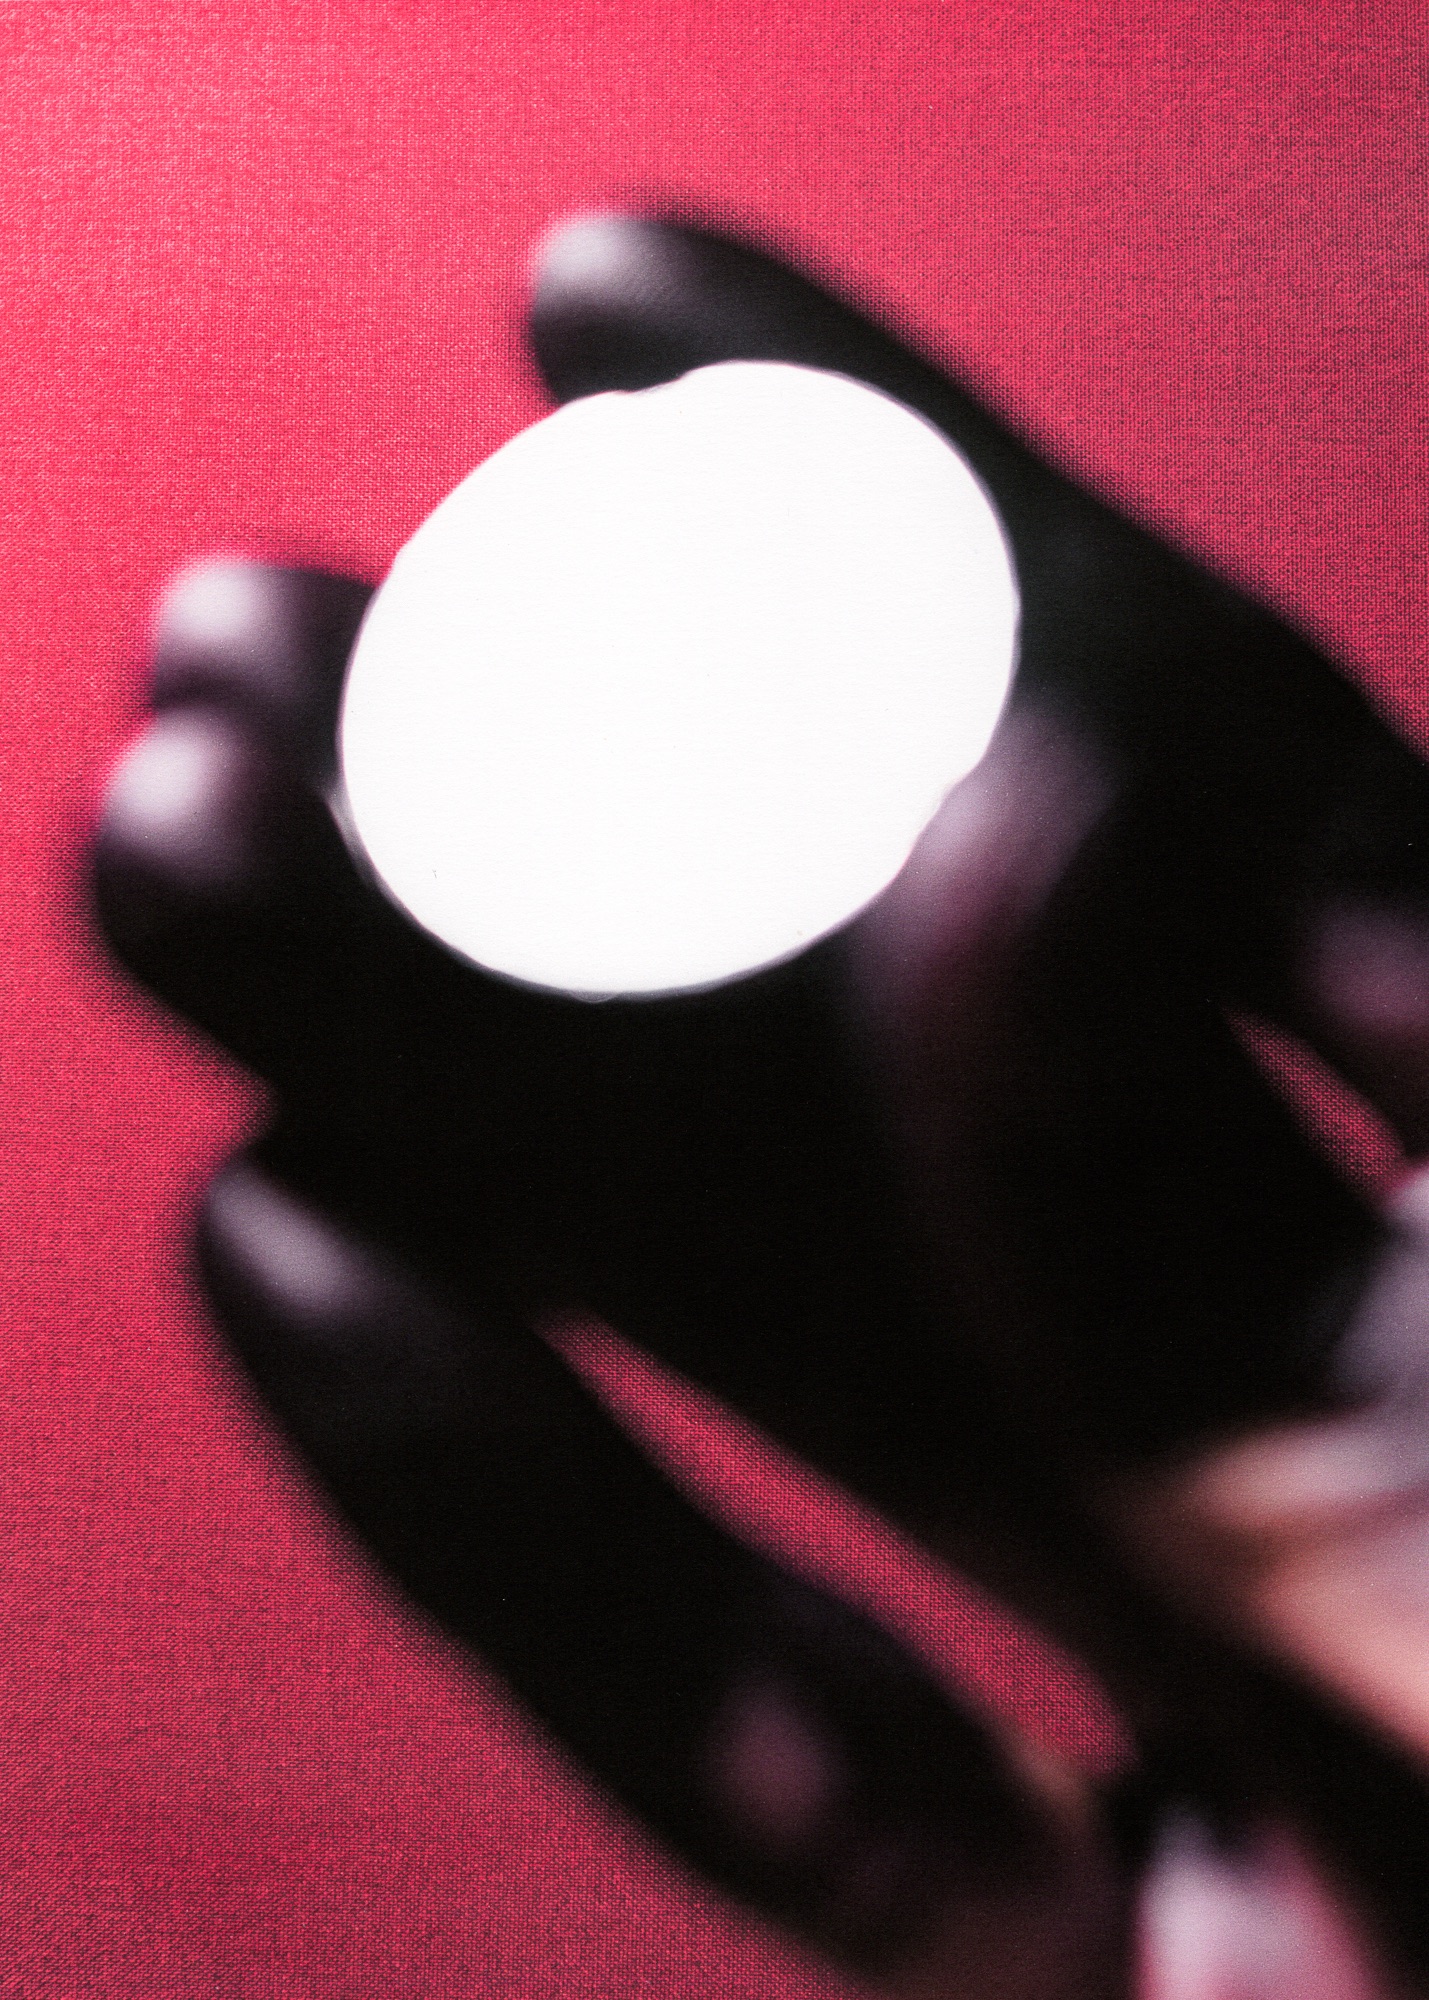
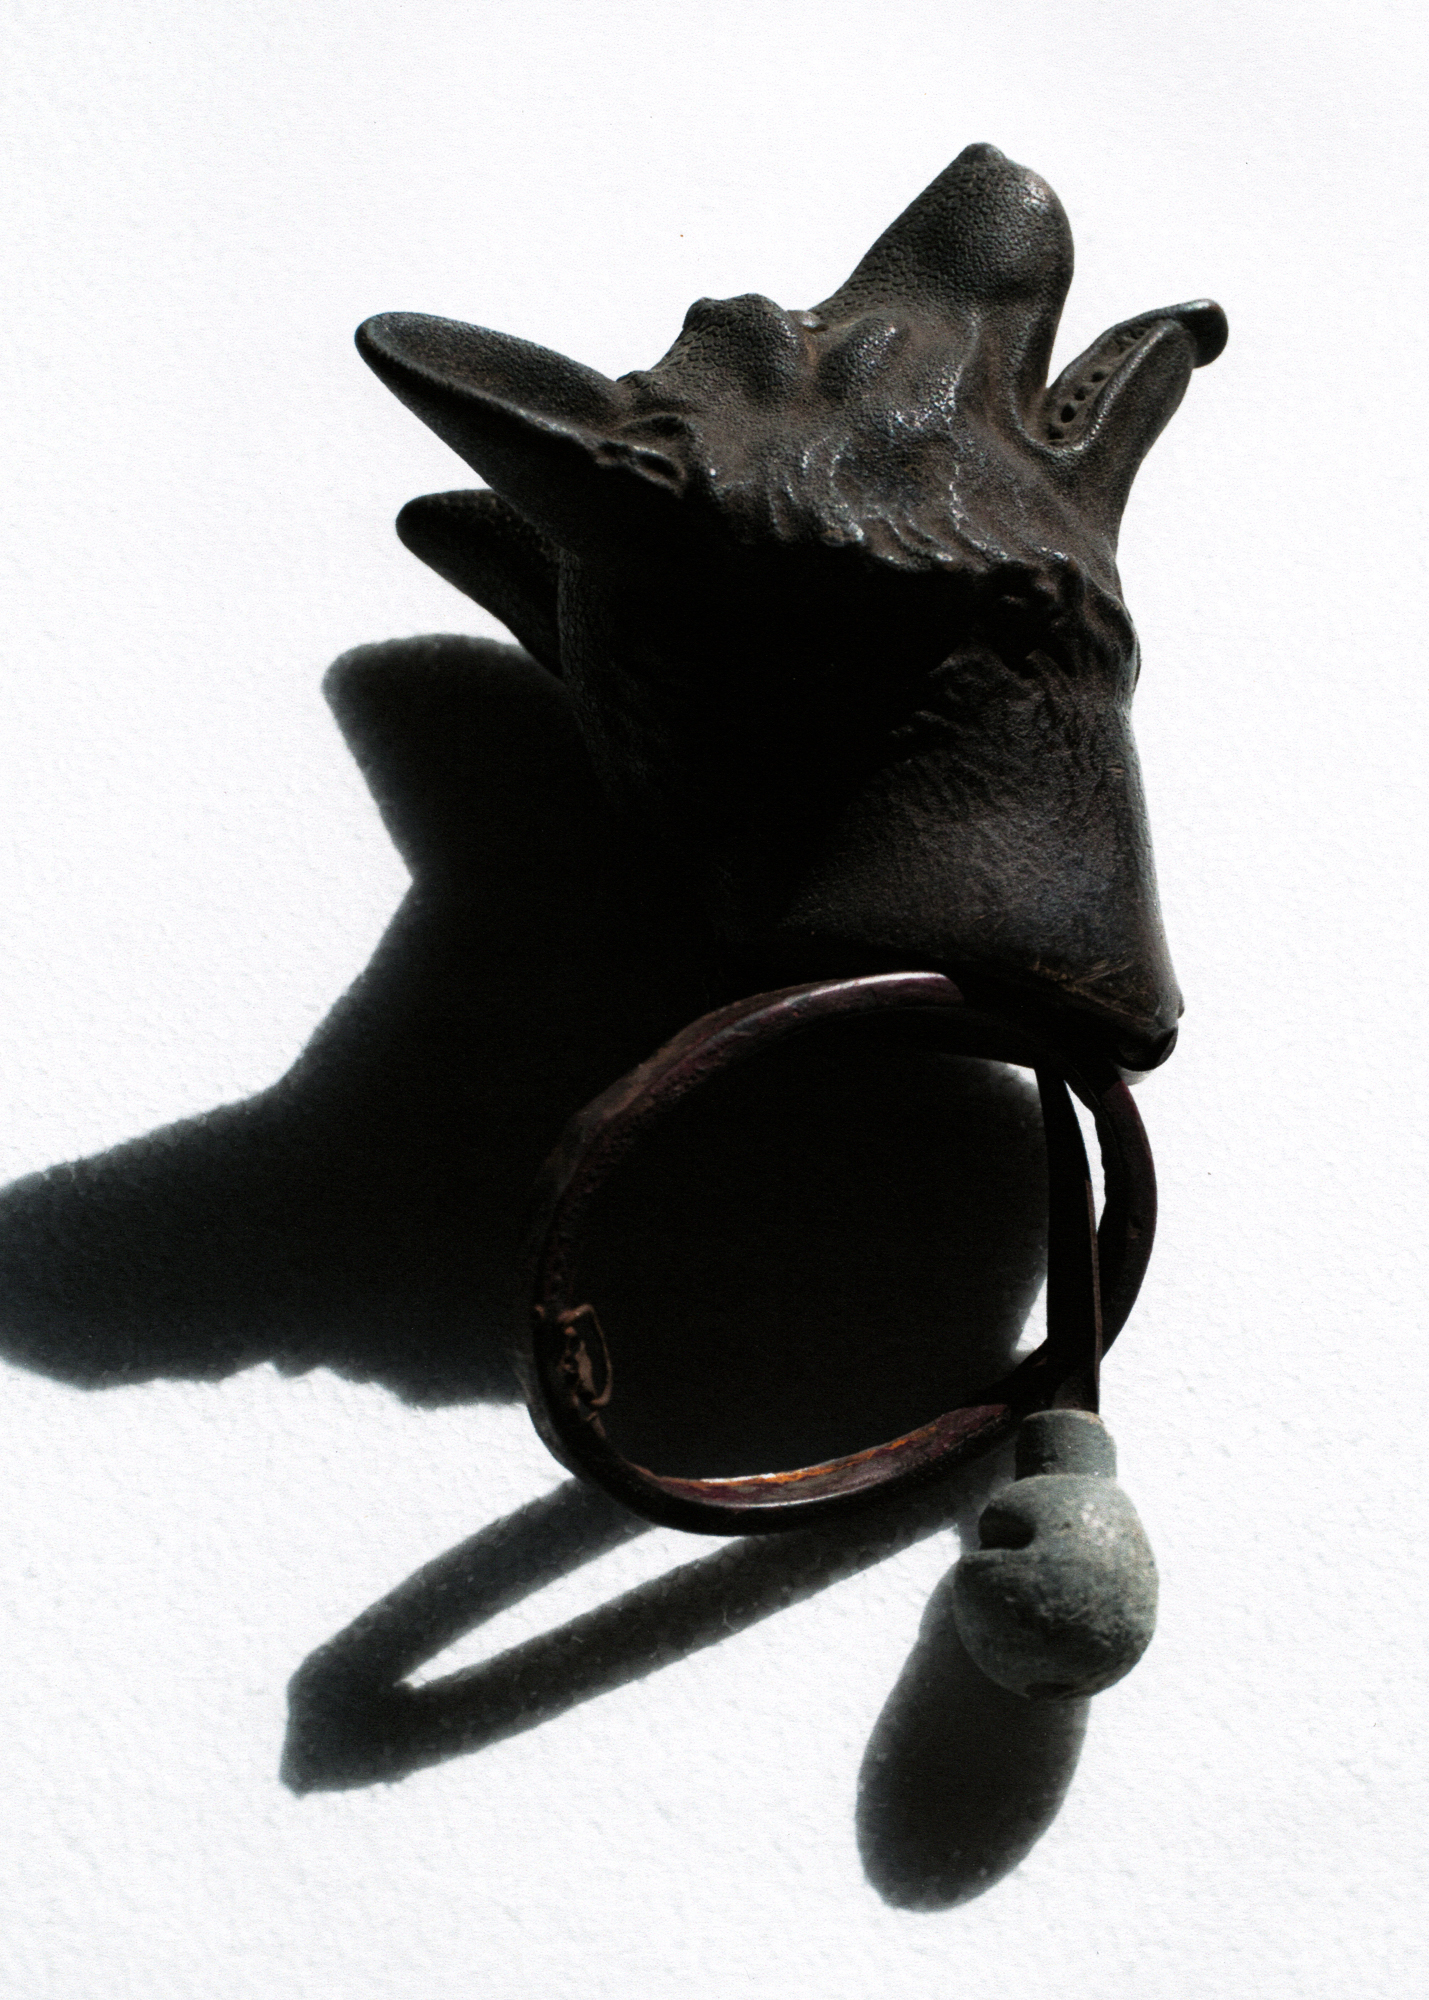
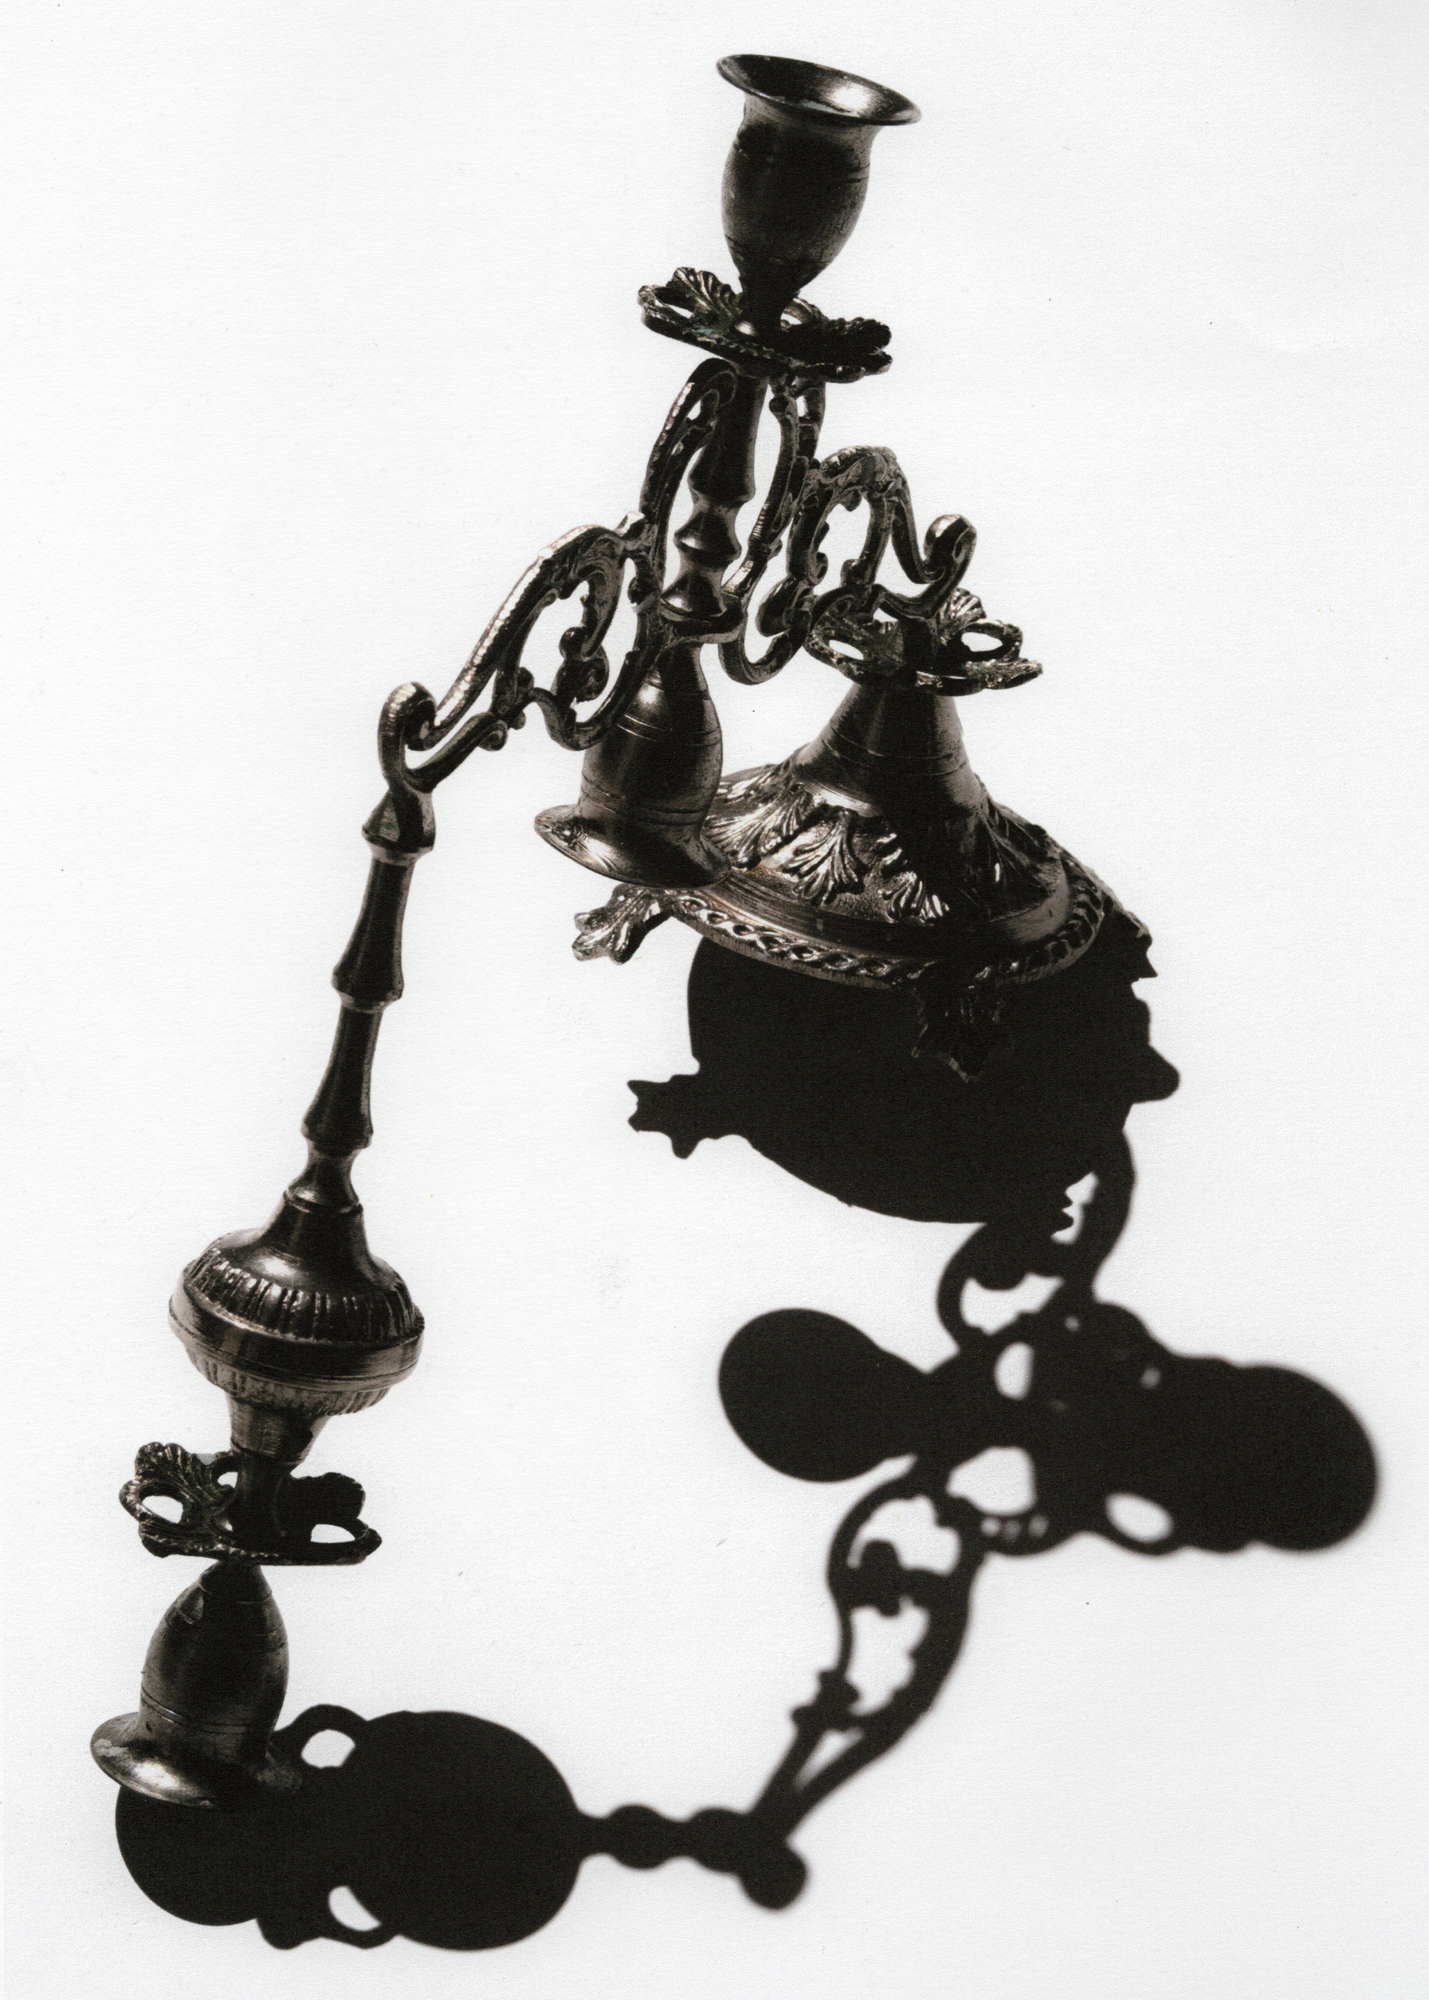
No Entry Allowed image 1
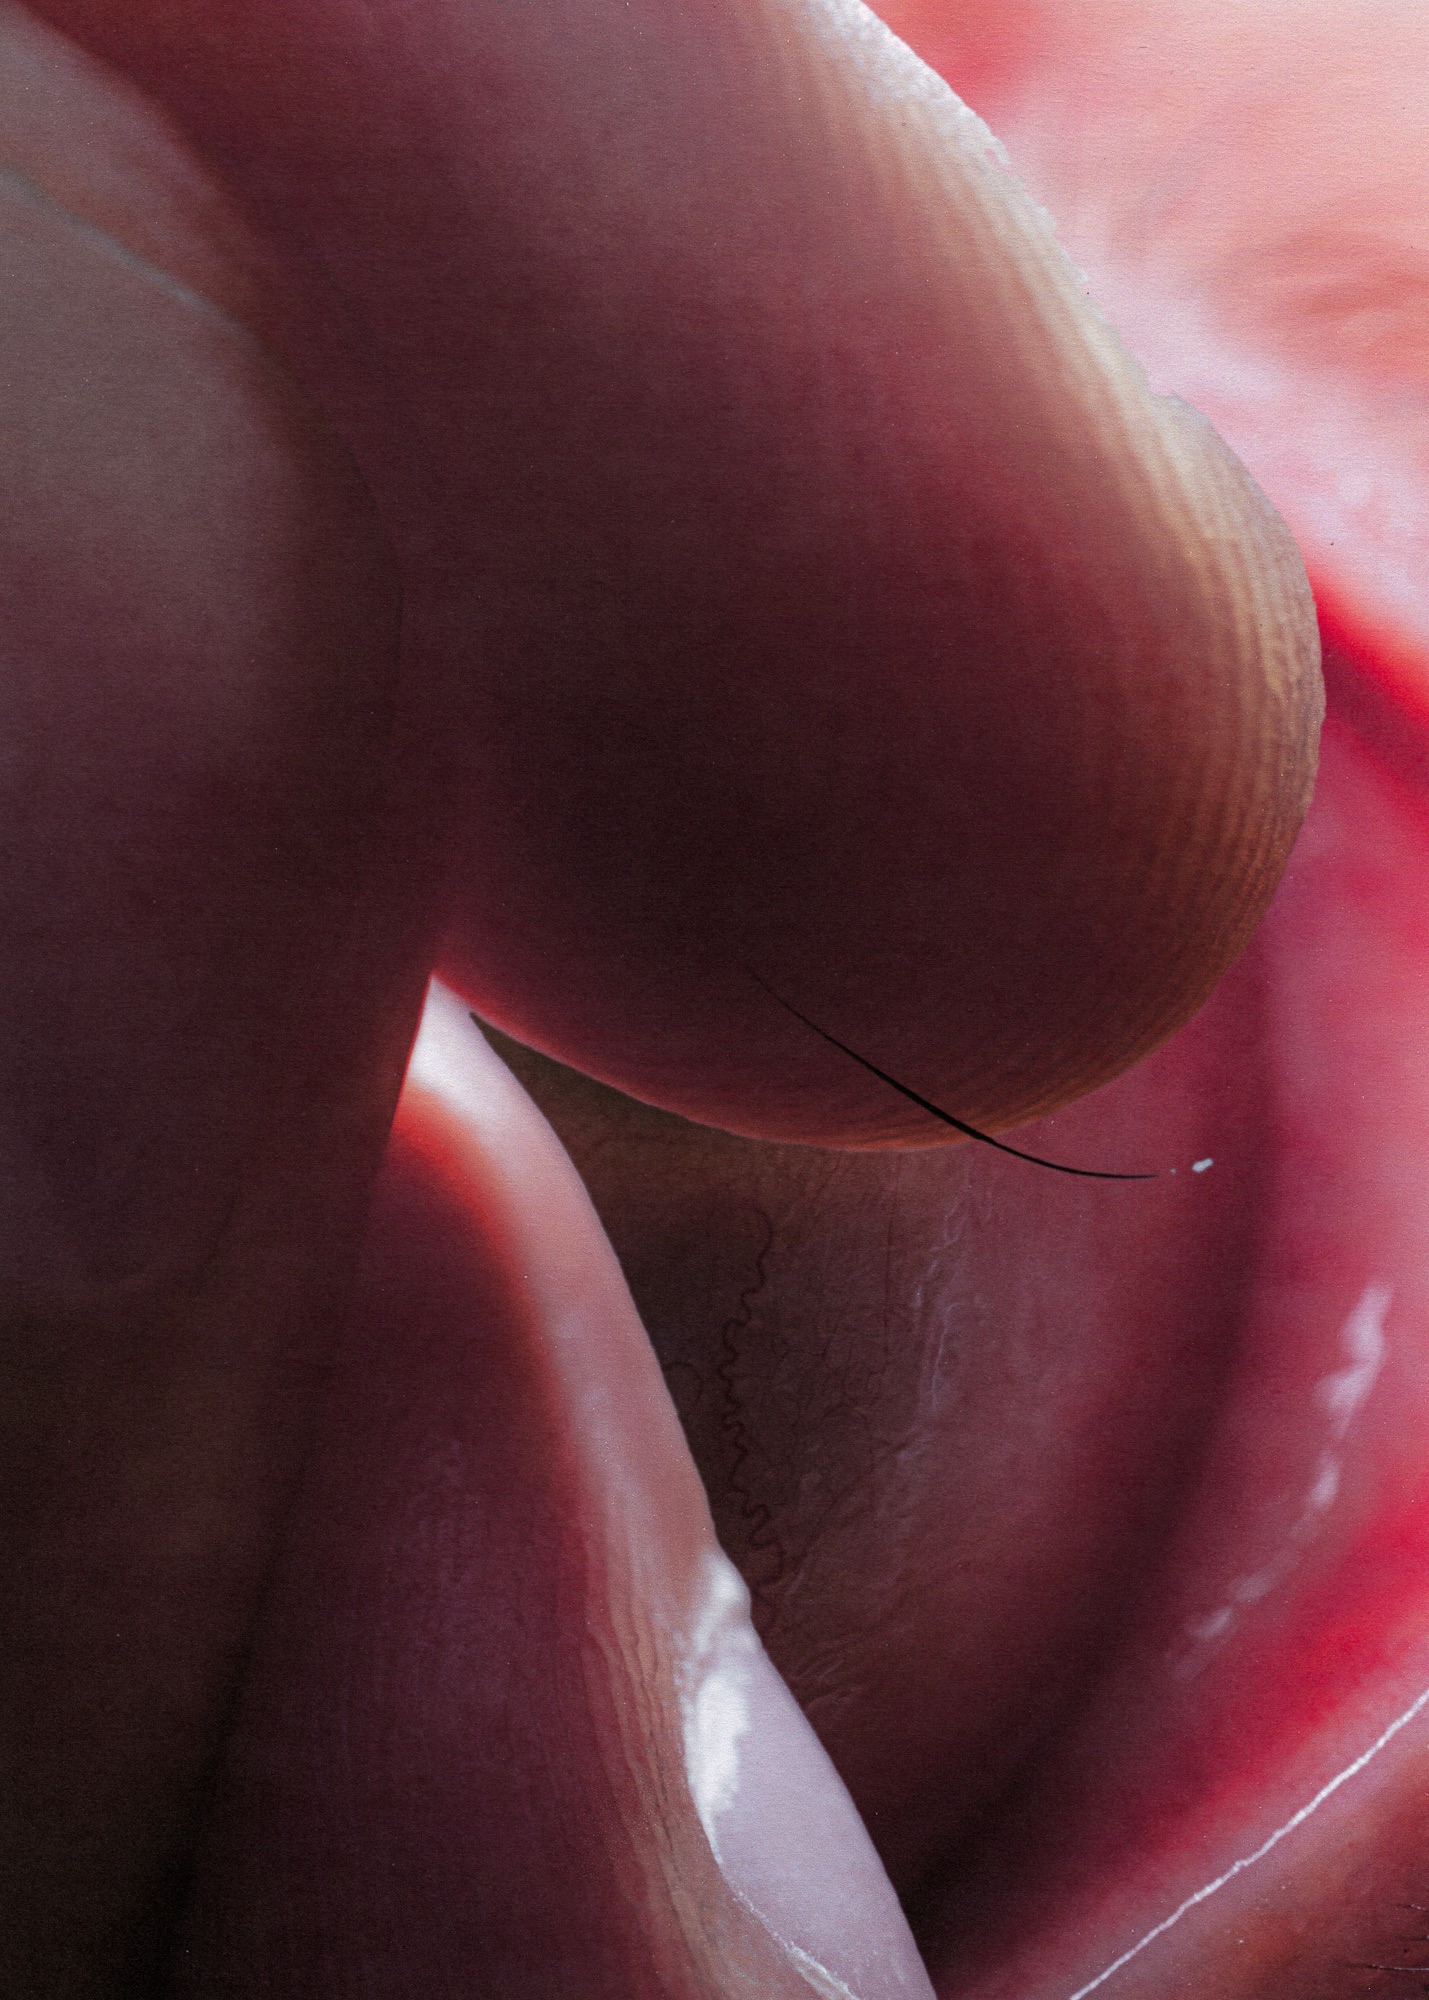
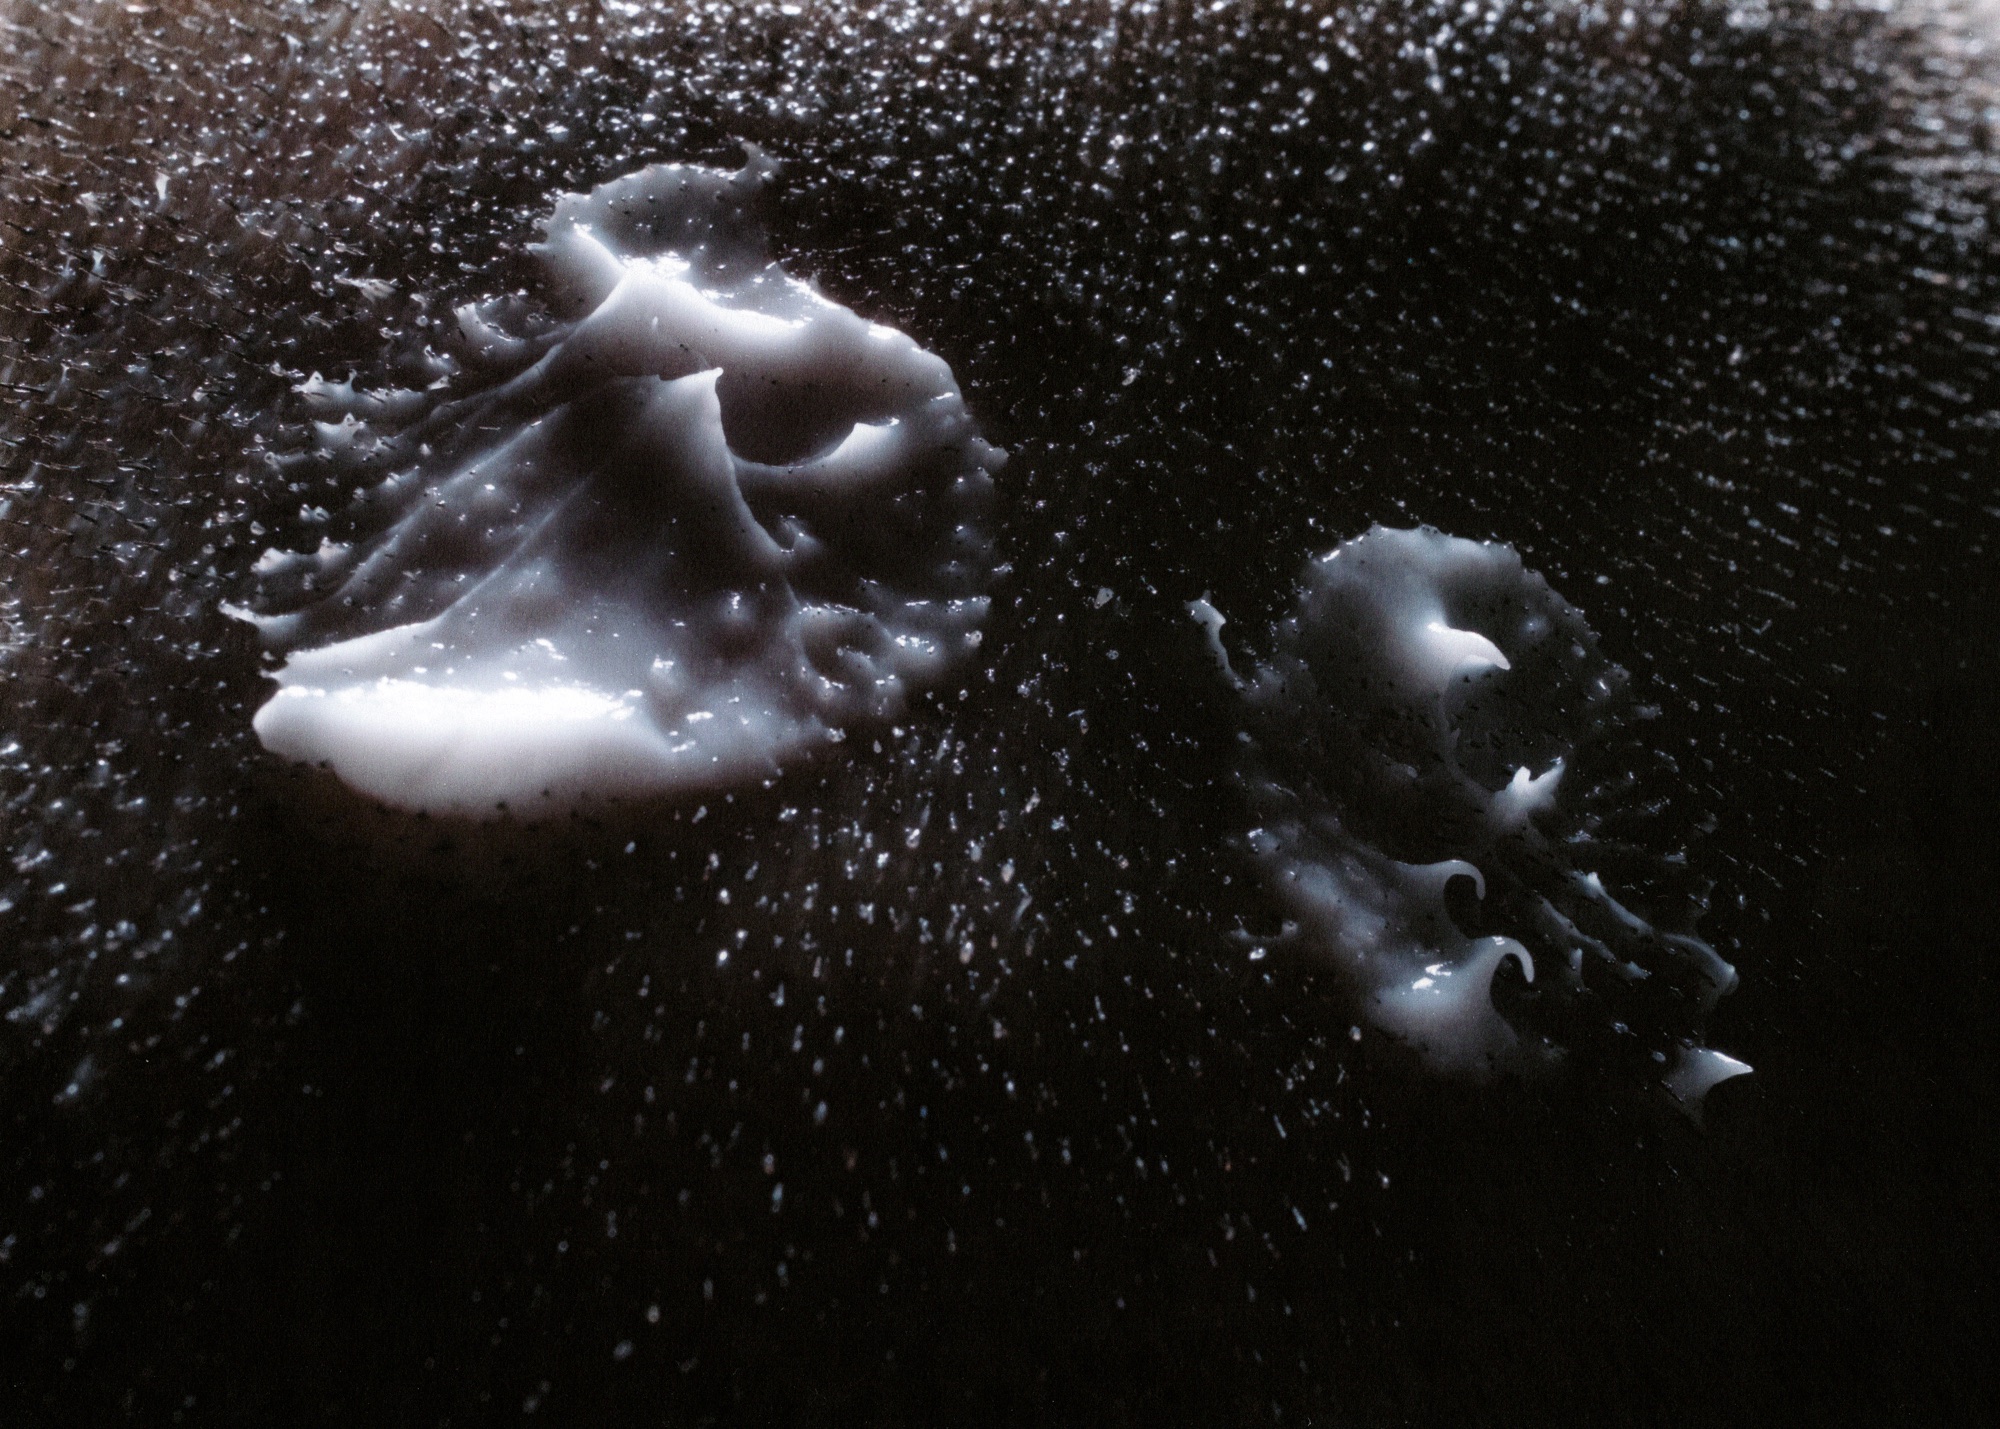
No Entry Allowed image 2
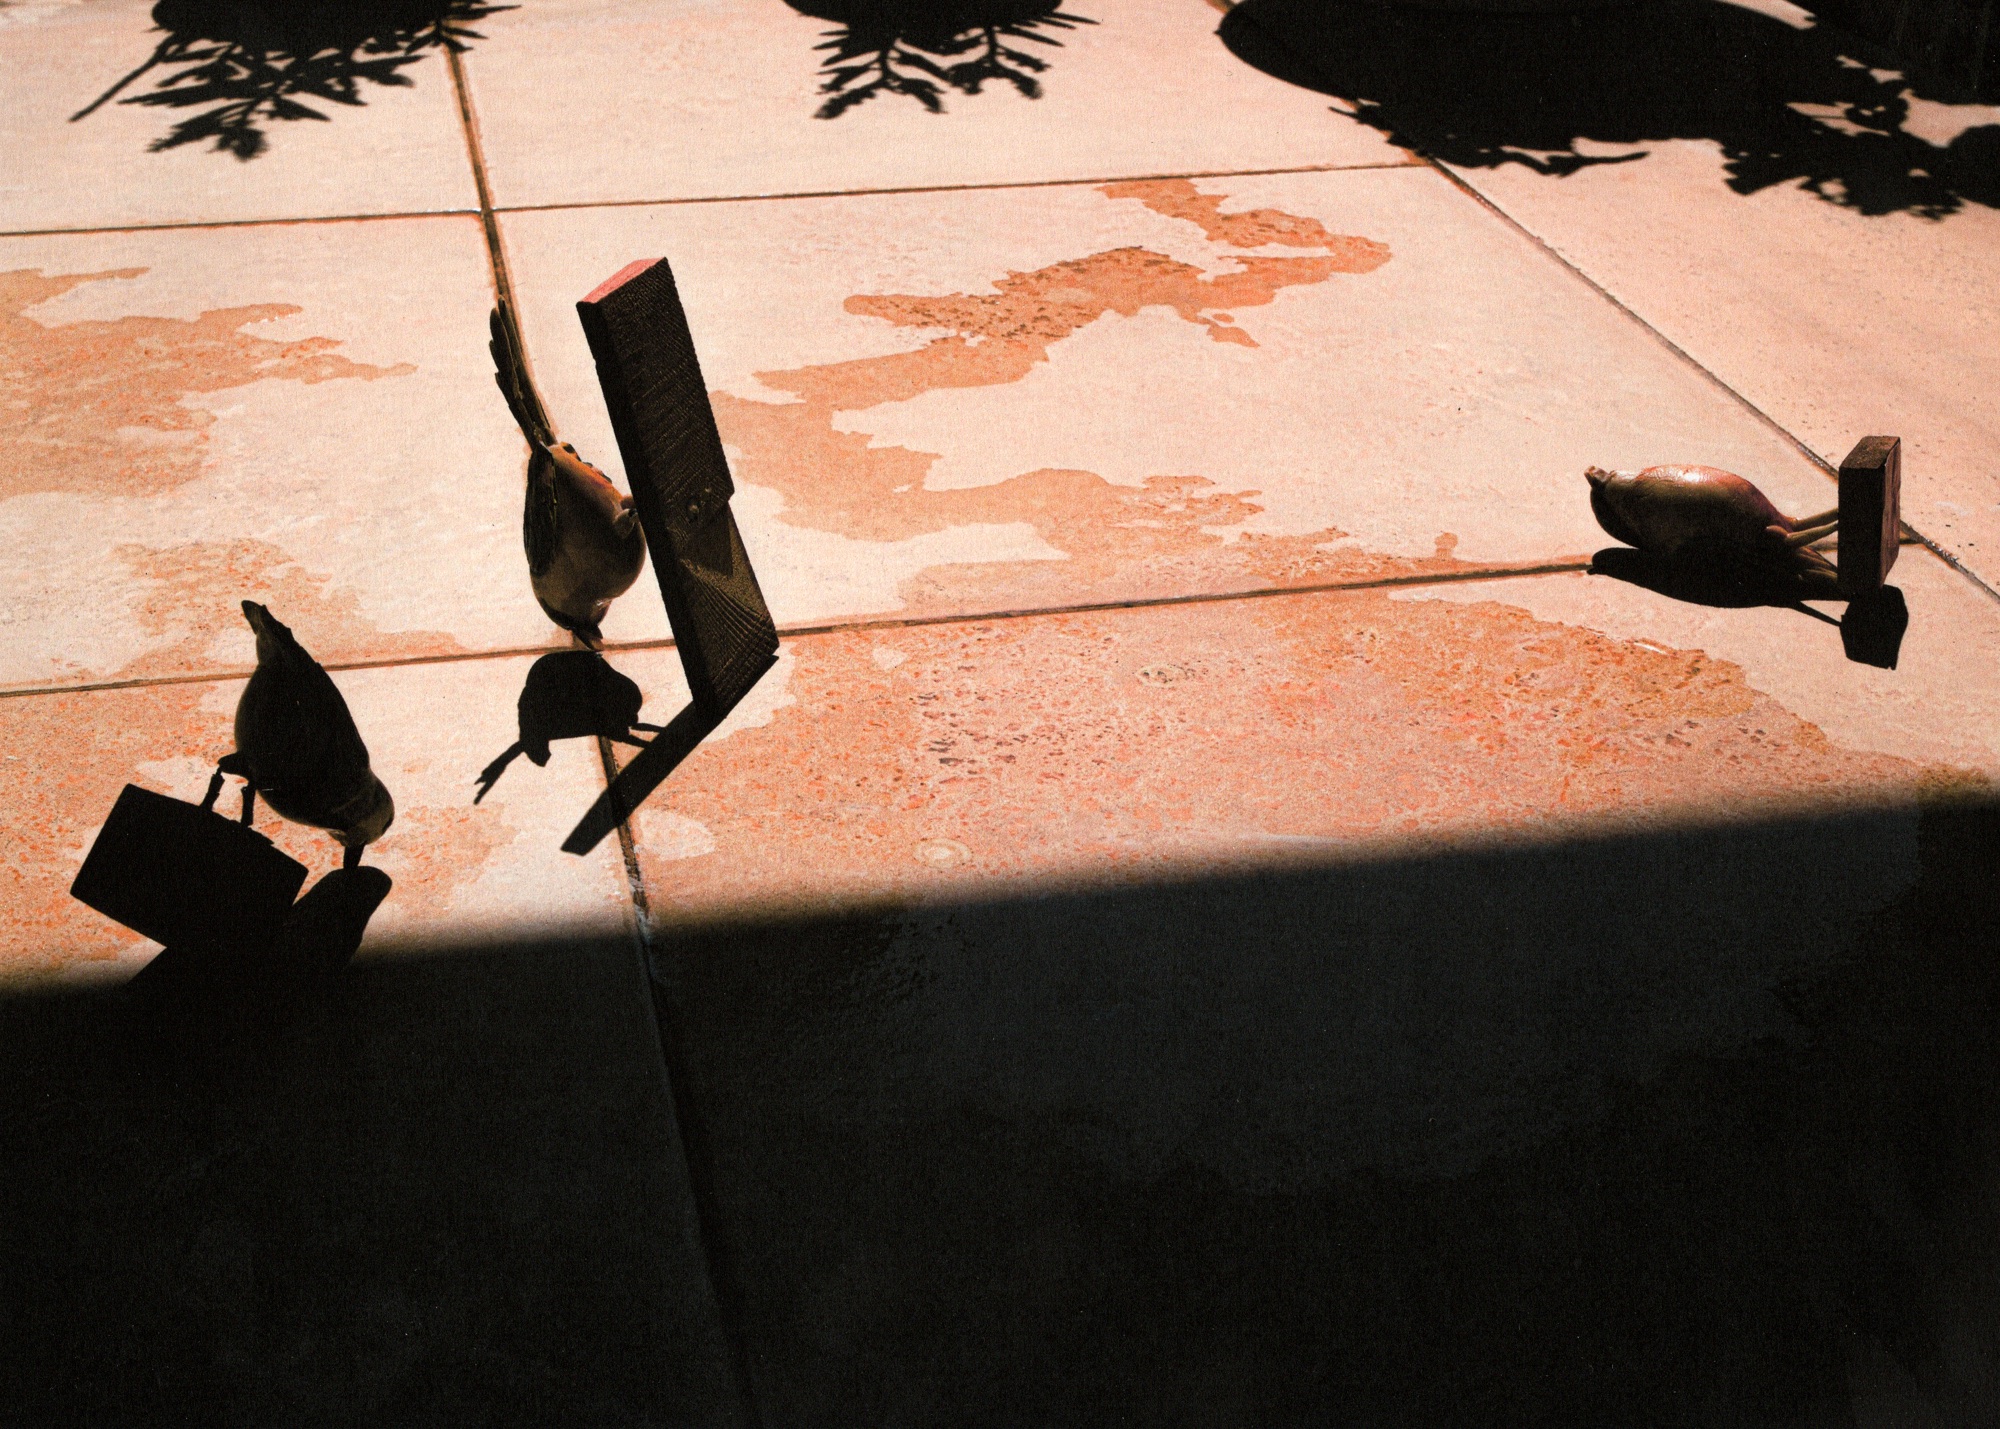
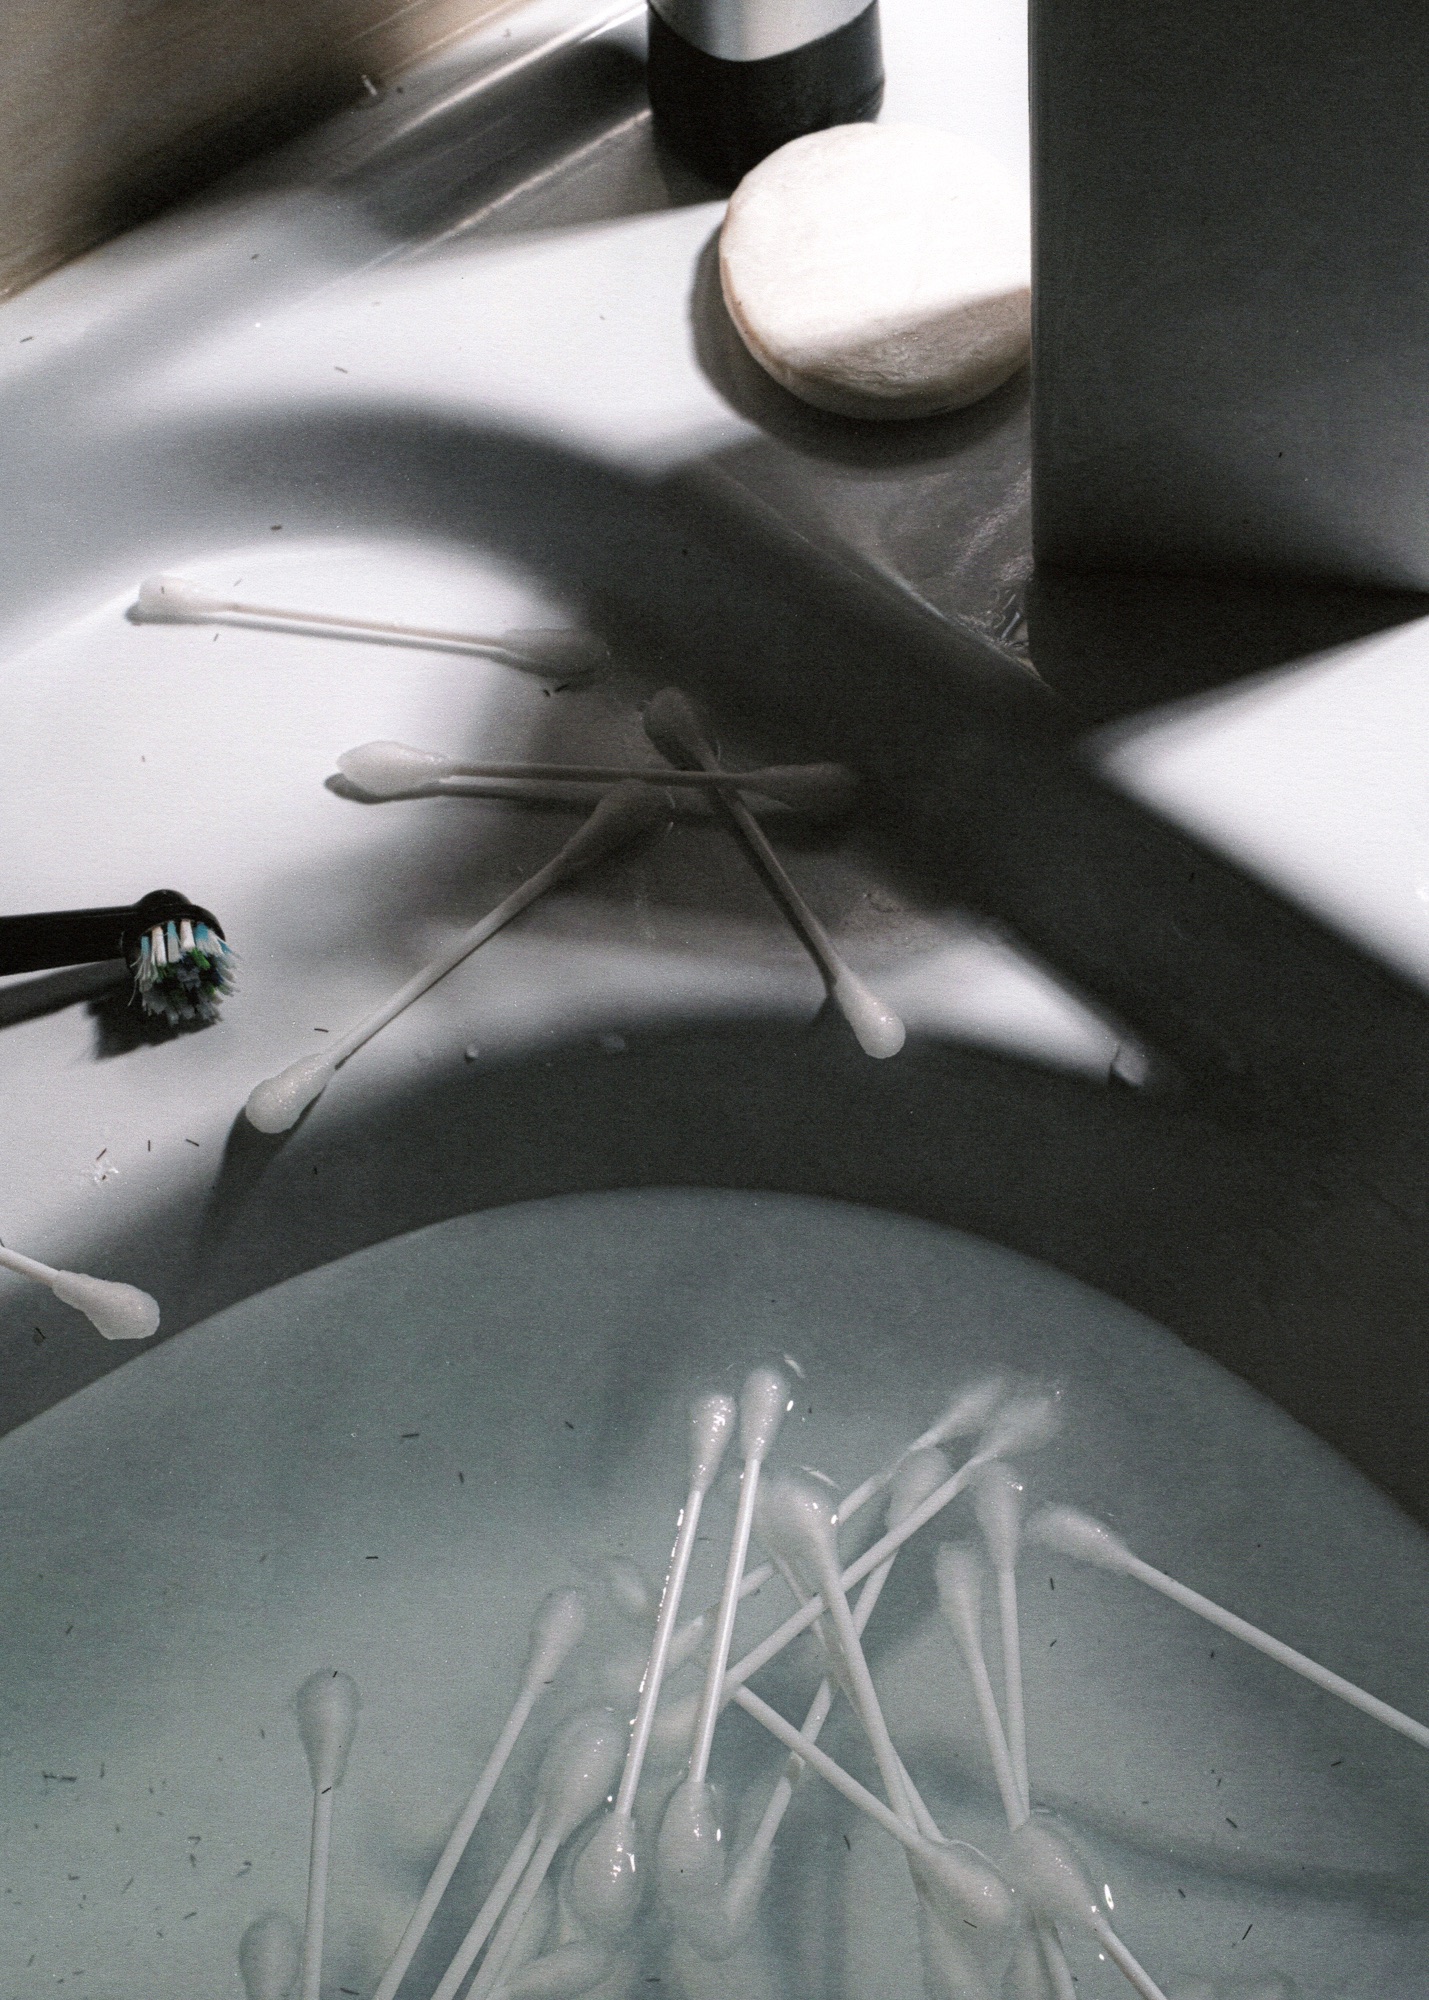
No Entry Allowed image 3
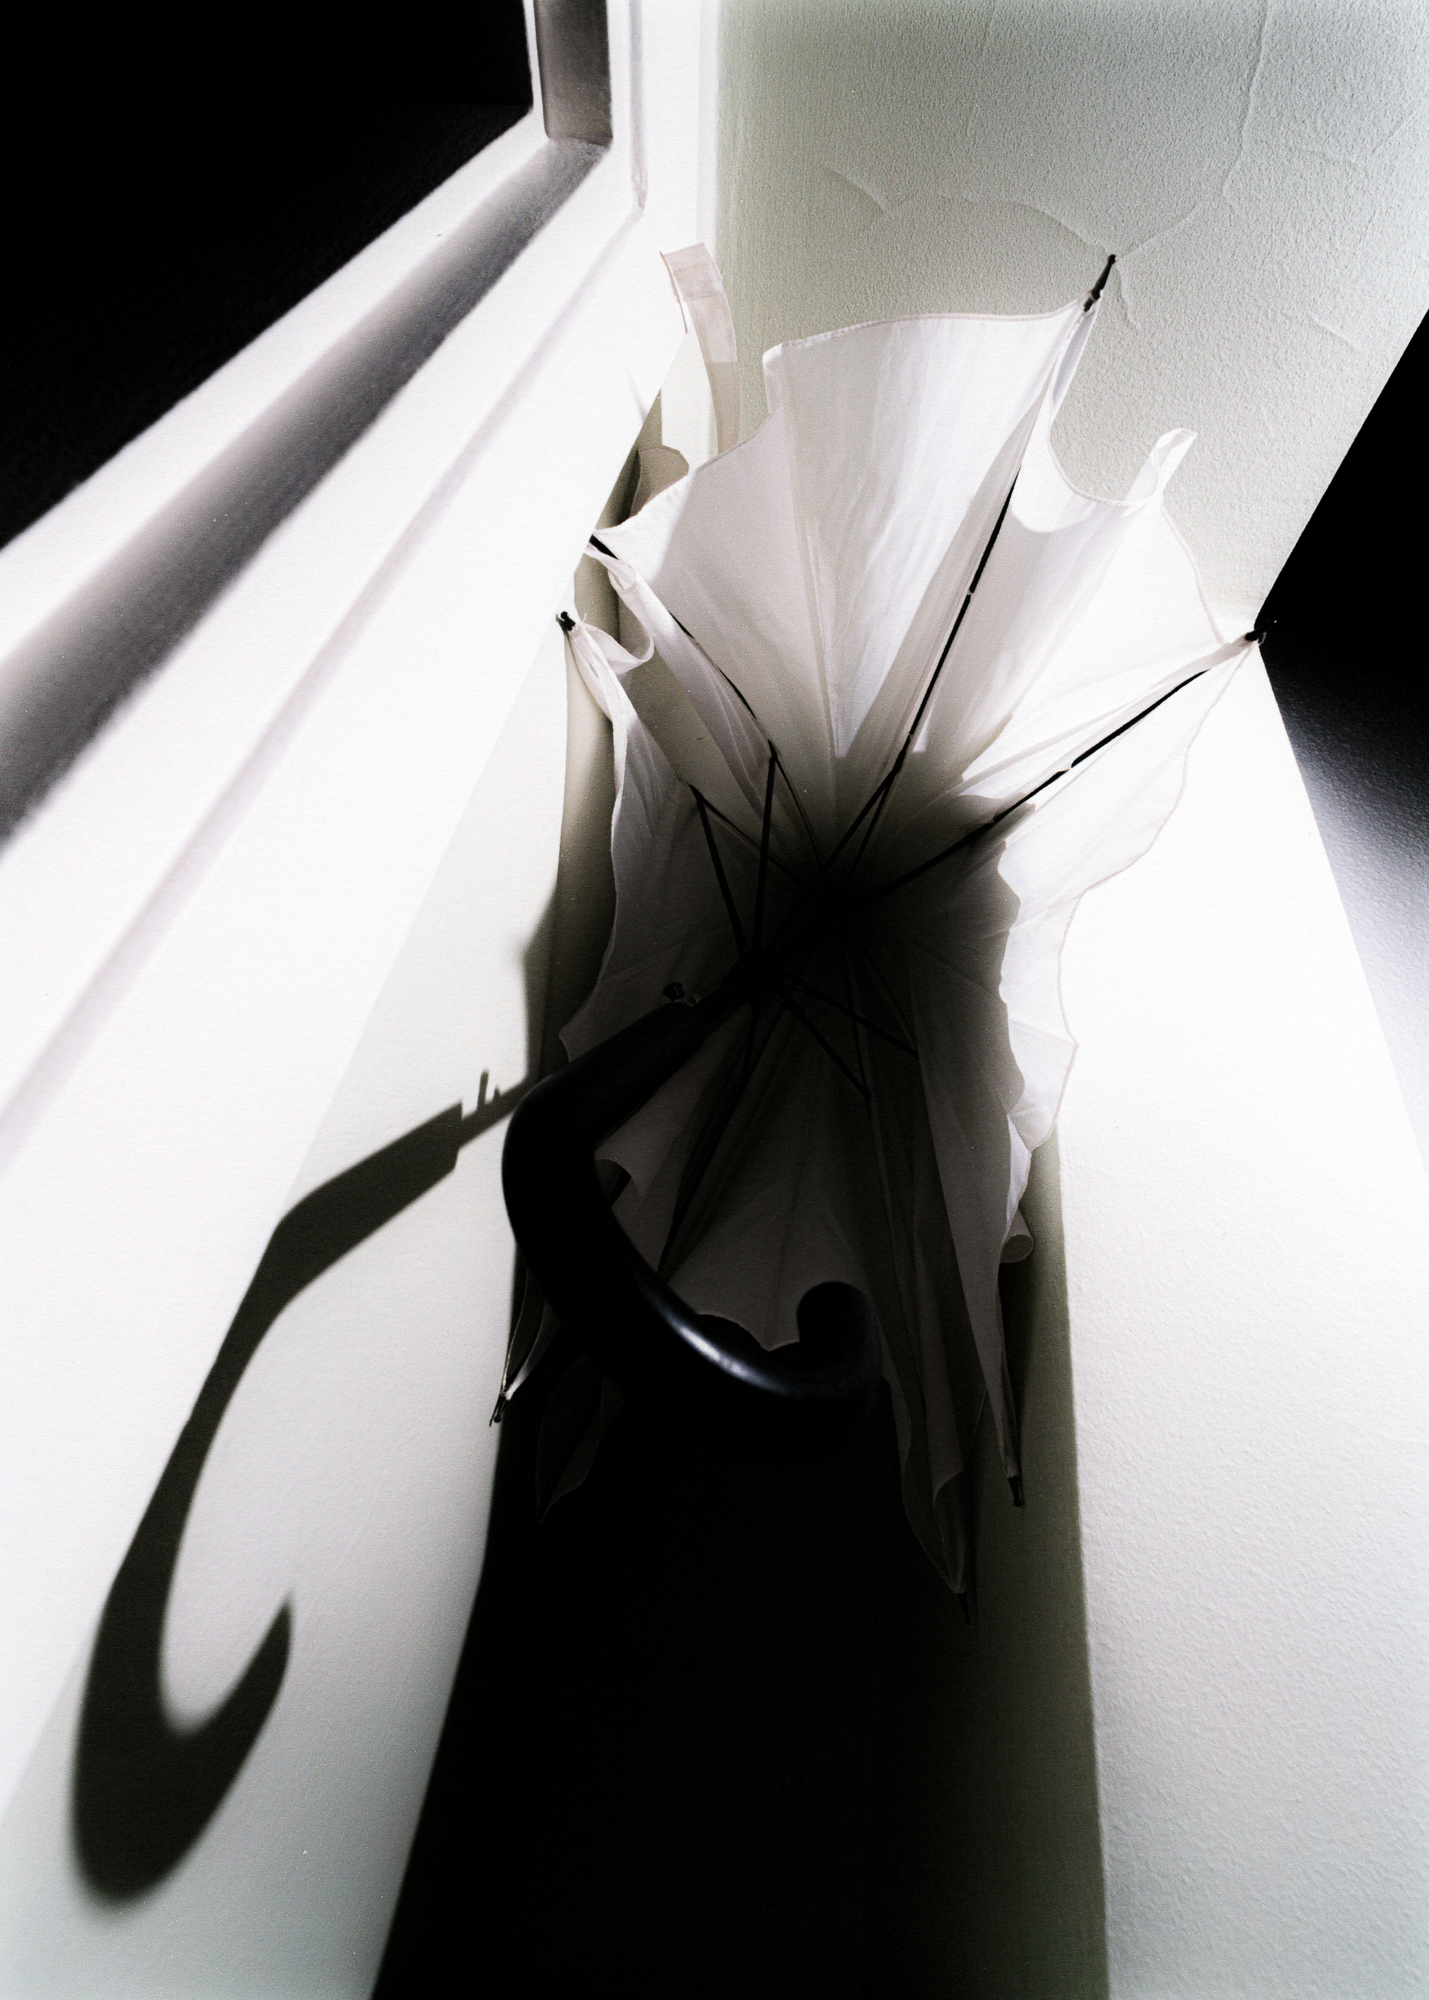
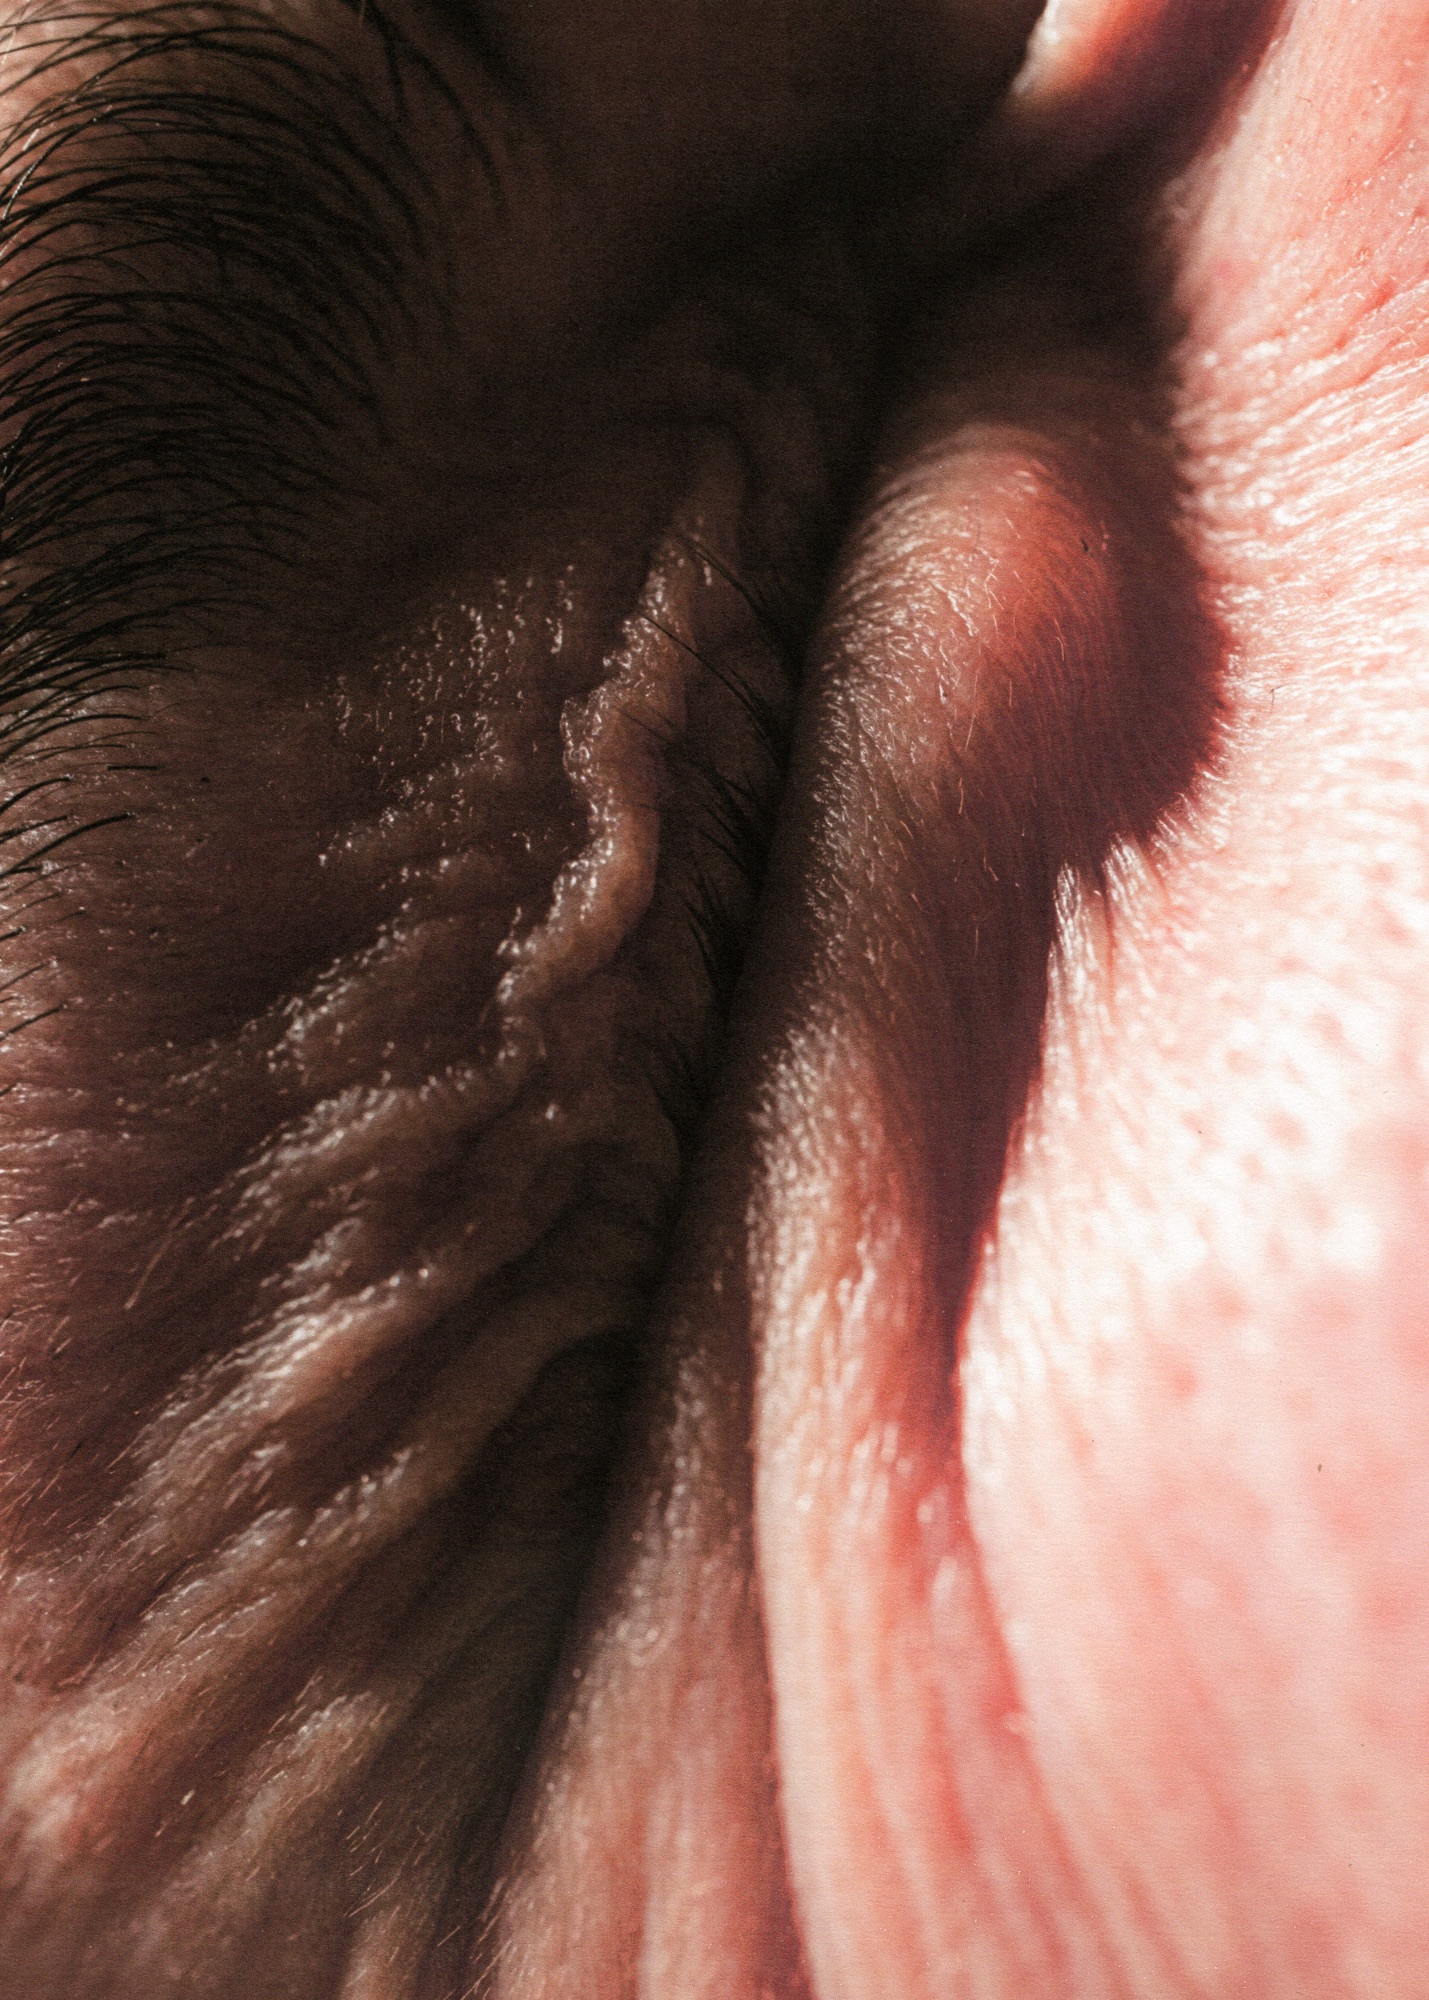
No Entry Allowed image 4
No Entry Allowed image 5
No Entry Allowed image 6
No Entry Allowed image 7
No Entry Allowed image 8
No Entry Allowed image 9
No Entry Allowed image 10
No Entry Allowed image 11
No Entry Allowed image 12
No Entry Allowed image 13
No Entry Allowed image 14
No Entry Allowed image 15
No Entry Allowed image 16
No Entry Allowed image 17
No Entry Allowed image 18
No Entry Allowed image 19

2025 / 01

2024

Get Ready to be Disappointed

photography
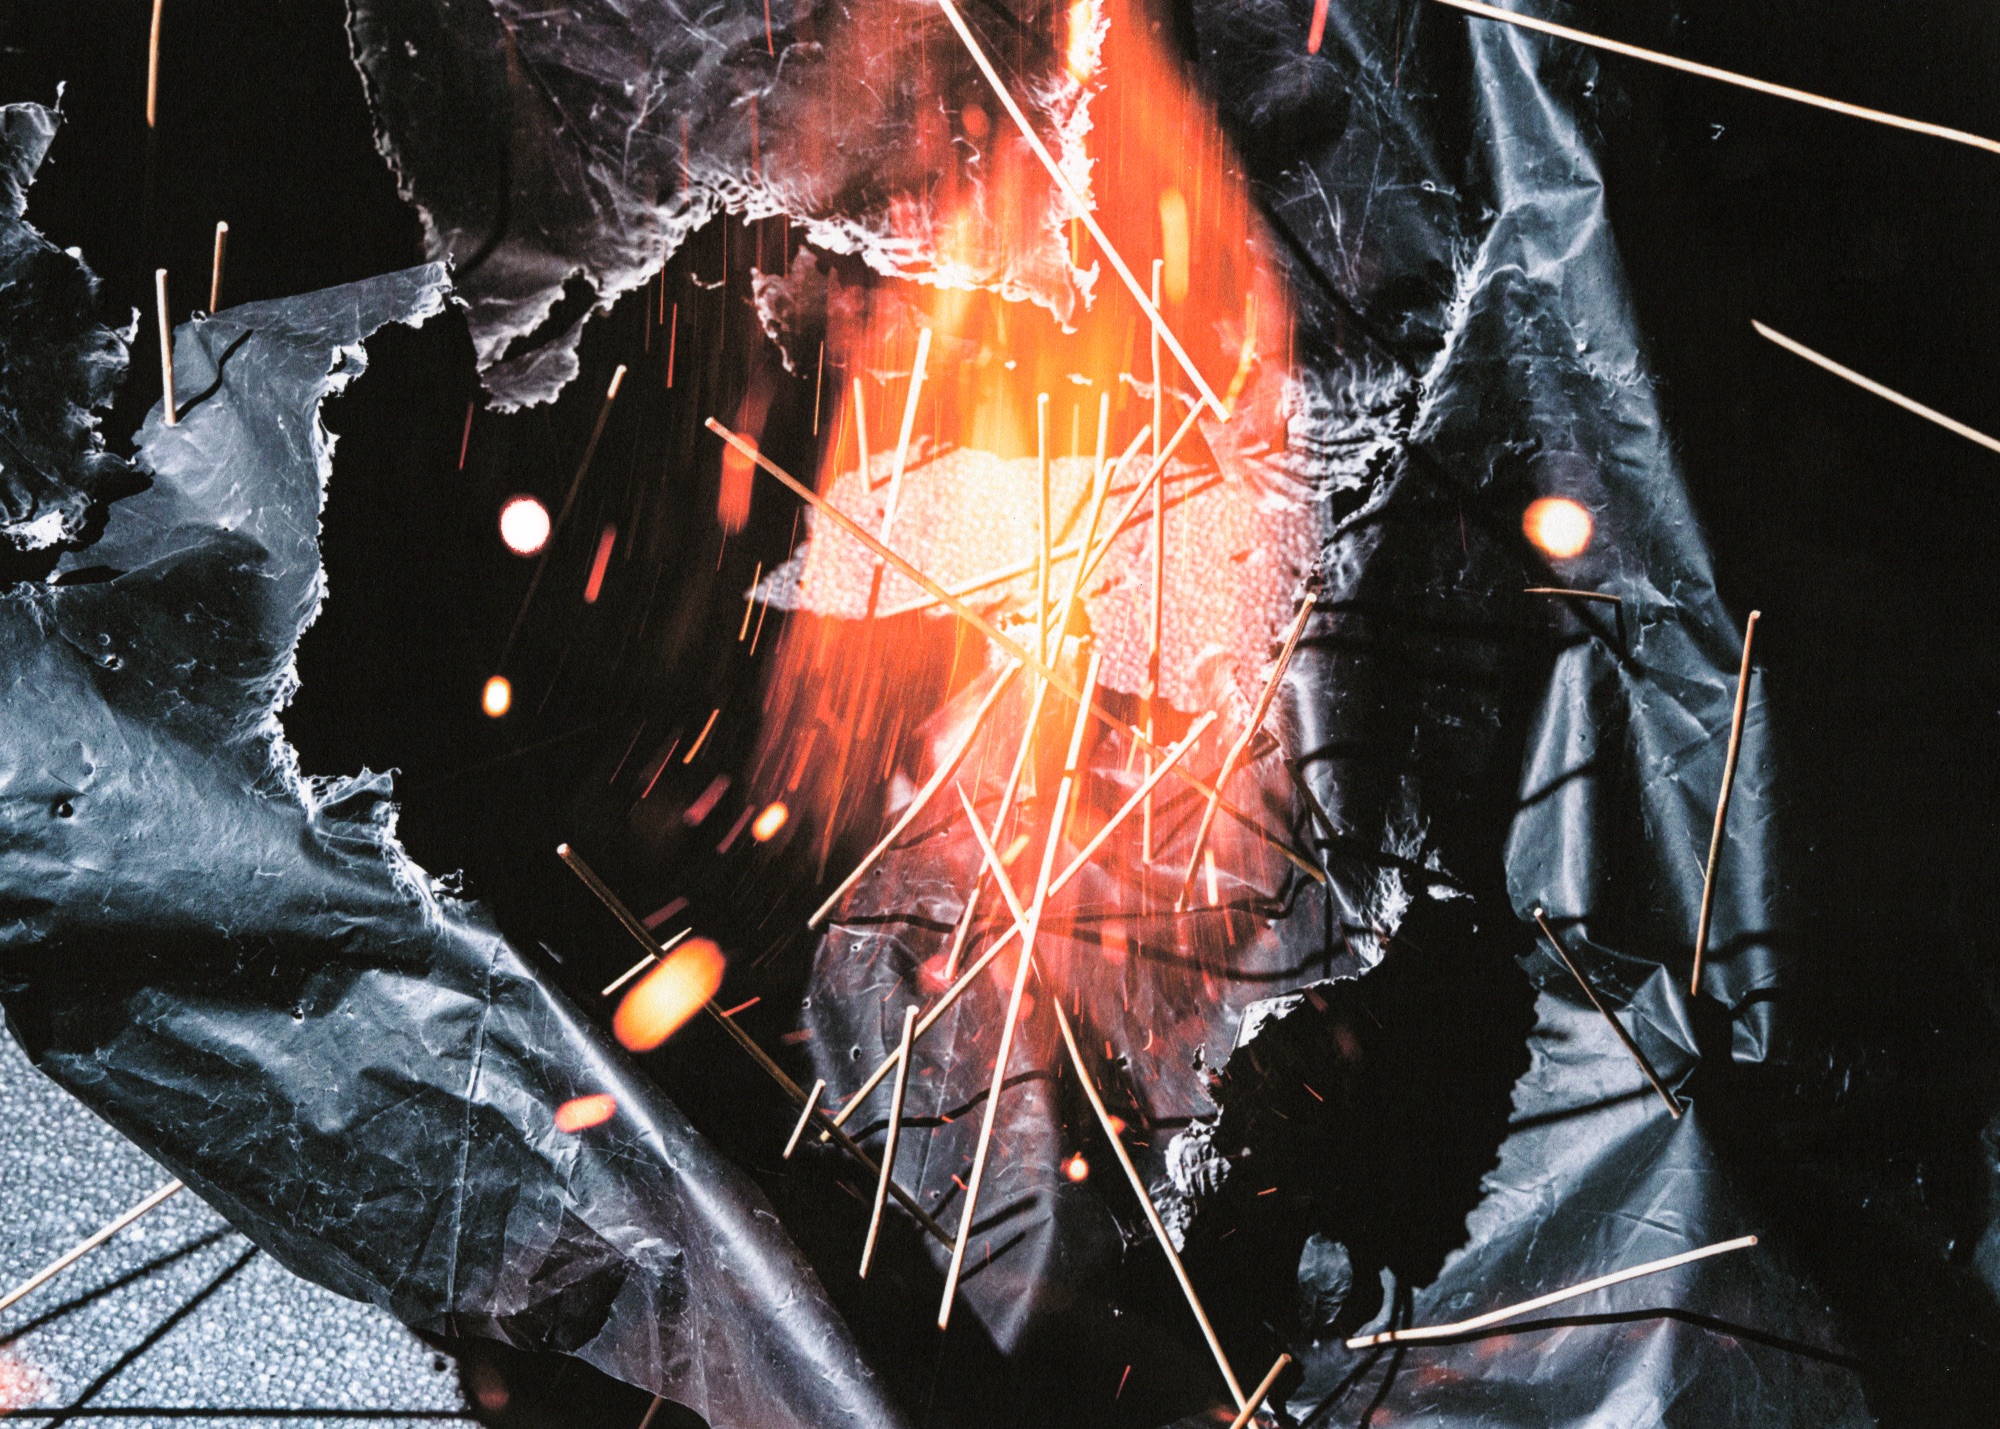
Get Ready to be Disappointed image 1
Get Ready to be Disappointed image 2
Get Ready to be Disappointed image 3
Get Ready to be Disappointed image 4
Get Ready to be Disappointed image 5
Get Ready to be Disappointed image 6
Get Ready to be Disappointed image 7
Get Ready to be Disappointed image 8
Get Ready to be Disappointed image 9
Get Ready to be Disappointed image 10
Get Ready to be Disappointed image 11
Get Ready to be Disappointed image 12
Get Ready to be Disappointed image 13
Get Ready to be Disappointed image 14
Get Ready to be Disappointed image 15
Get Ready to be Disappointed image 16
Get Ready to be Disappointed image 17
Get Ready to be Disappointed image 18

2024 / 01

2020

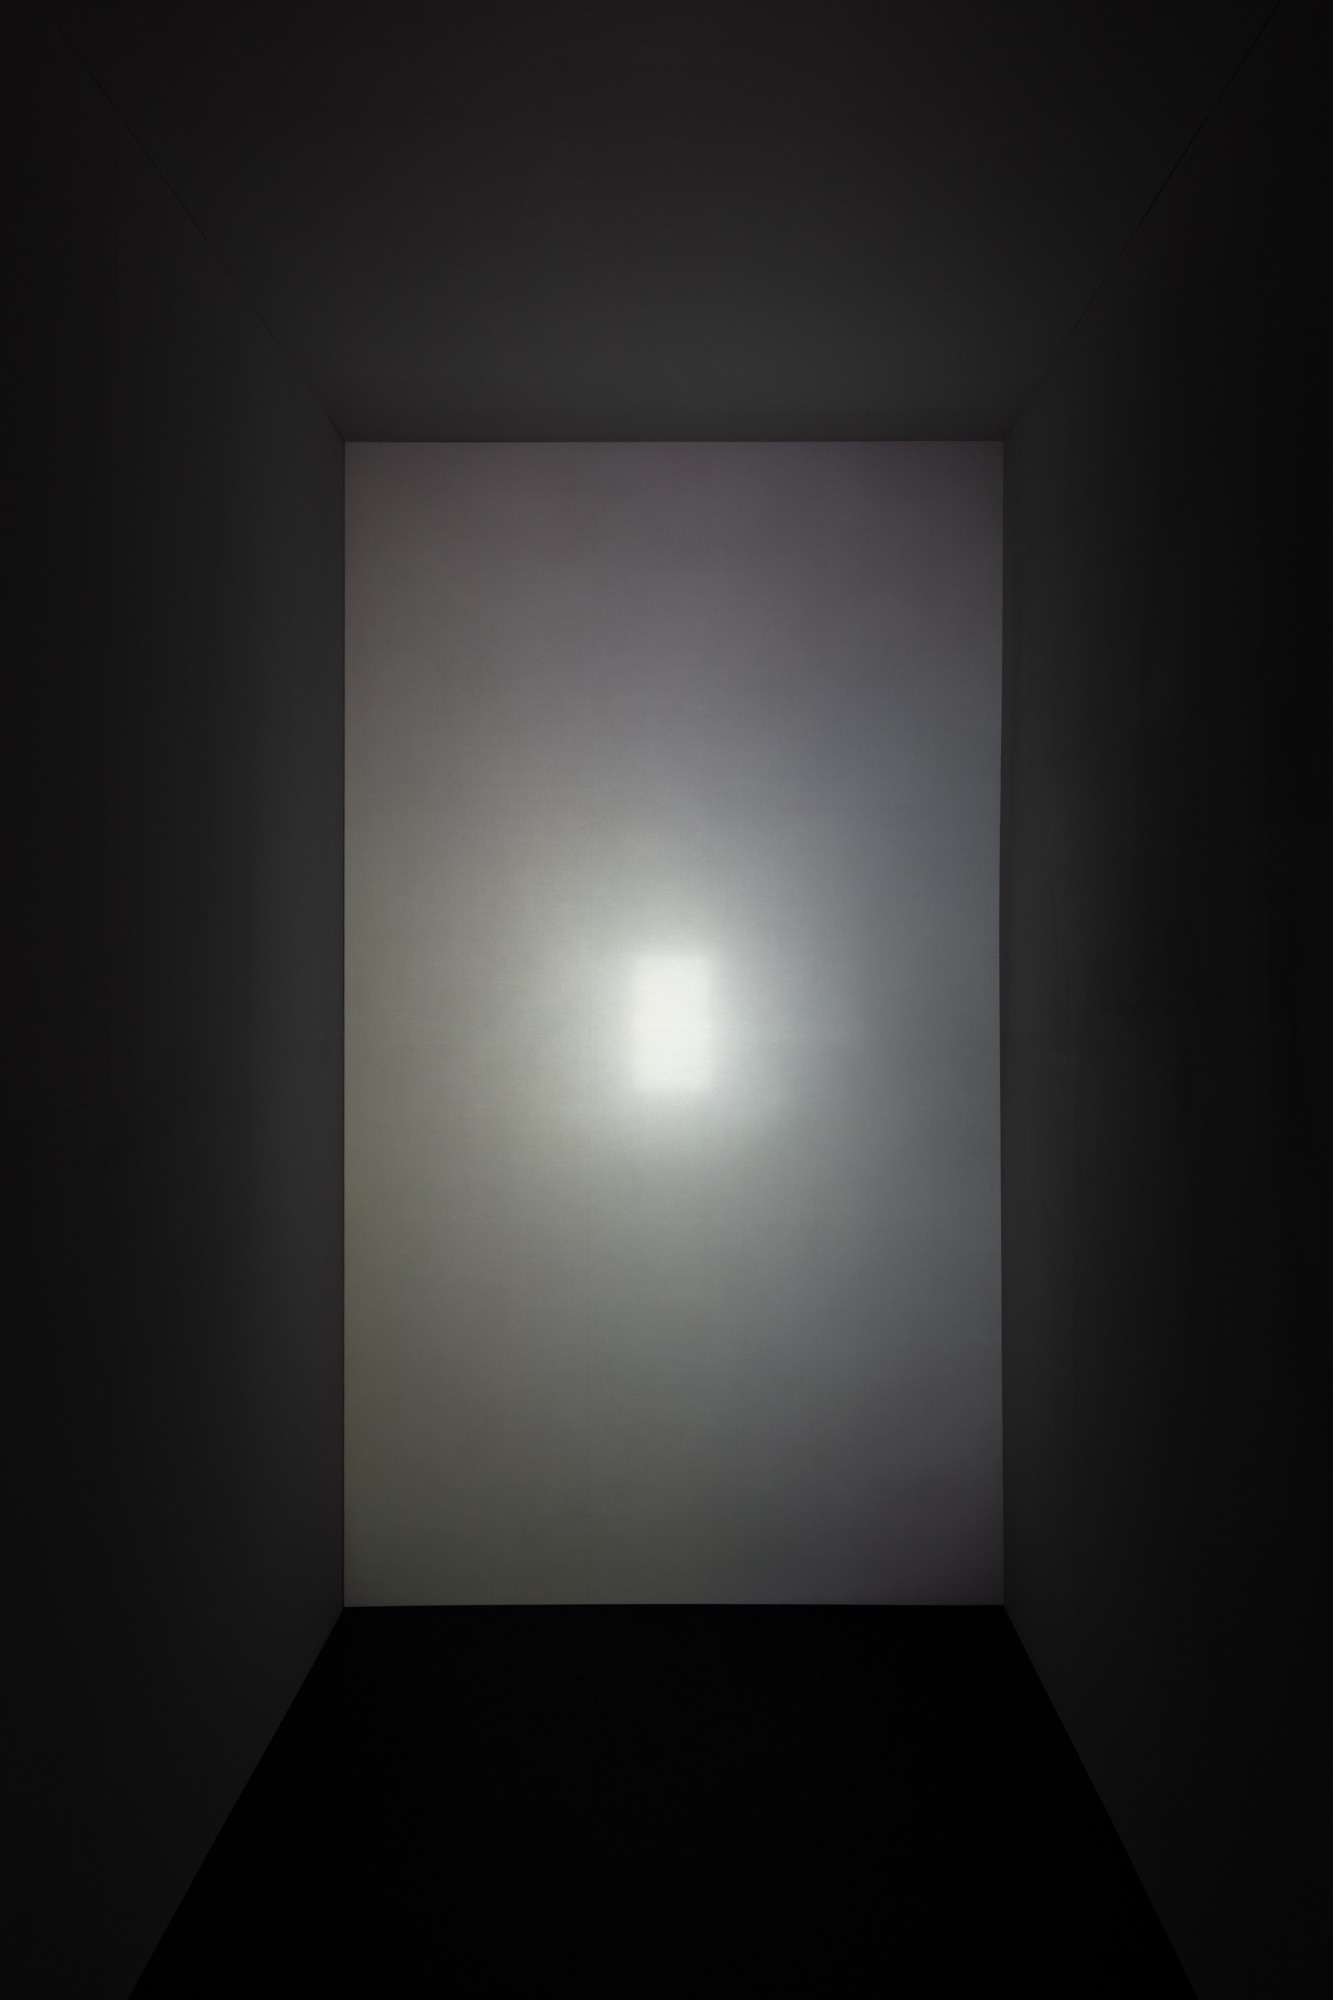
The Passage

CGIInstallation
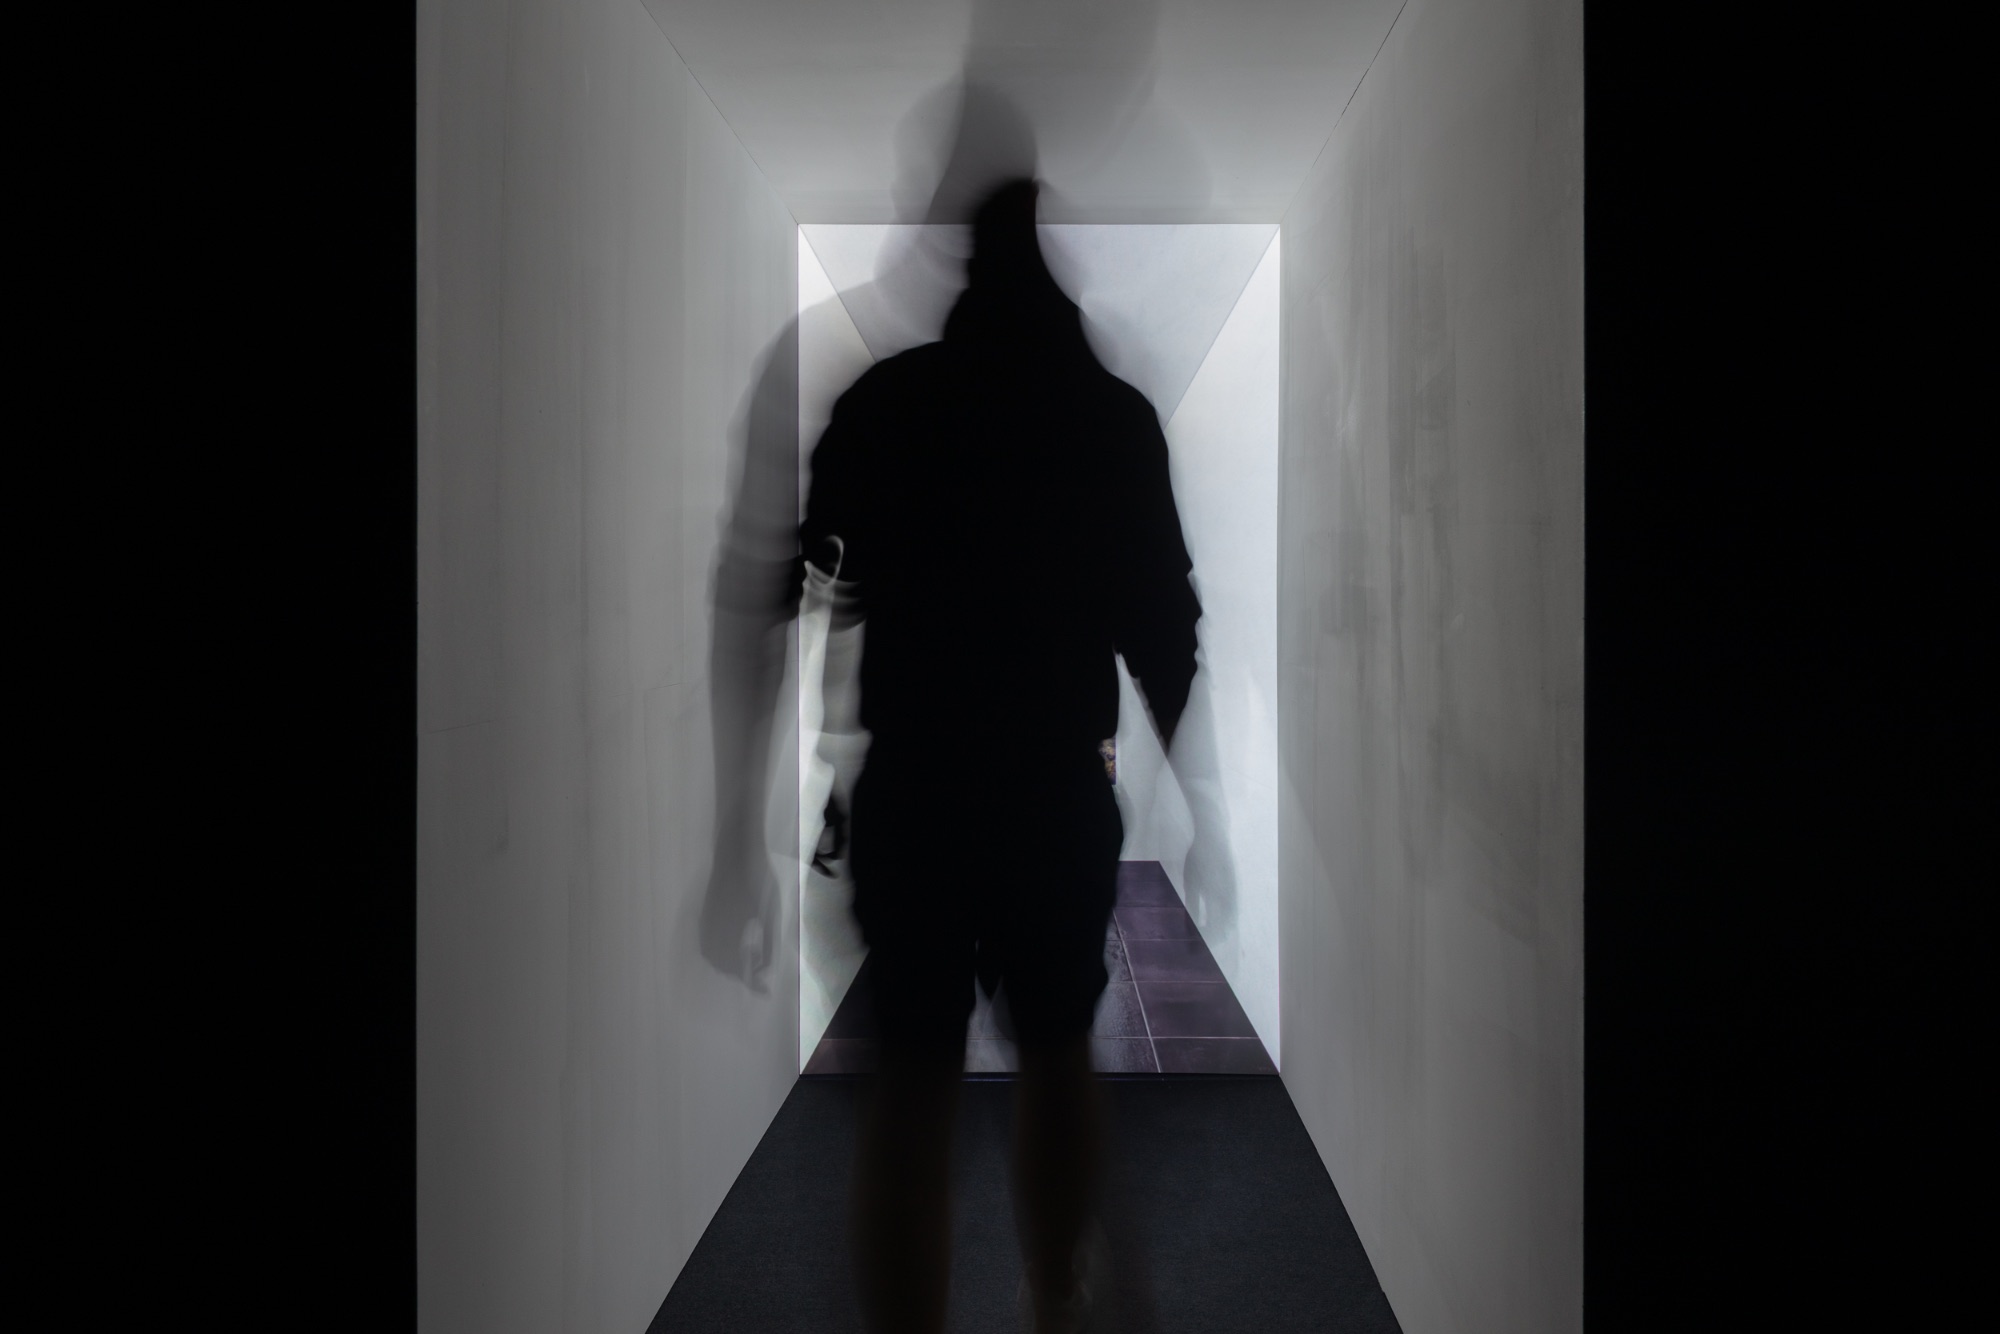
The Passage image 1
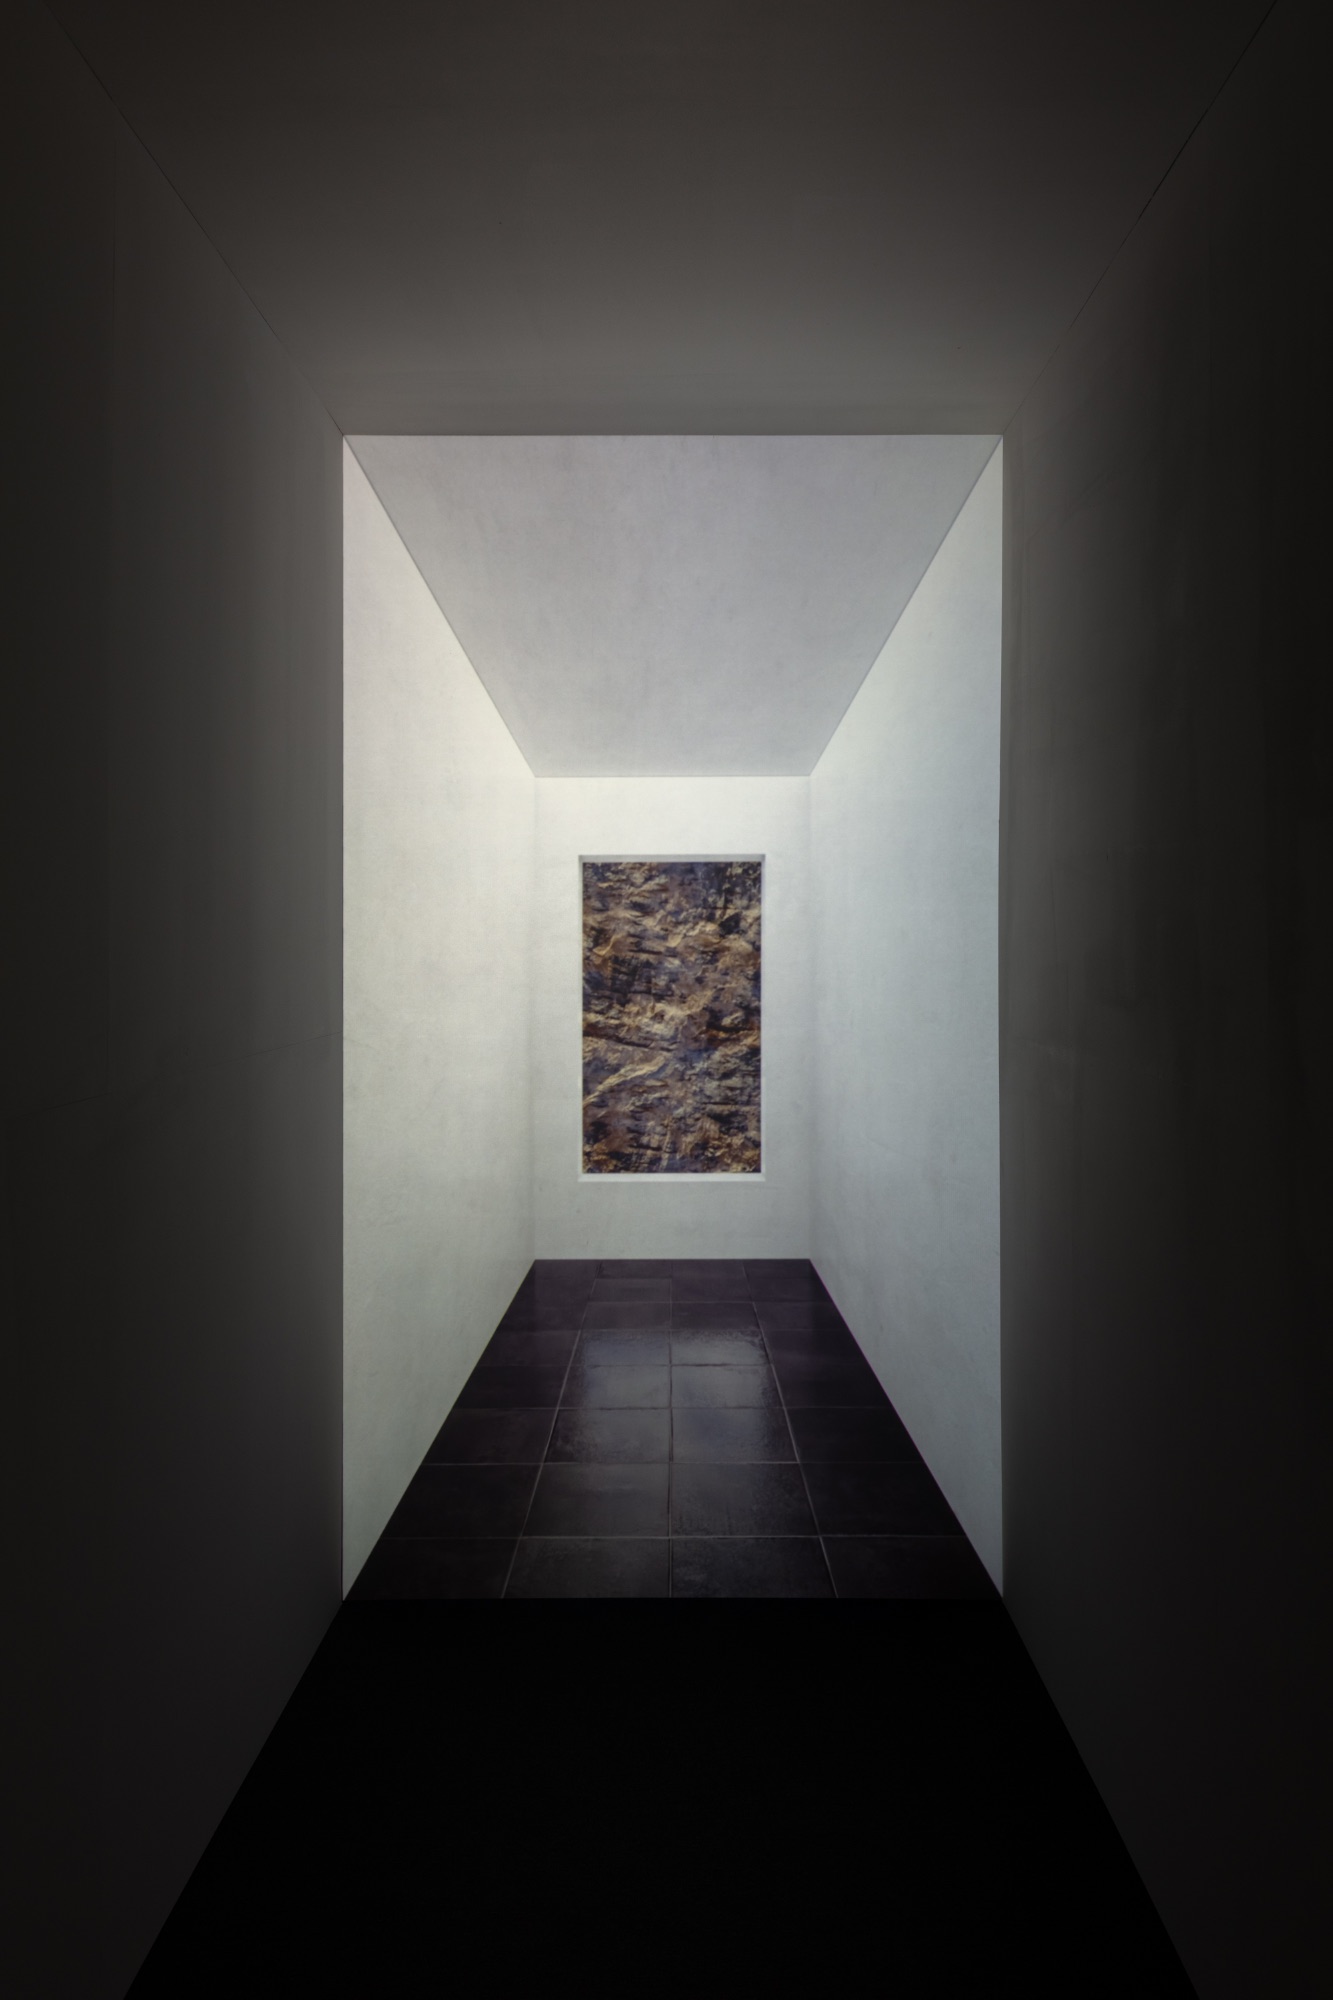
The Passage image 3
The Passage image 4
The Passage image 5
The Passage image 6
The Passage image 7
The Passage image 8

2020 / 01

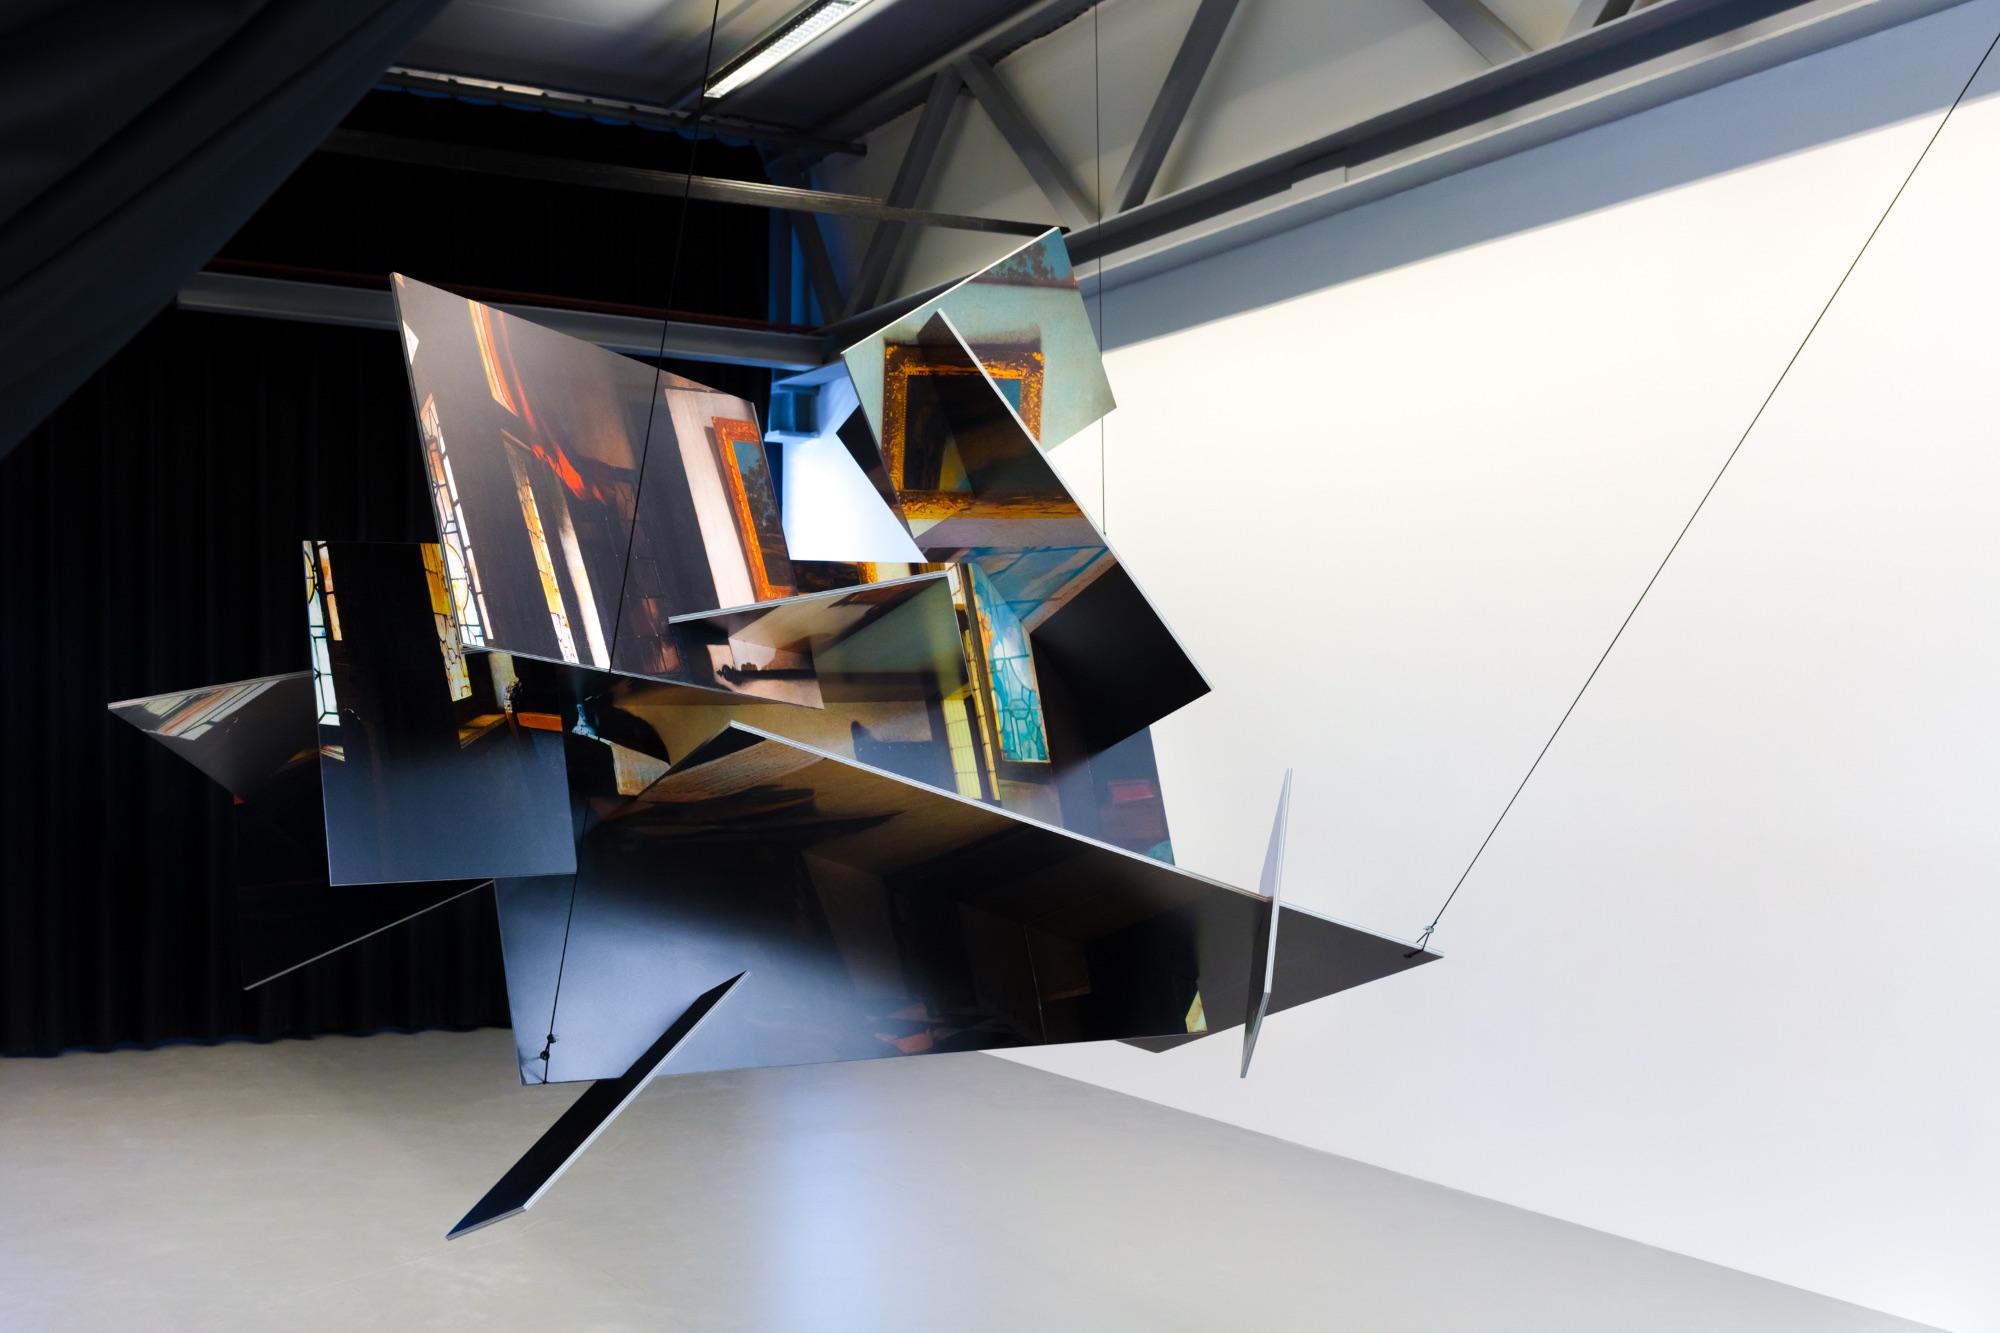
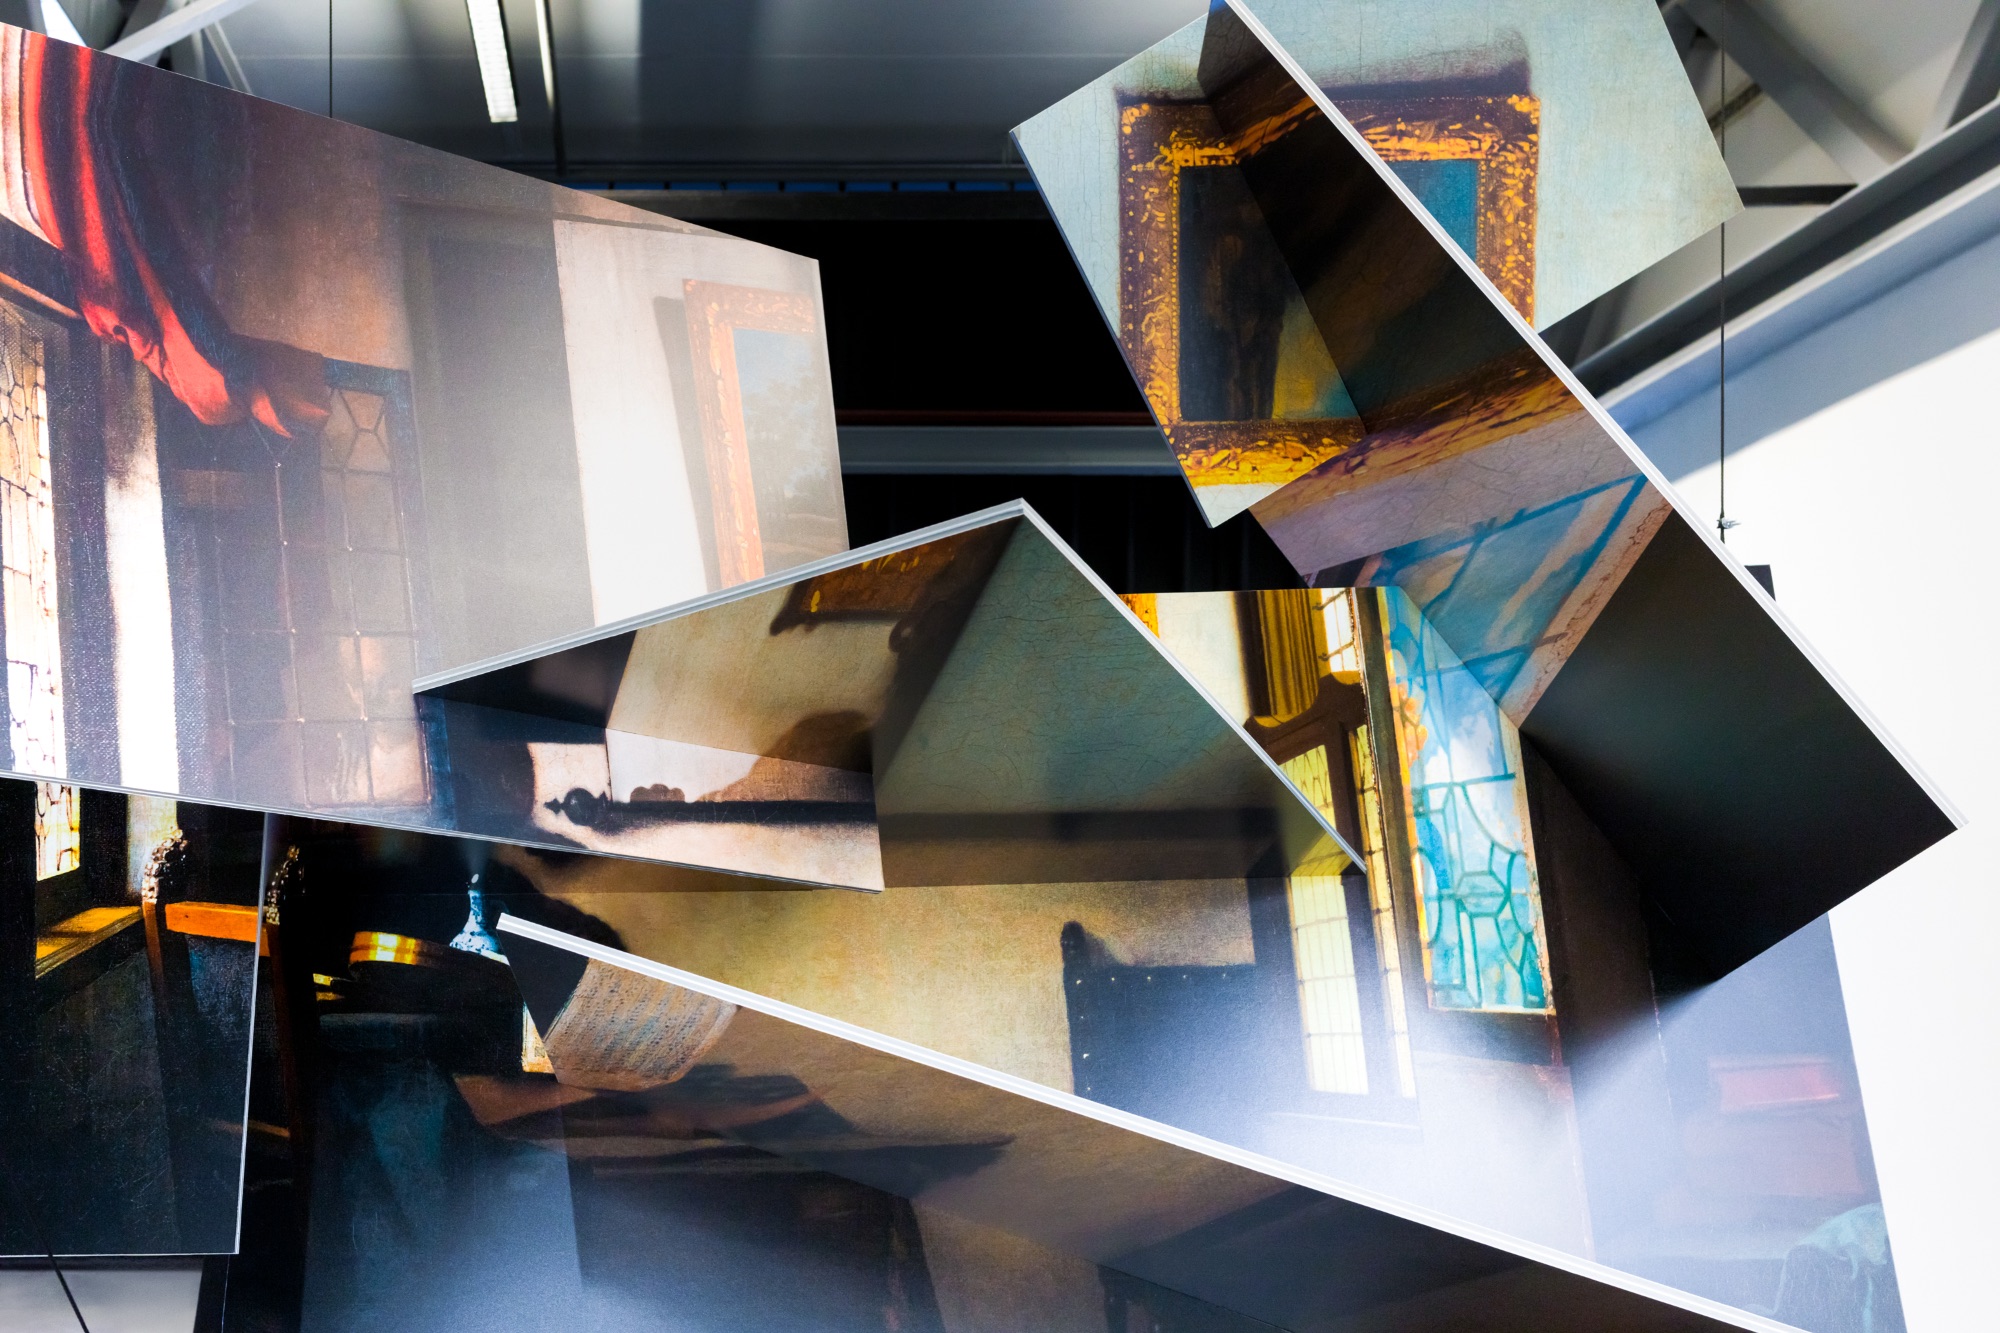
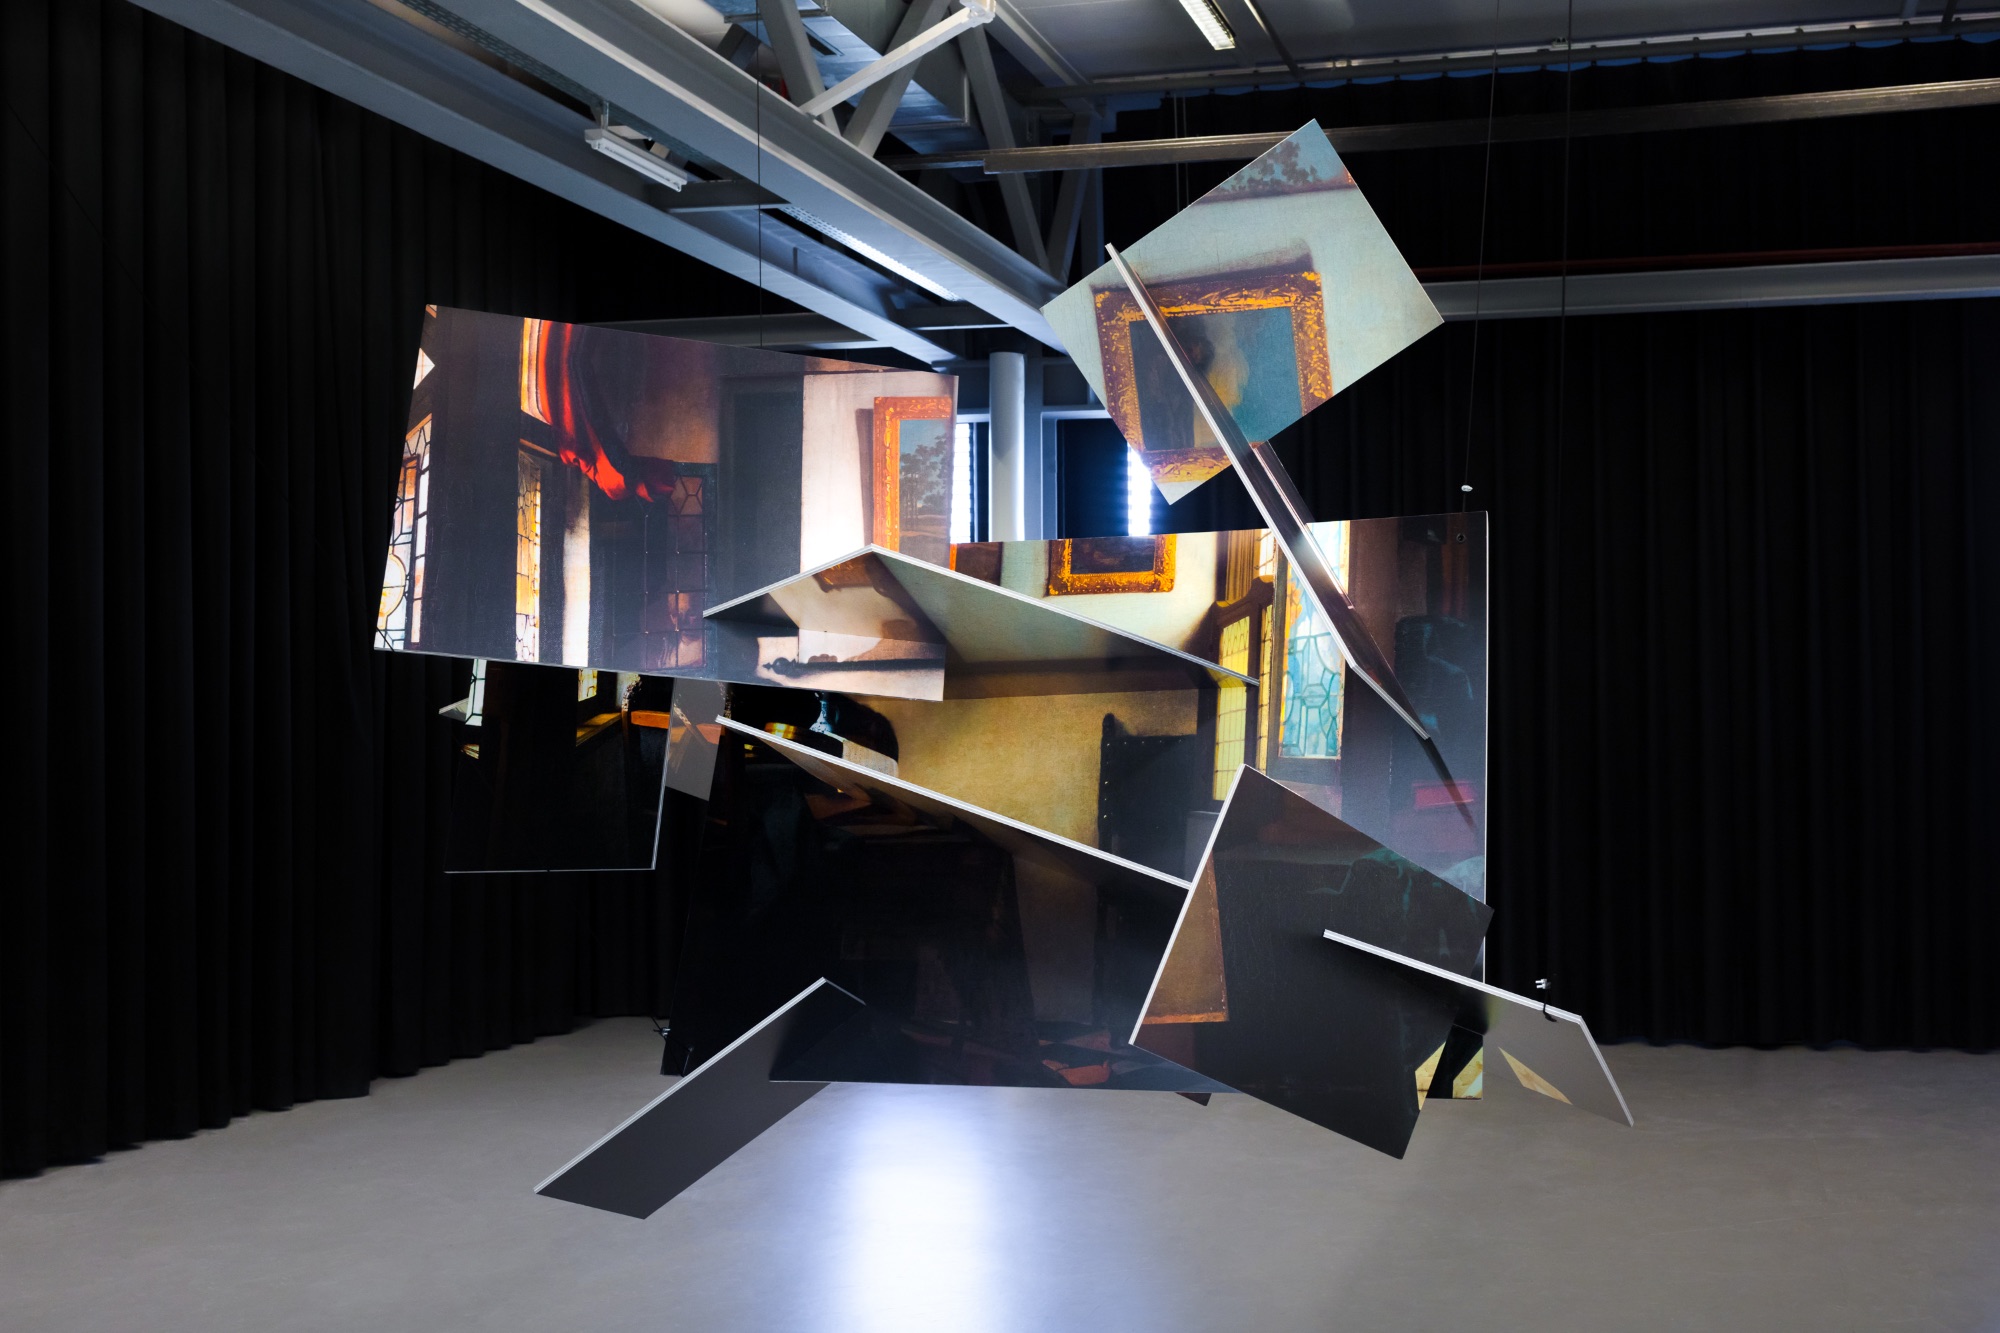
Vermeer's Room

installationfound material
Vermeer's Room image 1
Vermeer's Room image 2
Vermeer's Room image 3
Vermeer's Room image 4
Vermeer's Room image 5

2020 / 02

2019

Precision

Precision image 1
Precision image 2
Precision image 3
Precision image 4
Precision image 5
Precision image 6
Precision image 7
Precision image 8
Precision image 9
Precision image 10
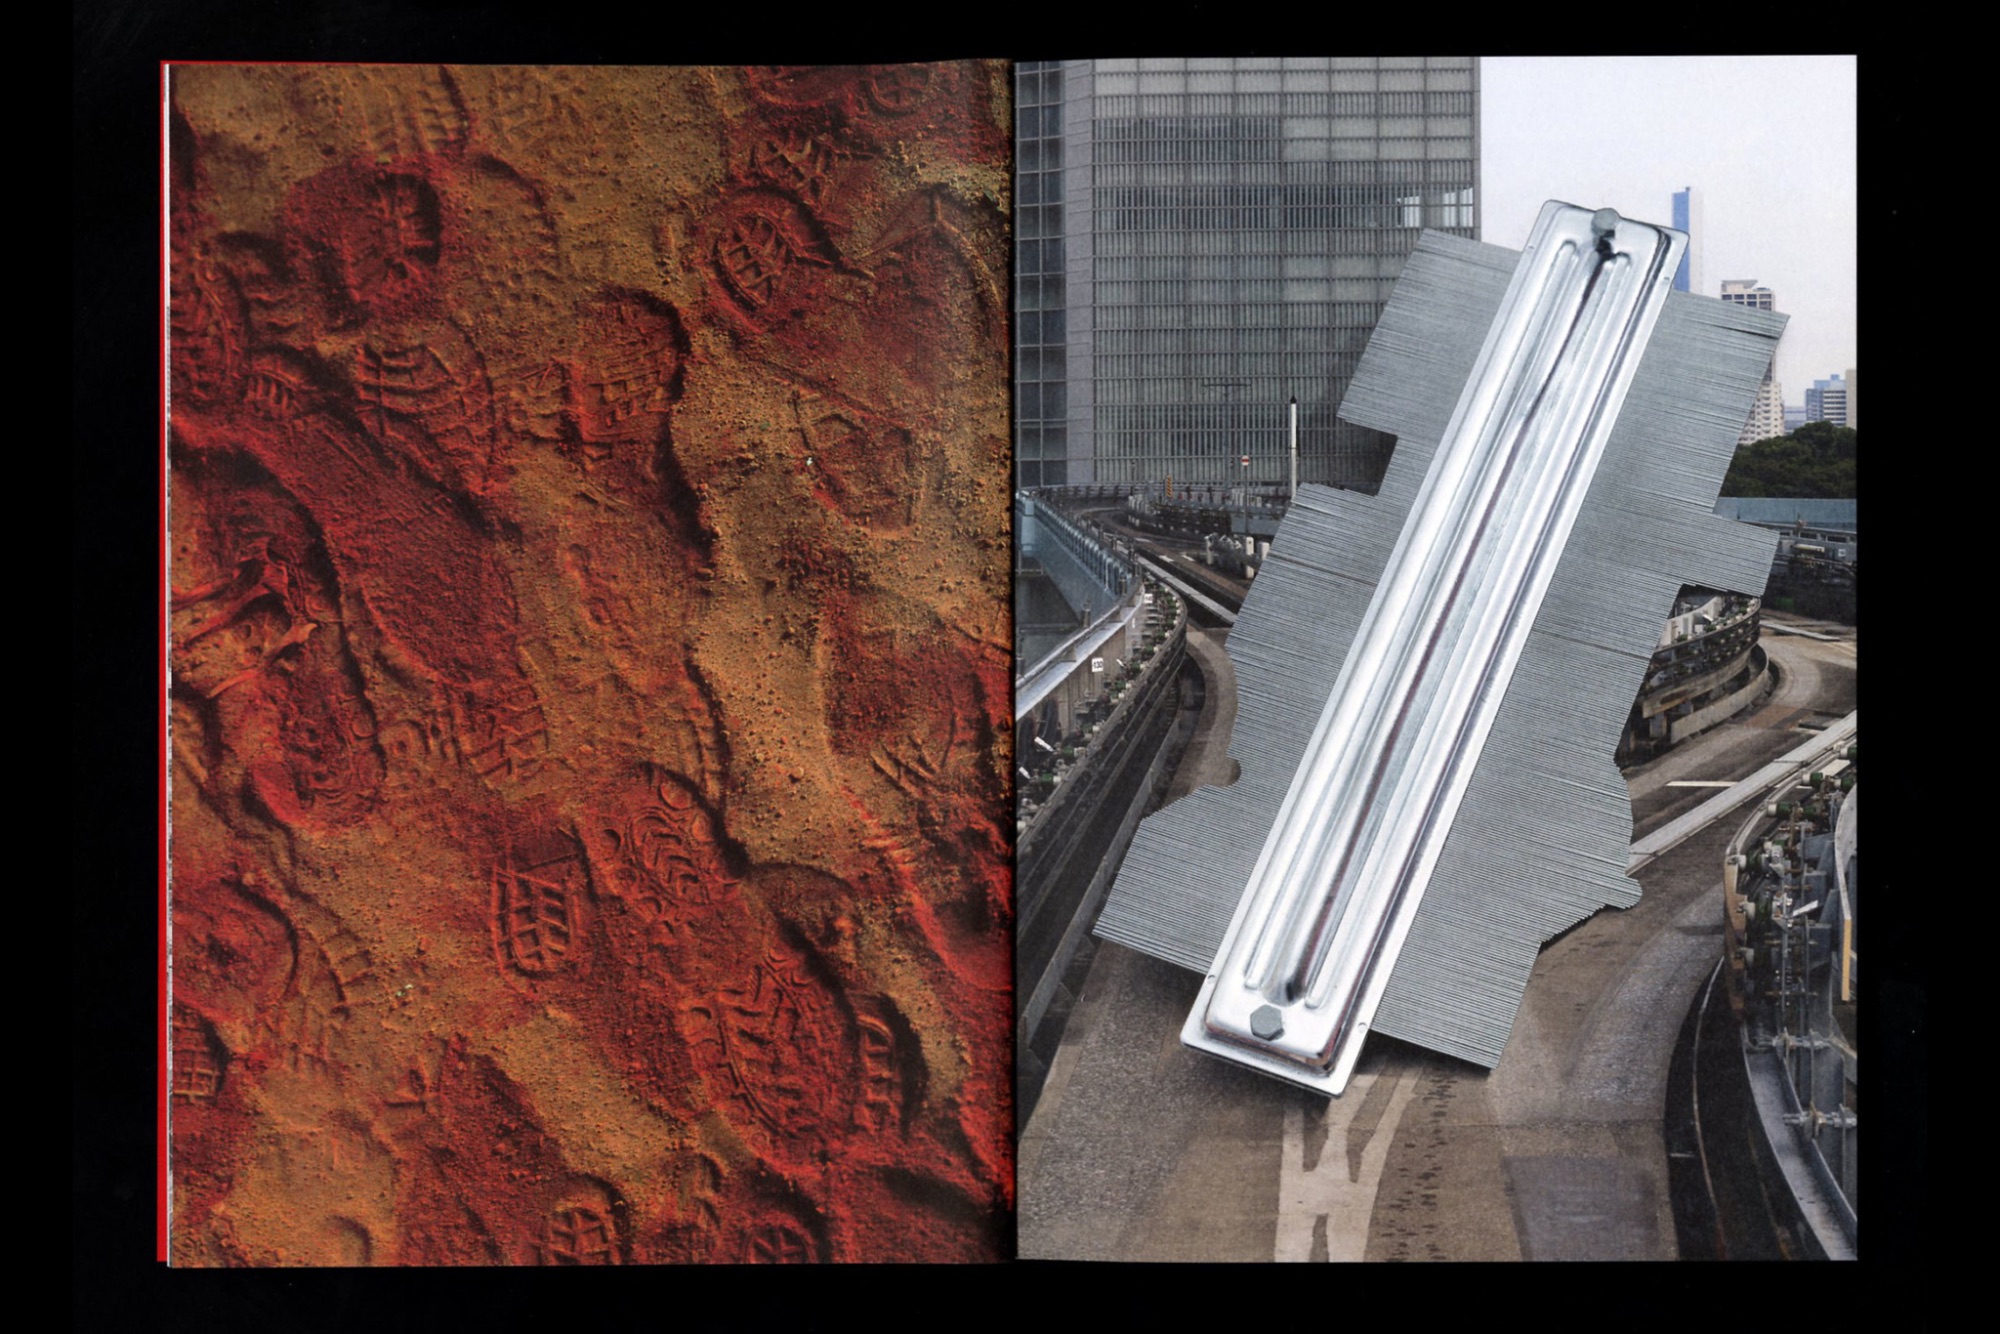
Higurashi, 2021, Published by ECAL  -  Graphic Design: Thomas Le Provost  -  Documentation: Robin Bervini/ ECAL
Higurashi, 2021, Published by ECAL - Graphic Design: Thomas Le Provost - Documentation: Robin Bervini/ ECAL
Higurashi, 2021, Published by ECAL  -  Graphic Design: Thomas Le Provost  -  Documentation: Robin Bervini/ ECAL
Higurashi, 2021, Published by ECAL - Graphic Design: Thomas Le Provost - Documentation: Robin Bervini/ ECAL
Higurashi, 2021, Published by ECAL  -  Graphic Design: Thomas Le Provost  -  Documentation: Robin Bervini/ ECAL
Higurashi, 2021, Published by ECAL - Graphic Design: Thomas Le Provost - Documentation: Robin Bervini/ ECAL
Higurashi, 2021, Published by ECAL  -  Graphic Design: Thomas Le Provost  -  Documentation: Robin Bervini/ ECAL
Higurashi, 2021, Published by ECAL - Graphic Design: Thomas Le Provost - Documentation: Robin Bervini/ ECAL
Higurashi, 2021, Published by ECAL  -  Graphic Design: Thomas Le Provost  -  Documentation: Robin Bervini/ ECAL
Higurashi, 2021, Published by ECAL - Graphic Design: Thomas Le Provost - Documentation: Robin Bervini/ ECAL

2019 / 01

What Did The Statue Tell?

installationfound materialvideocollageinteractive
What Did The Statue Tell? image 1
What Did The Statue Tell? image 2
What Did The Statue Tell? image 3
What Did The Statue Tell? image 4

2019 / 02

This Light Will Not Go Out

bookfound material
This Light Will Not Go Out image 1
This Light Will Not Go Out image 2
This Light Will Not Go Out image 3
This Light Will Not Go Out image 4
This Light Will Not Go Out image 5
This Light Will Not Go Out image 6
This Light Will Not Go Out image 7
This Light Will Not Go Out image 8
This Light Will Not Go Out image 9
This Light Will Not Go Out image 10
This Light Will Not Go Out image 11
This Light Will Not Go Out image 12
This Light Will Not Go Out image 13
This Light Will Not Go Out image 14
This Light Will Not Go Out image 15
This Light Will Not Go Out image 16
This Light Will Not Go Out image 17

2019 / 03

Untitled

Photography
Untitled image 1
Untitled image 2
Untitled image 3
Untitled image 4
Untitled image 5
Untitled image 6
Untitled image 7
Untitled image 8
Untitled image 9
Untitled image 10

2019 / 04

Untitled 2

installationinteractive
Untitled 2 image 1
Untitled 2 image 2
Untitled 2 image 3

2019 / 05